How to Count your Stitches, Rounds, and Rows in Crochet
It can be deceptively tricky to keep track of your progress when crocheting amigurumi. Unlike flat projects with clear rows and edges, amigurumi are mostly made using continuous spirals, making counting a crucial but sometimes confusing skill.
This guide will help you conquer counting in amigurumi, ensuring your creations come together flawlessly.

Set Yourself Up for Success
Keeping track of your stitches is crucial for maintaining accuracy and following amigurumi patterns.
- Identify a Point of Reference: Choose a stitch (the first or last stitch in a round) as your reference point.
- Count Each Stitch: As you crochet, mentally count each stitch as you complete it (e.g. “ 1, 2, 3, increase…”)
- Use a Stitch Marker: Place a stitch marker in the first (or last) stitch of each row to easily identify your starting point and avoid losing count (learn How to Use Stich Markers here)
- Double-Check Regularly: Especially for intricate patterns and rounds with lots of stitches, pause periodically to recount your stitches and ensure you’re on track. Better to check each round than have to frog back several to fix your mistake!

How to Count:
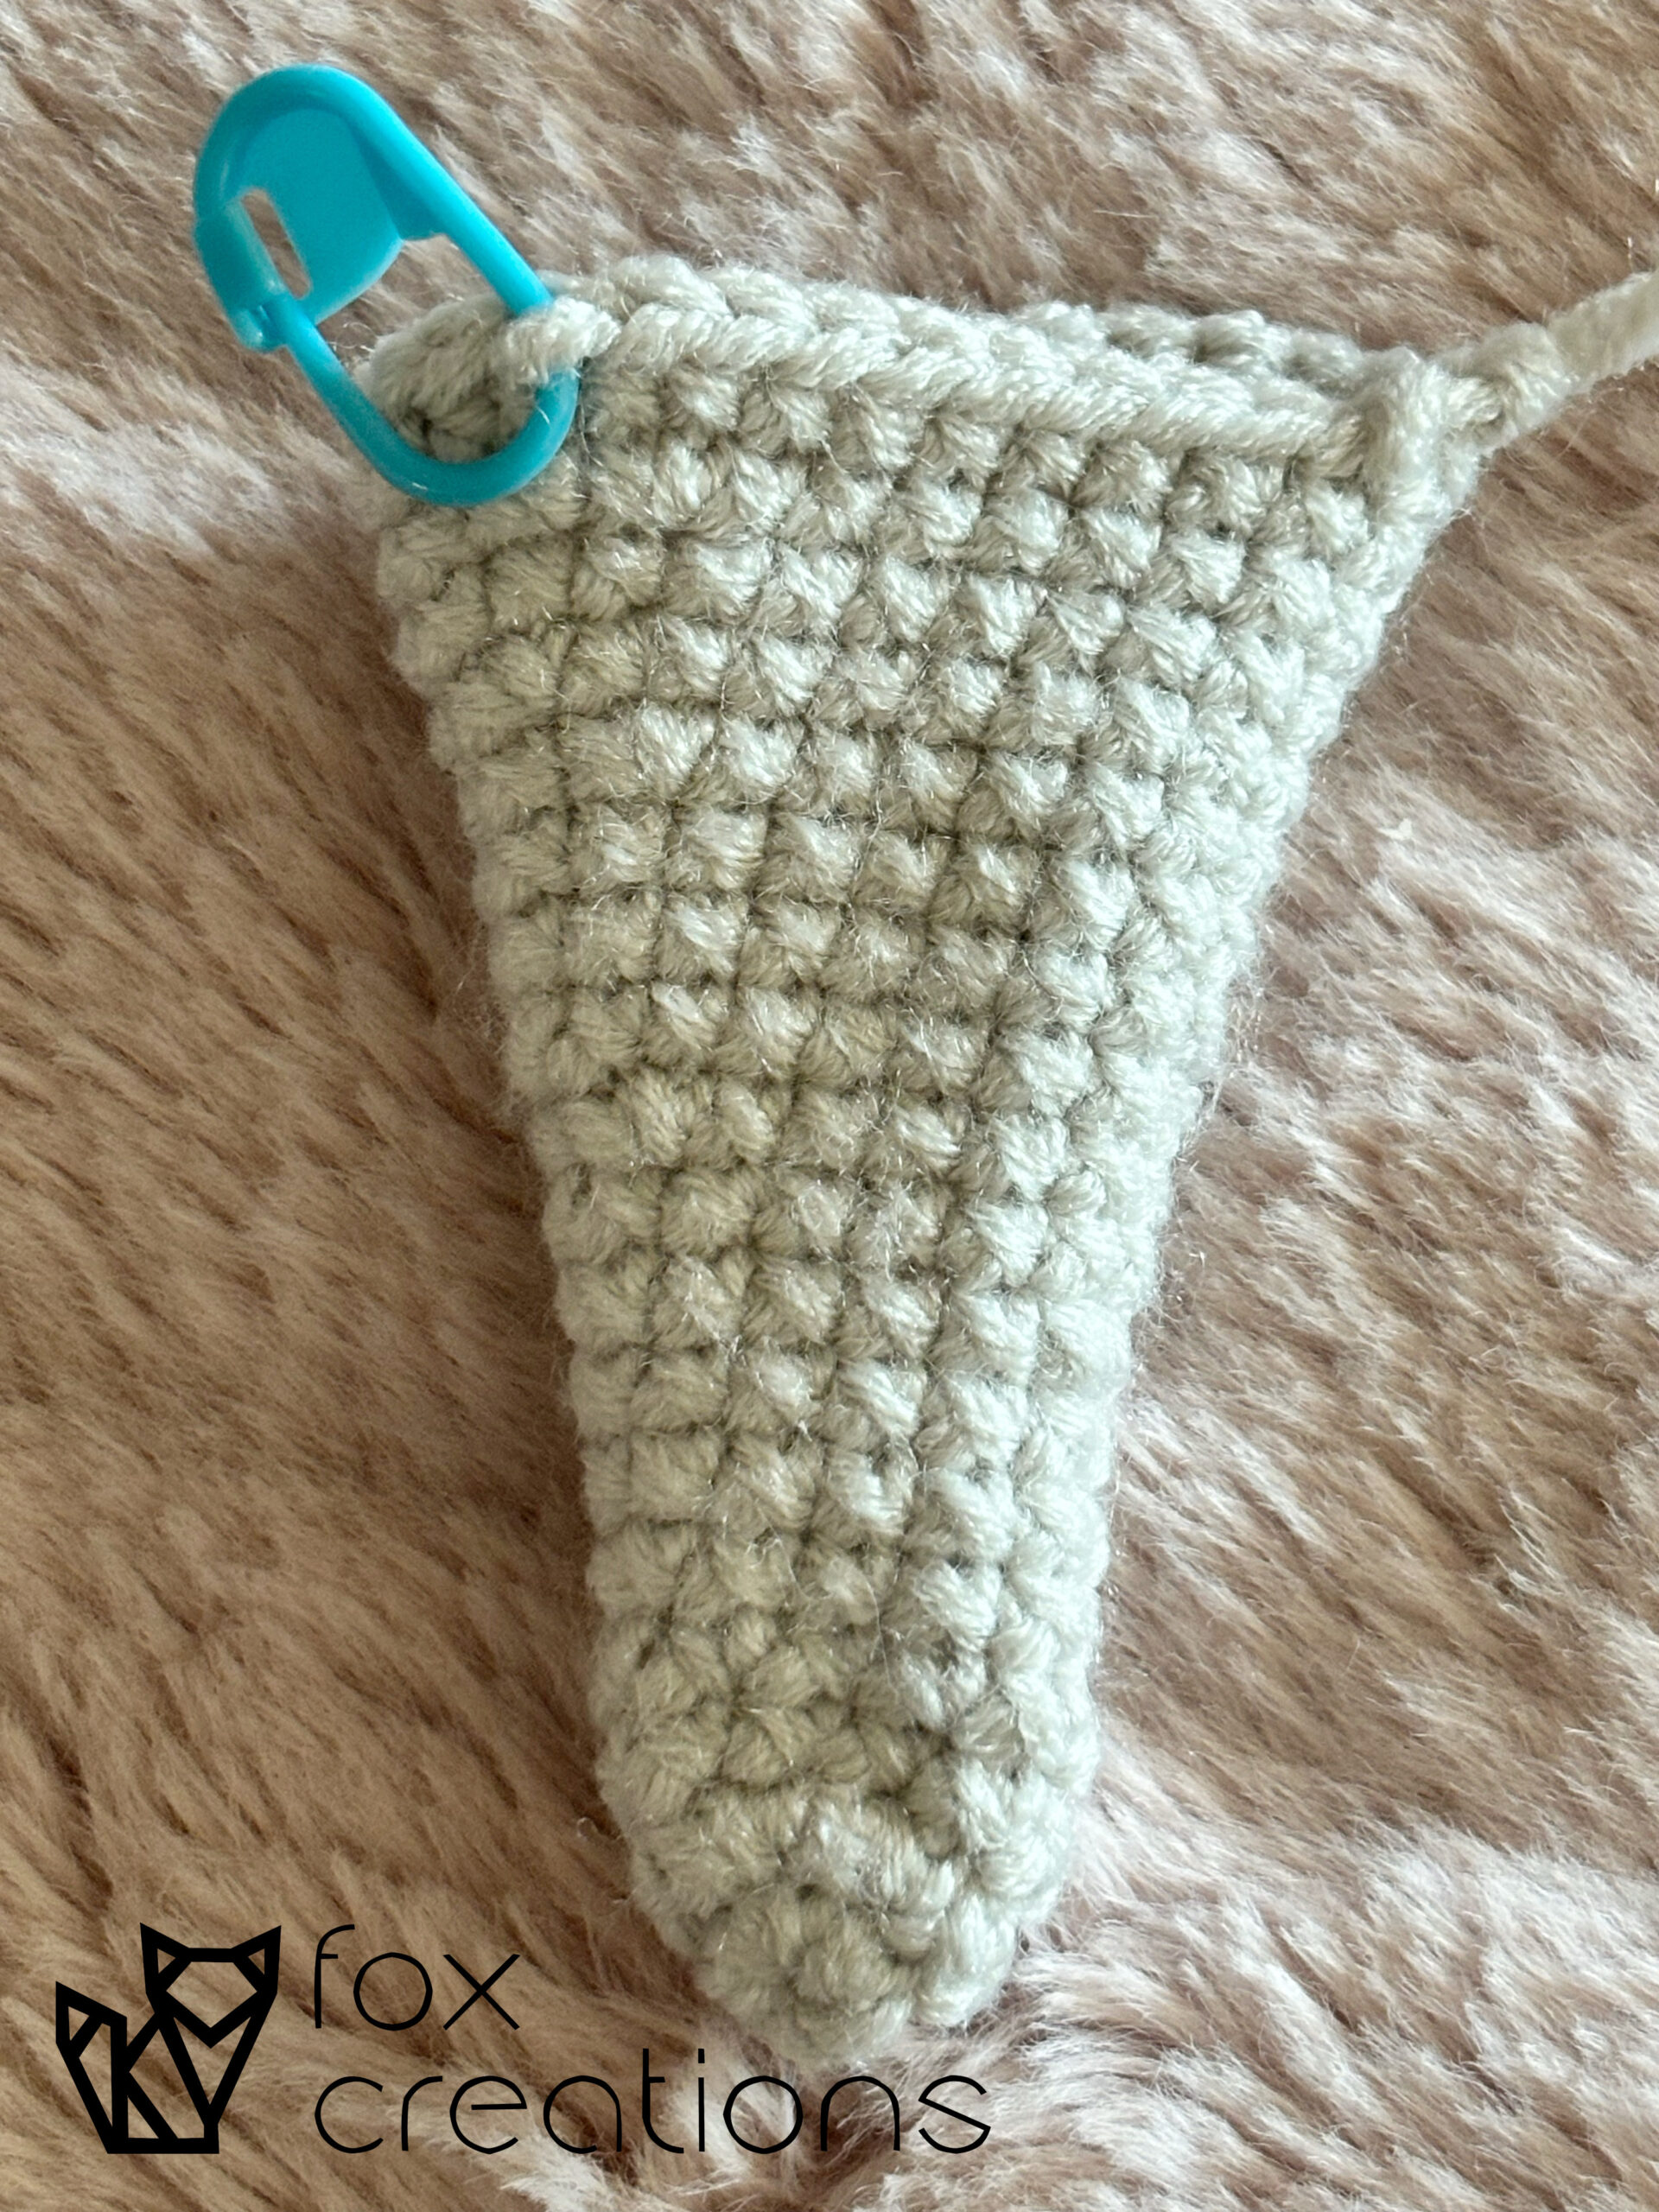
- Stitches: Crochet stitches (mostly US single crochet) are the fundamental building blocks of your amigurumi. To count your stitches, you need to understand the anatomy of the stitch. The easiest way to count your stitches it to look for the little v’s at the top of the round. Each ‘v’ is one stitch. Look closely at your project as you’re working to see what increase and decrease stitches look like. (The picture has 20 stitches in the current round)

How to Count
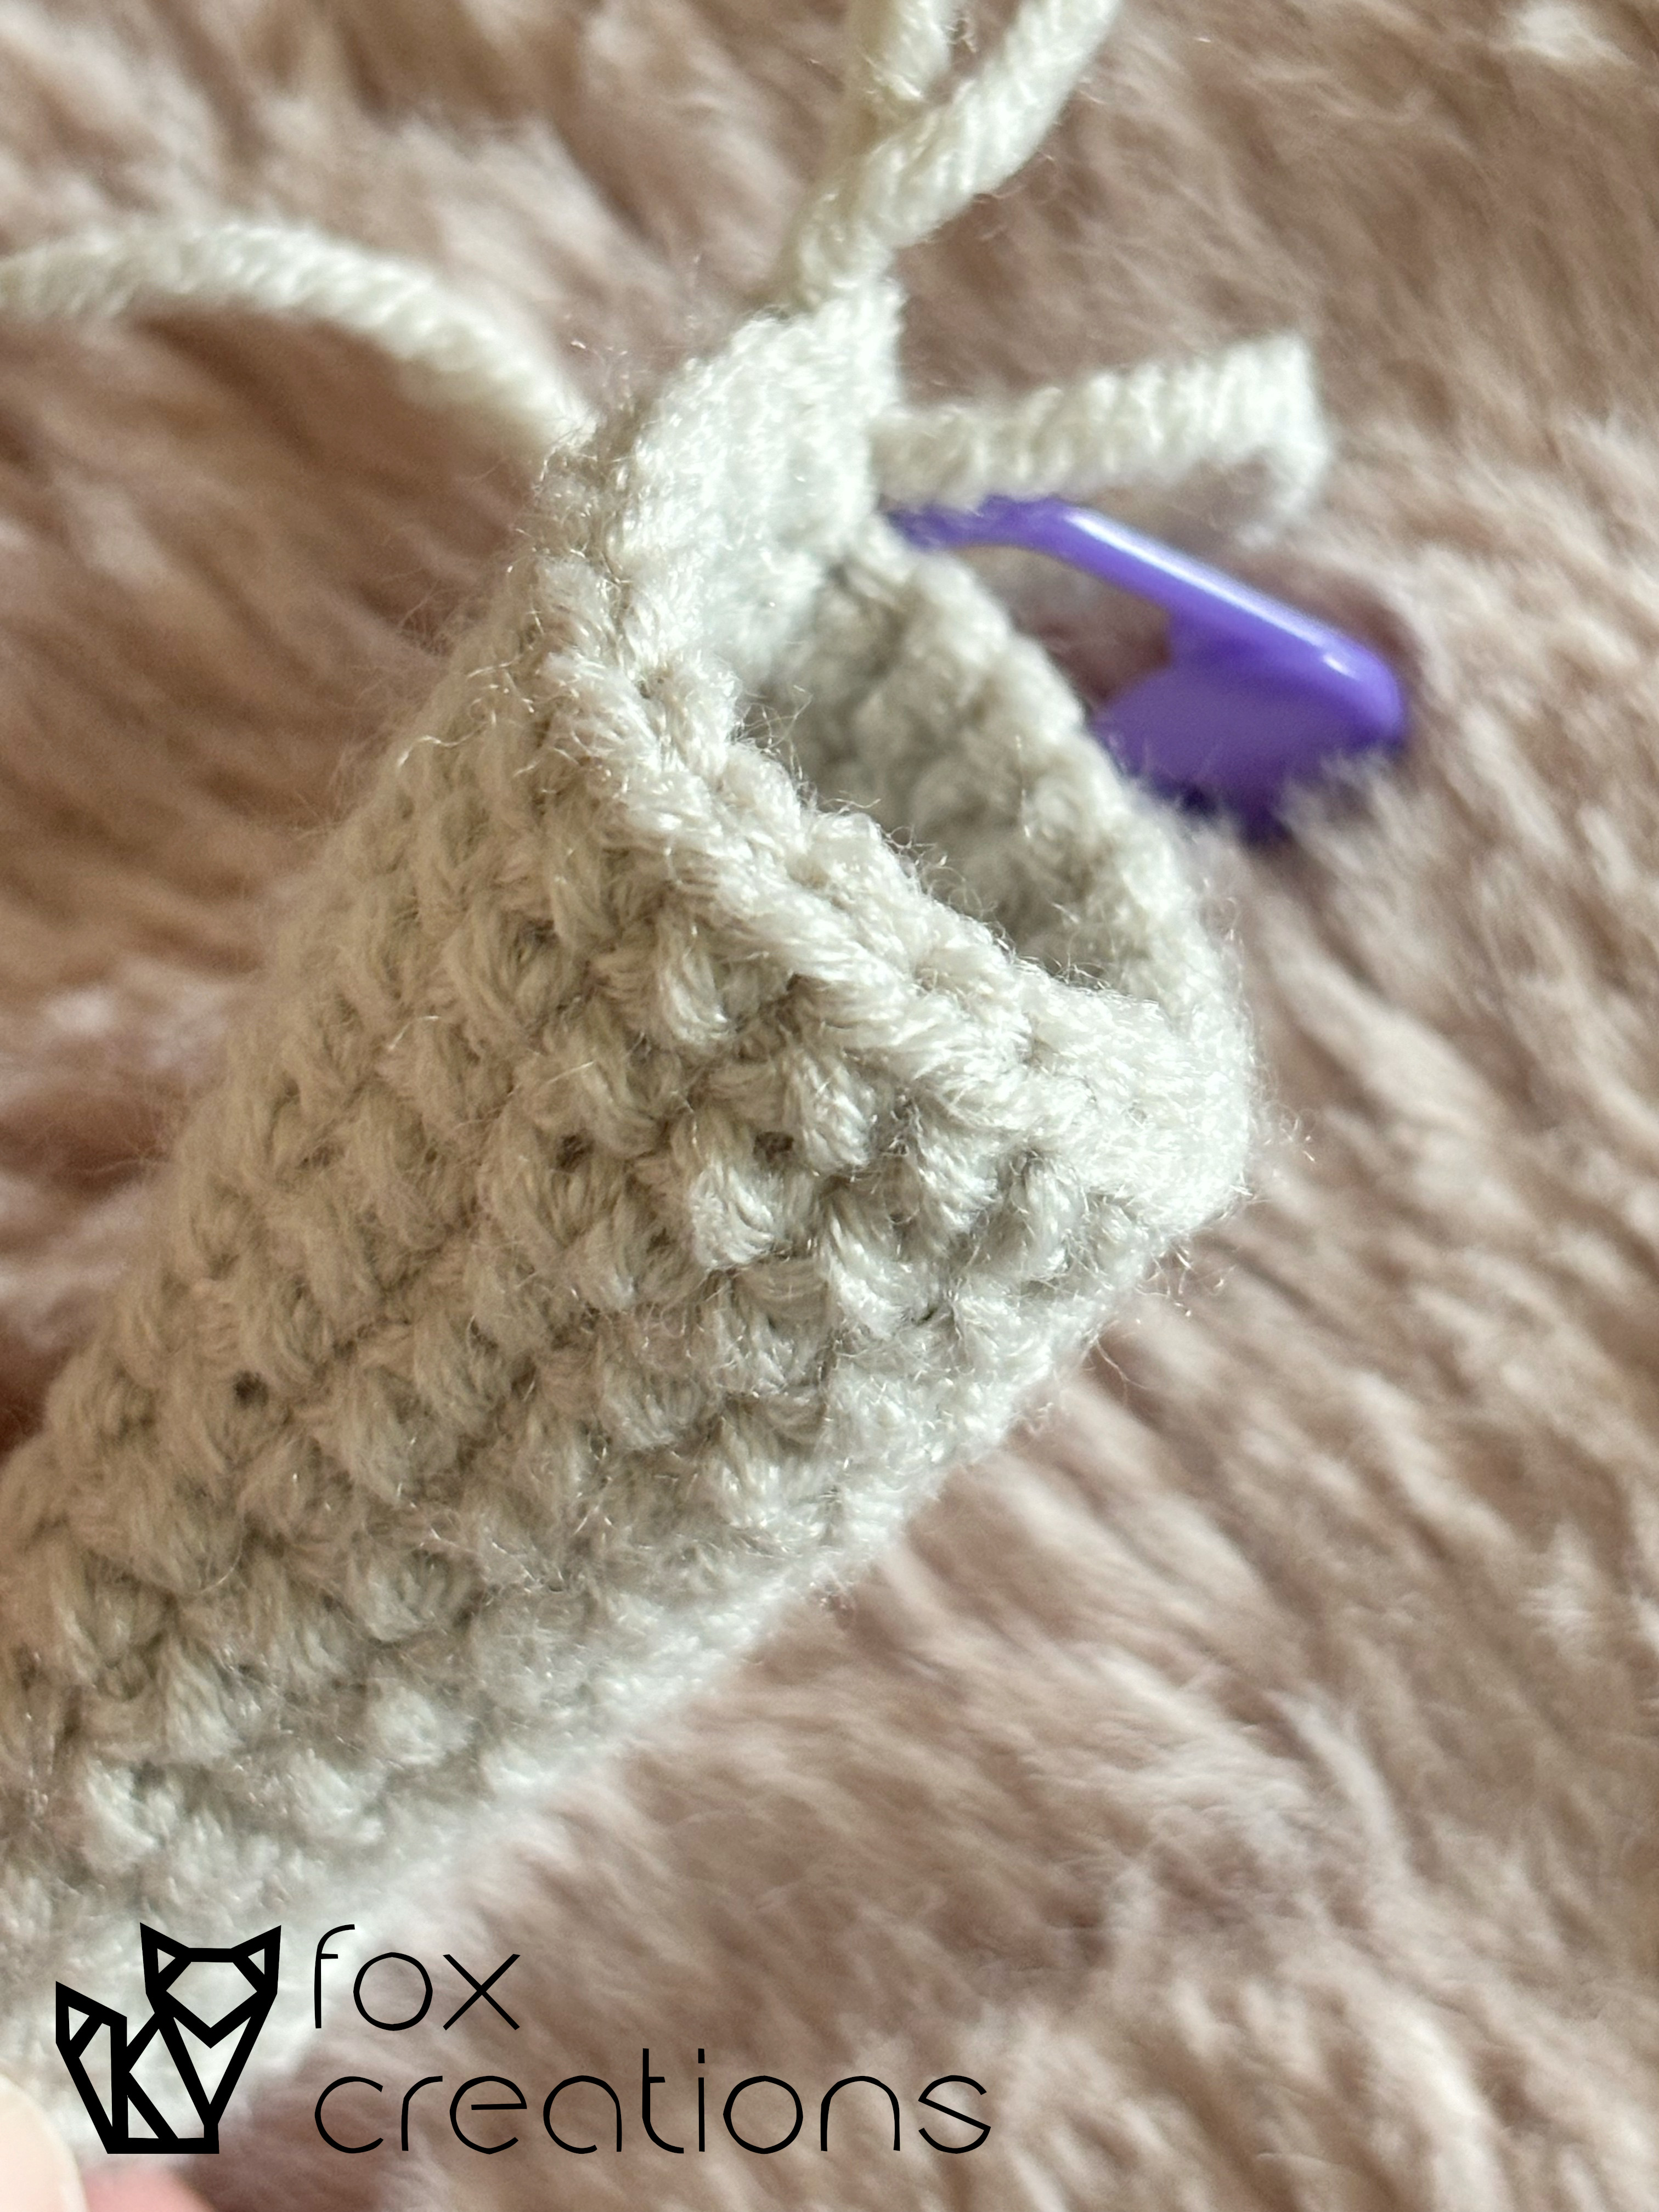
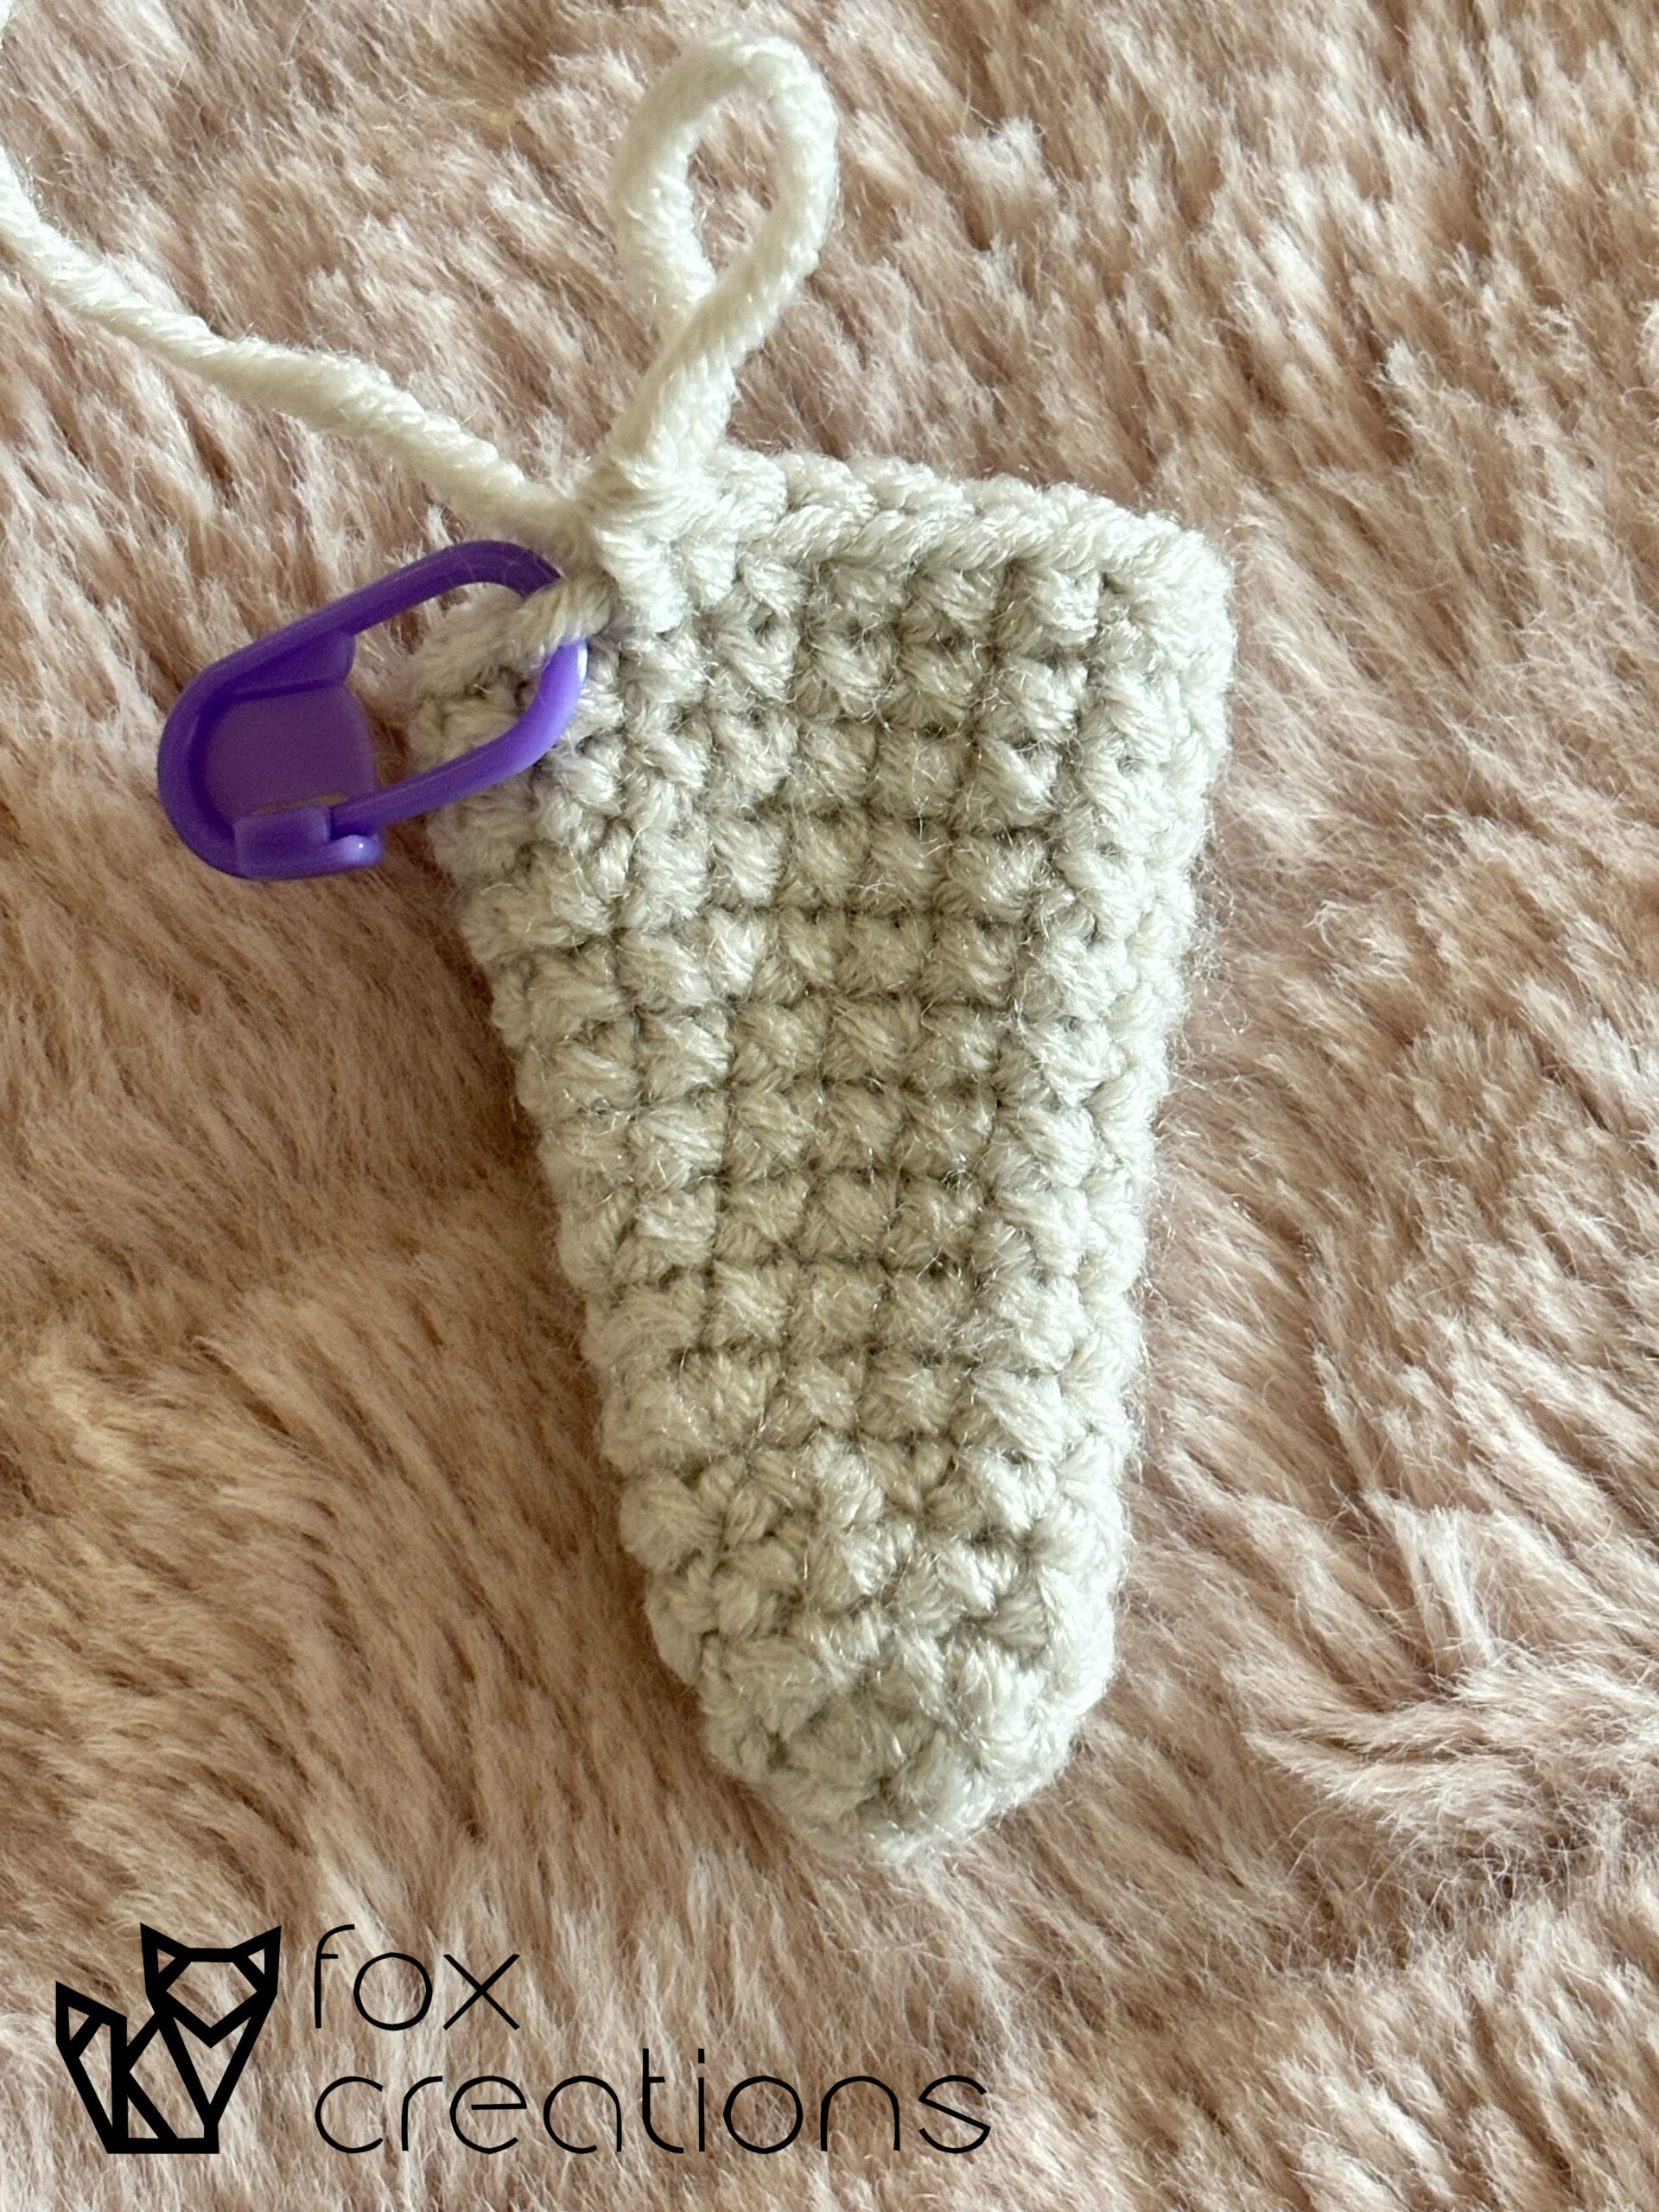
- Rounds: In amigurumi, rounds typically refer to continuous spirals where you crochet around and around, creating a three-dimensional shape. Learning how to count rounds accurately makes your life much easier! If you lose track of where you are in the pattern, you can simply count. Start by identifying the first round where you worked into the magic circle (it will look like a little donut). From here, count 1 side of the donut and up the piece – each ridge is a round. Make sure you count to the right of your stitch marker. (The picture has 14 rounds)

How to Count:
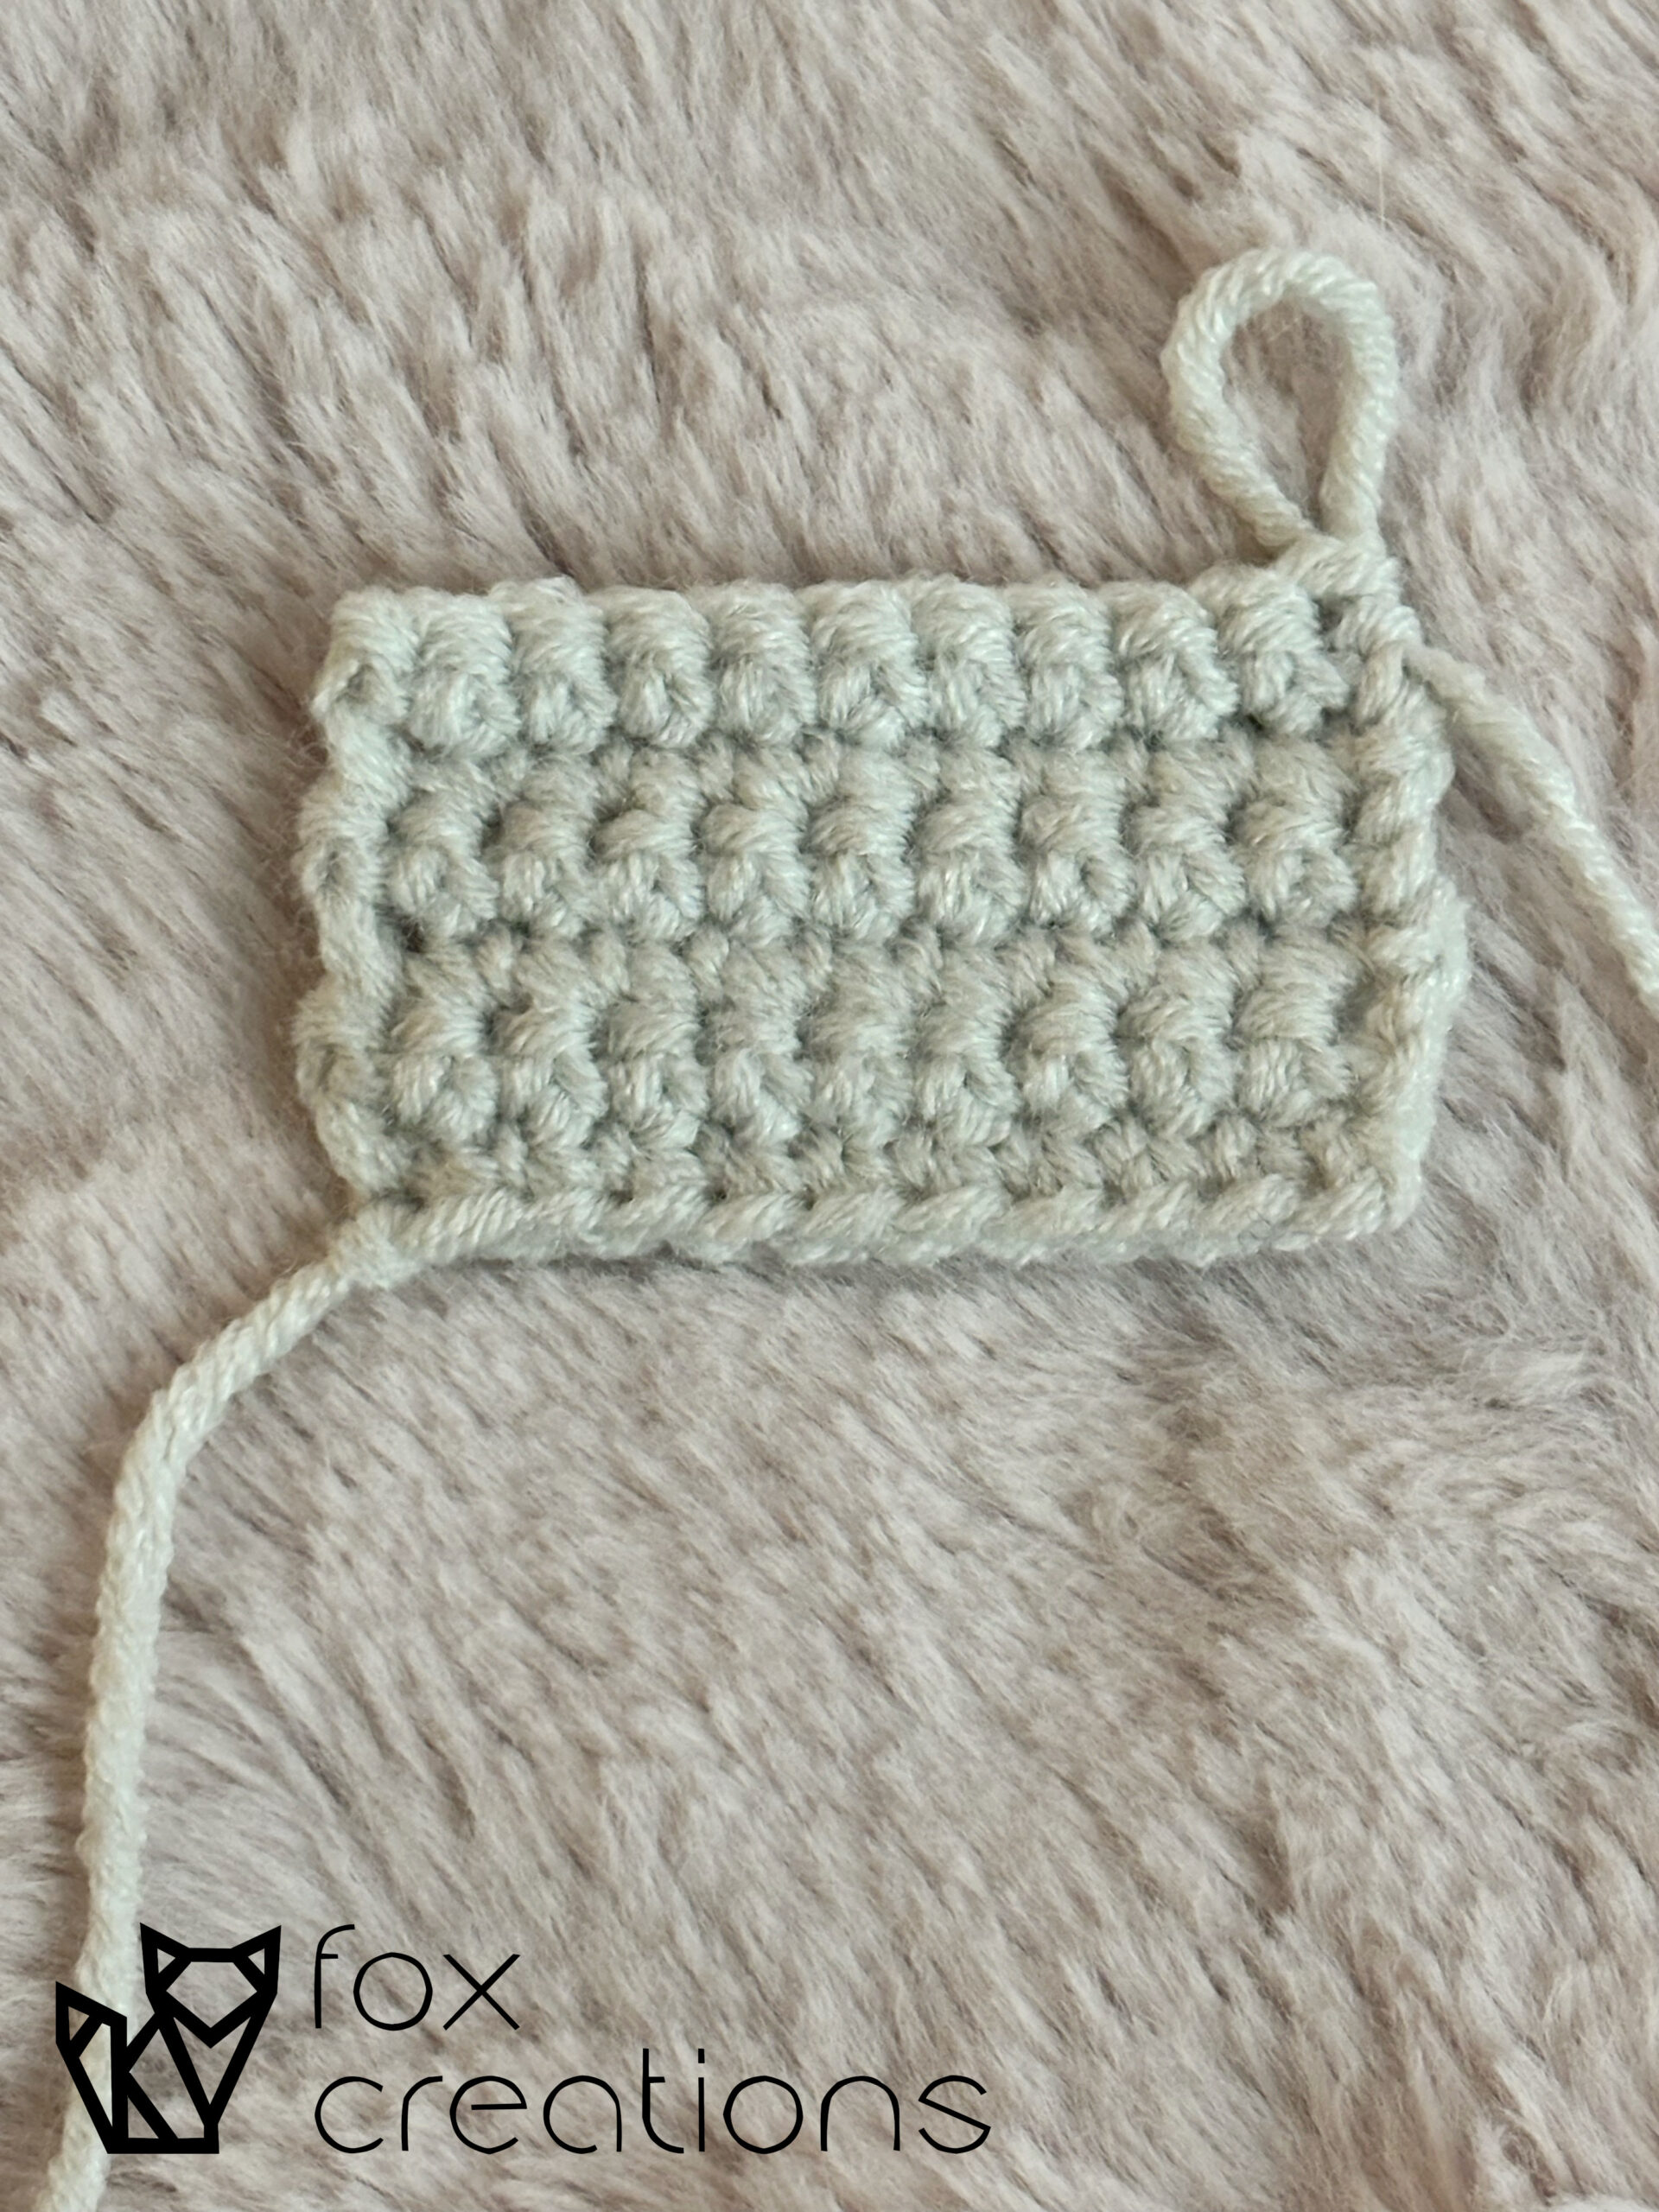
- Rows: While less common in amigurumi, some projects might involve crocheting back and forth in rows to create flat pieces like muzzles, tummies, or clothing. Counting rows ensures you have the correct number of rows for the desired size and shape. Each crochet stitch will look different on the front and back. Again, paying attention and closely examining the stitches will help you count your rows. (The picture has 6 rows of single crochet)
Tips for Success:
- Use Consistent Counting Methods: Develop a counting technique that works for you, whether it’s mental counting, whispering the numbers, or using a physical counter. Consistency helps avoid confusion.
- Take Breaks and Recount: Don’t be afraid to pause and double-check your stitch and round counts, especially if the pattern involves complex shaping.
- Don’t Be Afraid to Frog (Rip Out): If you make a mistake in your counting, it’s sometimes better to rip out a few rounds/rows and fix the issue than continue with an error. A small issue like being 1 stitch off count is usually not noticeable, and you can simply increase or decrease once to get the correct number of stitches.
While it might not seem like much, learning how to count your stitches, rounds, and rows will save you time and heartache!
