How to Use Stitch Markers
Unlike most other crochet projects, crocheted amigurumi are made by working in a spiral. In other words, you don’t slip stitch and chain at the end of each round. This can be confusing for some makers.
So, how do you keep track of your stitches and rounds? Well, the very simple answer to that is: you use a stitch marker!

What is a Stitch Marker?
Stitch Markers are typically a small, closed loop made of plastic or metal. They come in various shapes, sizes, and colours, but their purpose remains the same: to mark a specific stitch or location in your crochet.
We prefer the plastic, locking stitch markers as they’re easy to clip on and off (and you’ll be doing that a lot as you crochet your amigurumi).
Why Use Stitch Markers in Amigurumi?
Here’s why stitch markers are practically essential for amigurumi:
- Marking the Beginning Stitch of Rounds: Amigurumi are typically crocheted in continuous spirals, making it easy to lose track of rounds. A stitch marker placed in the first stitch of each round helps you easily identify where a new round begins. Some people like to mark the last stitch of the round. There’s no set rules! Do whatever works best for you.
- Tracking Stitch Counts: Most amigurumi patterns involve increasing or decreasing stitches in specific order. A stitch marker allows you to count back from the first (or last) stitch if you get confused about where you are in a round. Simply find your first stitch and follow along with the pattern to determine if you’ve made a mistake.
- Identifying Body Parts: Some amigurumi have distinct body part placements for eyes, ears, etc. A pattern may ask you to ‘mark’ the position as you’re crocheting, and you can do this easily by adding a marker in the indicated stitch.
- Catching Mistakes Early: If you ever lose count or make a mistake in your stitch pattern, you can easily undo the round and start again. A large part of crocheting is frogging (i.e. ripping out) your mistakes.

How to Use Stitch Markers in Amigurumi:
Using a stitch marker is simple!
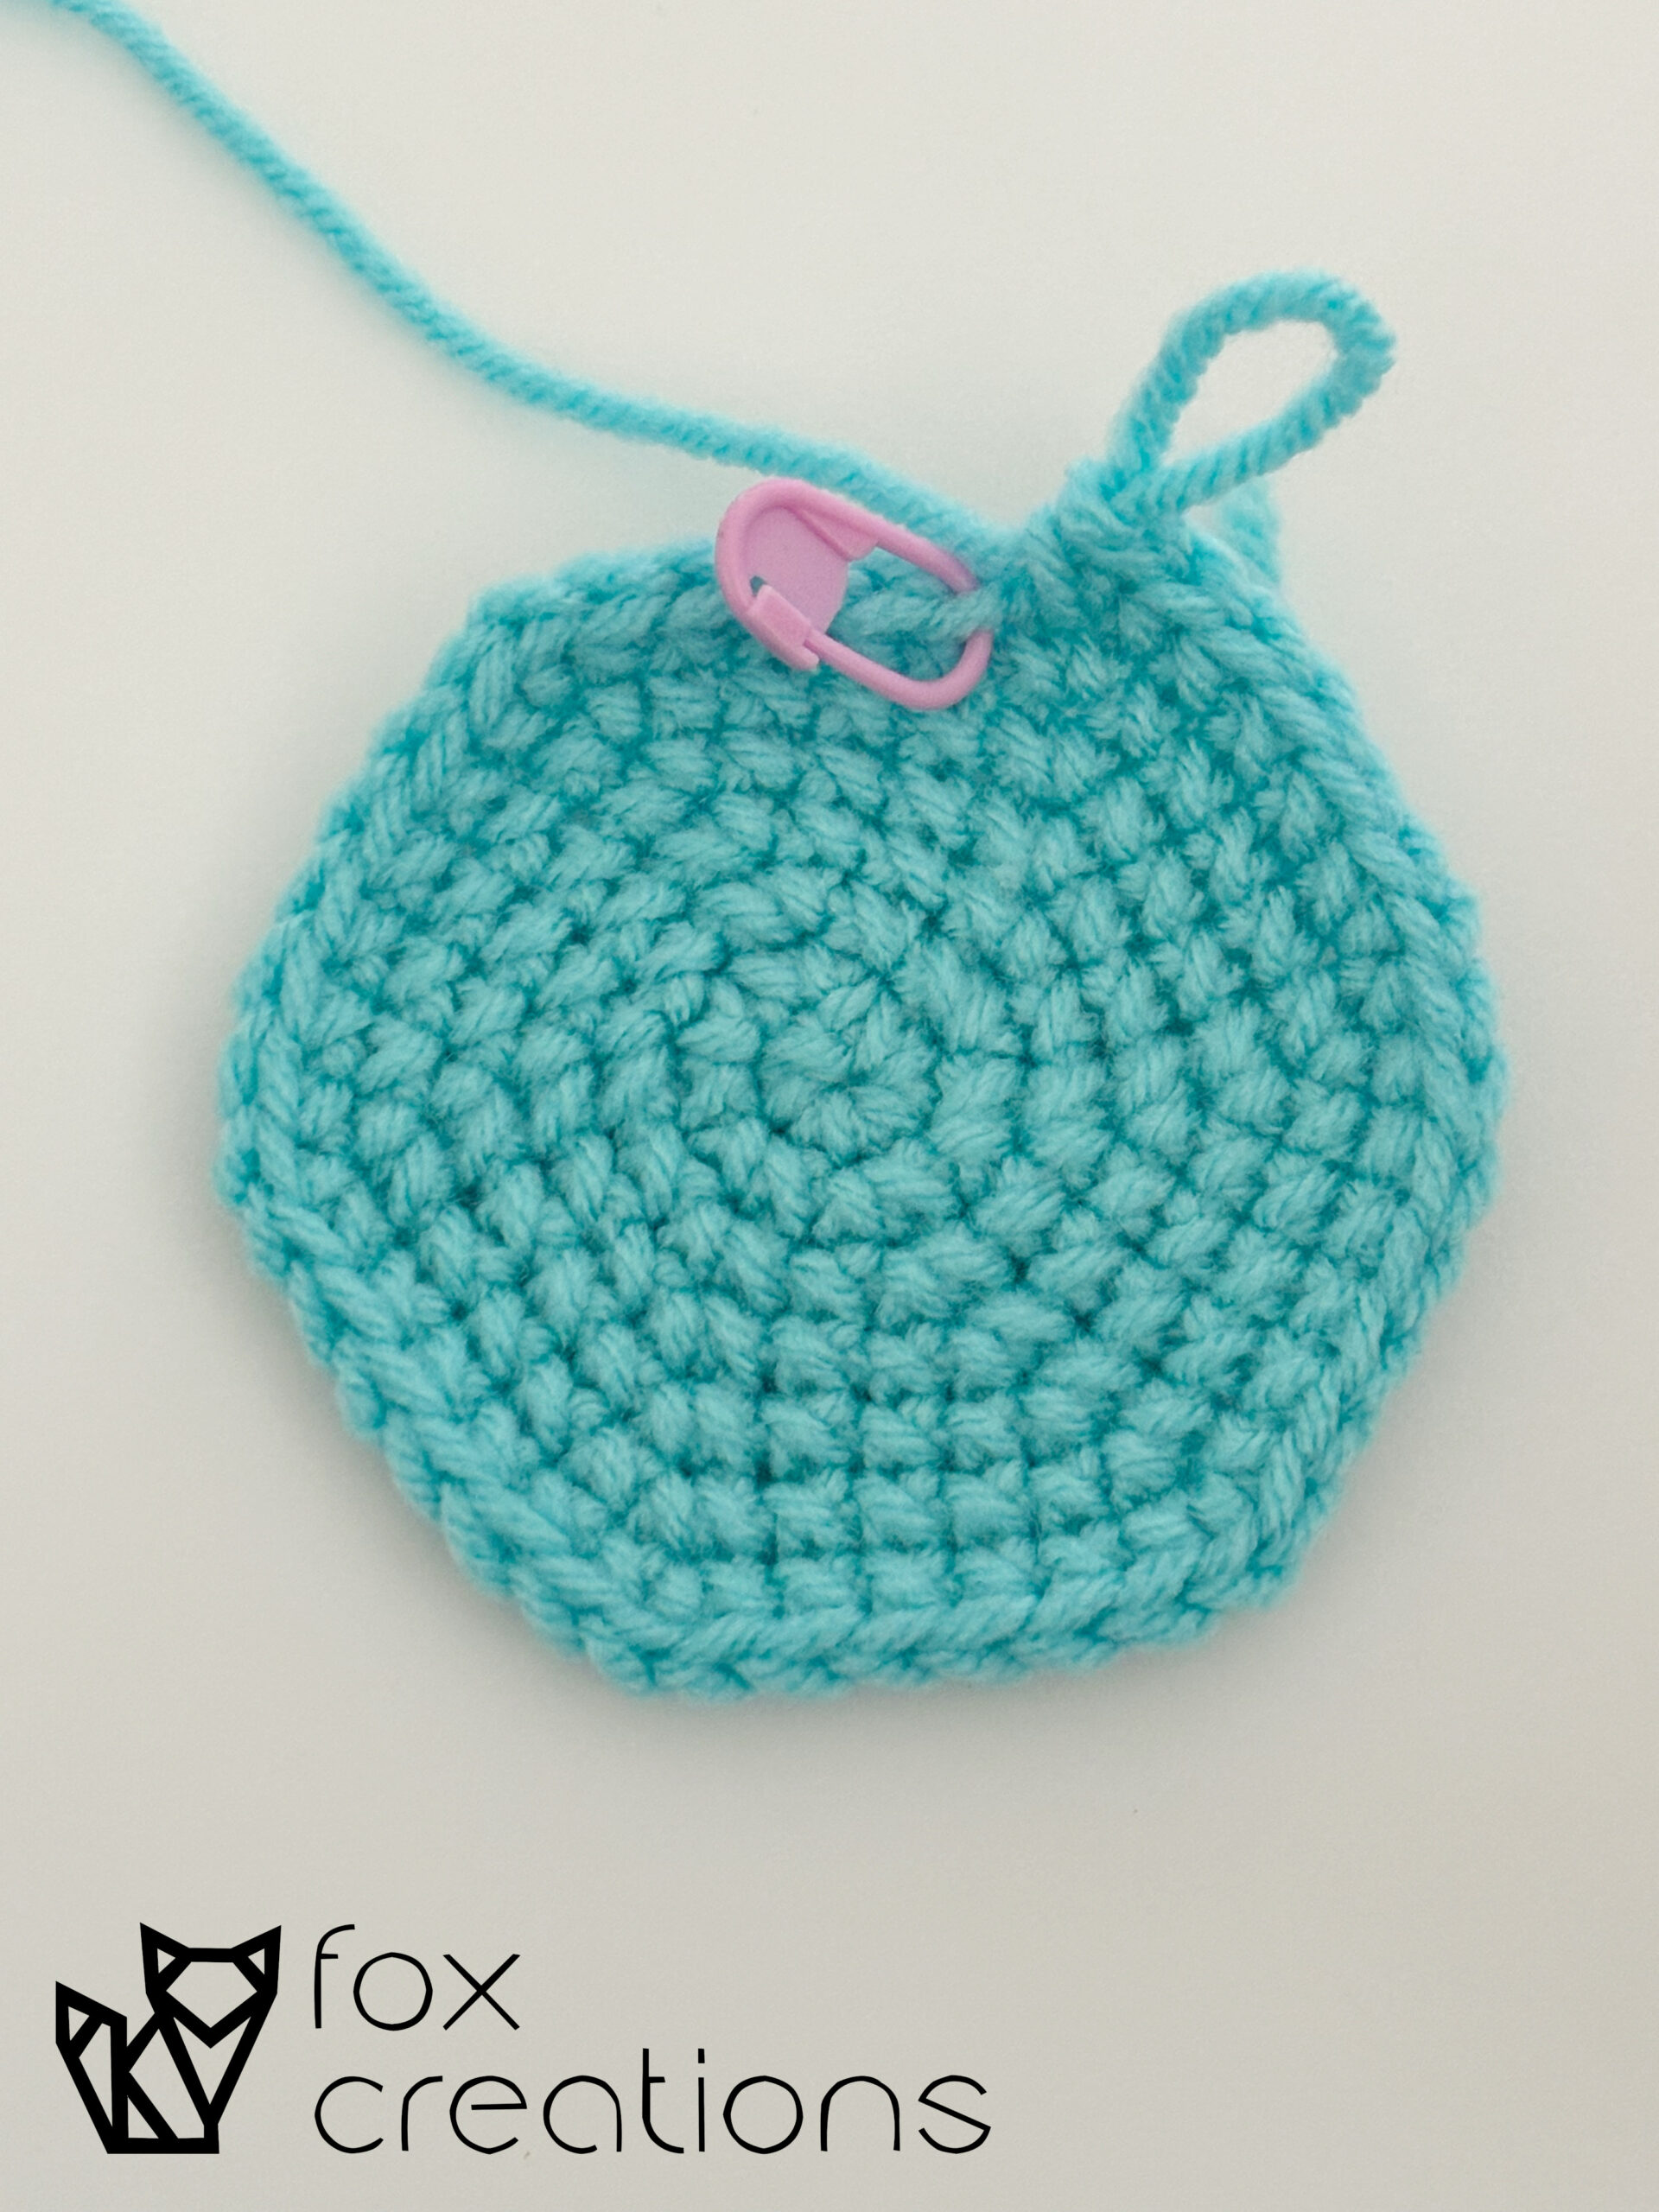
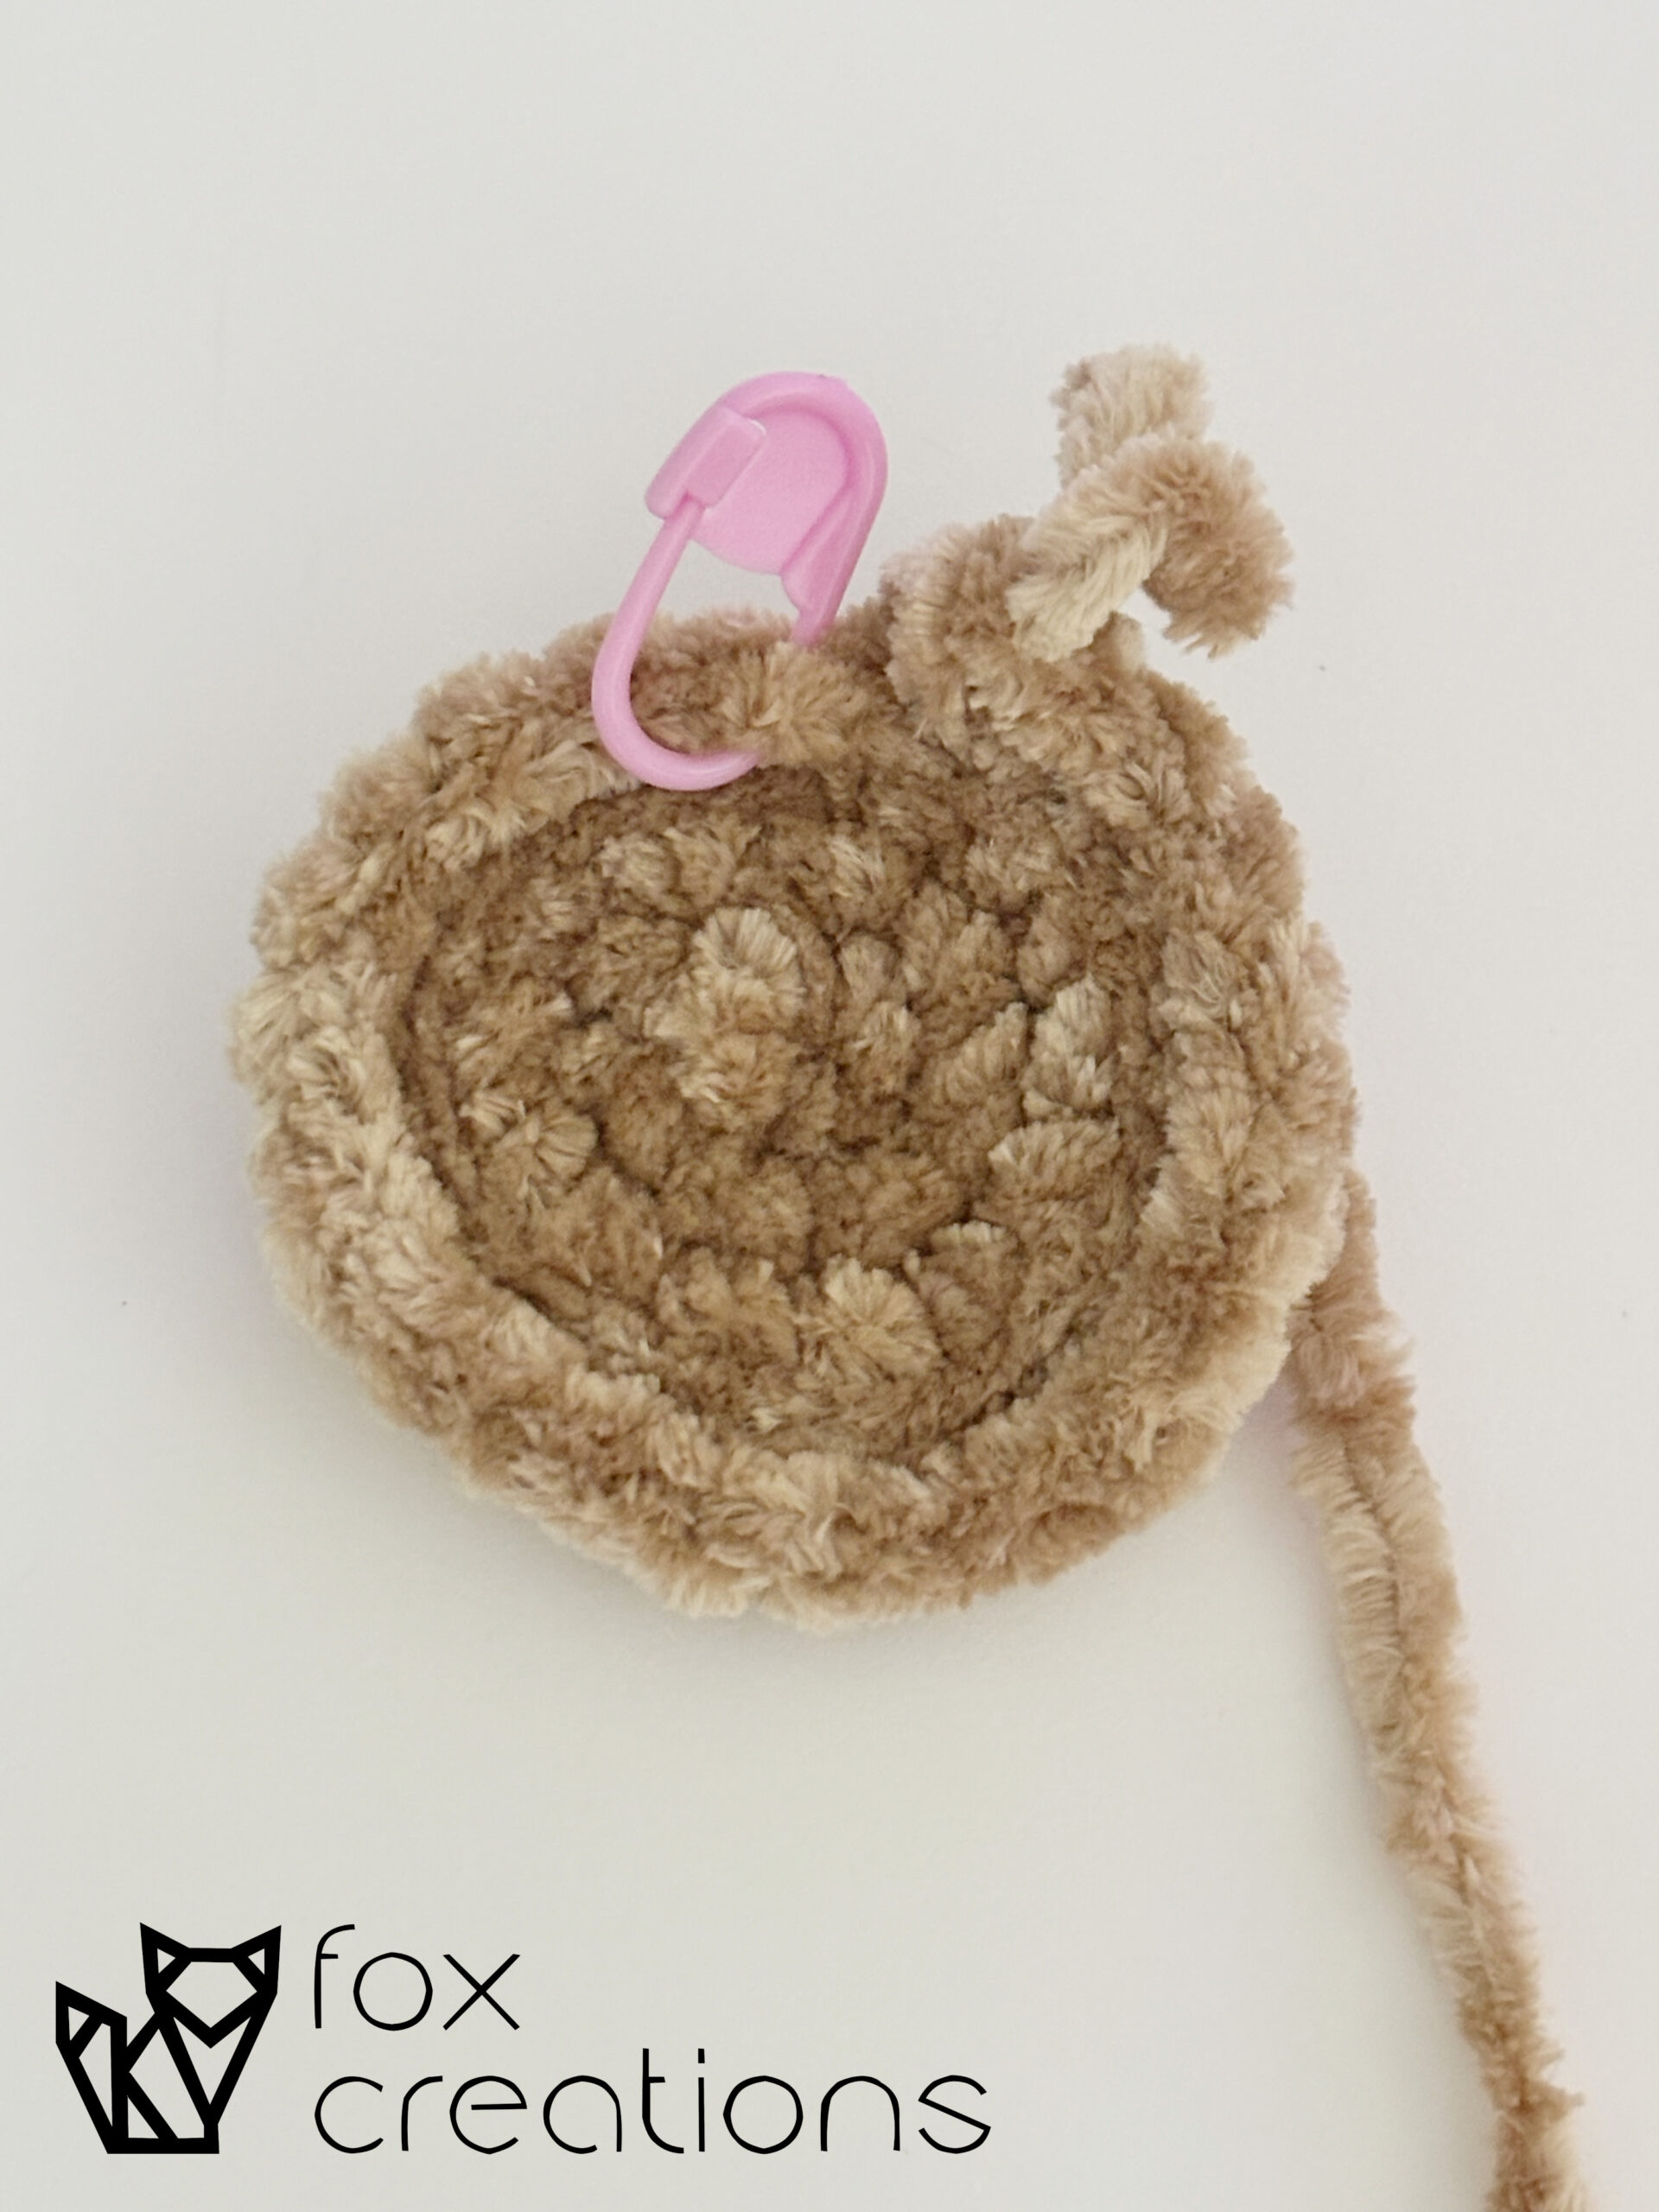
- Place the marker under the top two loops of the stitch you want to mark. This is usually the first or last stitch of the round.
- Continue crocheting as usual. The marker will remain in place as you crochet the round.
- When you finish the round, remove the stitch marker, crochet the first stitch of the next round, and replace the marker in the new first stitch.
- Once finished with the piece, simply remove the stitch marker and try to put it in a place where it won’t get lost!
Tips for Using Stitch Markers:
- Choose stitch markers that are the easiest for you to use. As stated above, we prefer the plastic, locking type, but lots of people love the ones with lobster clasps like makers sell on Etsy or other marketplaces.
- Use different coloured stitch markers to differentiate between marking rounds and placements for eyes, ears, etc.
- If you don’t have stitch markers, you can use a safety pin, a bobby-pin, or a scrap piece of yarn. It doesn’t have to be fancy!
