How to Embroider on Amigurumi
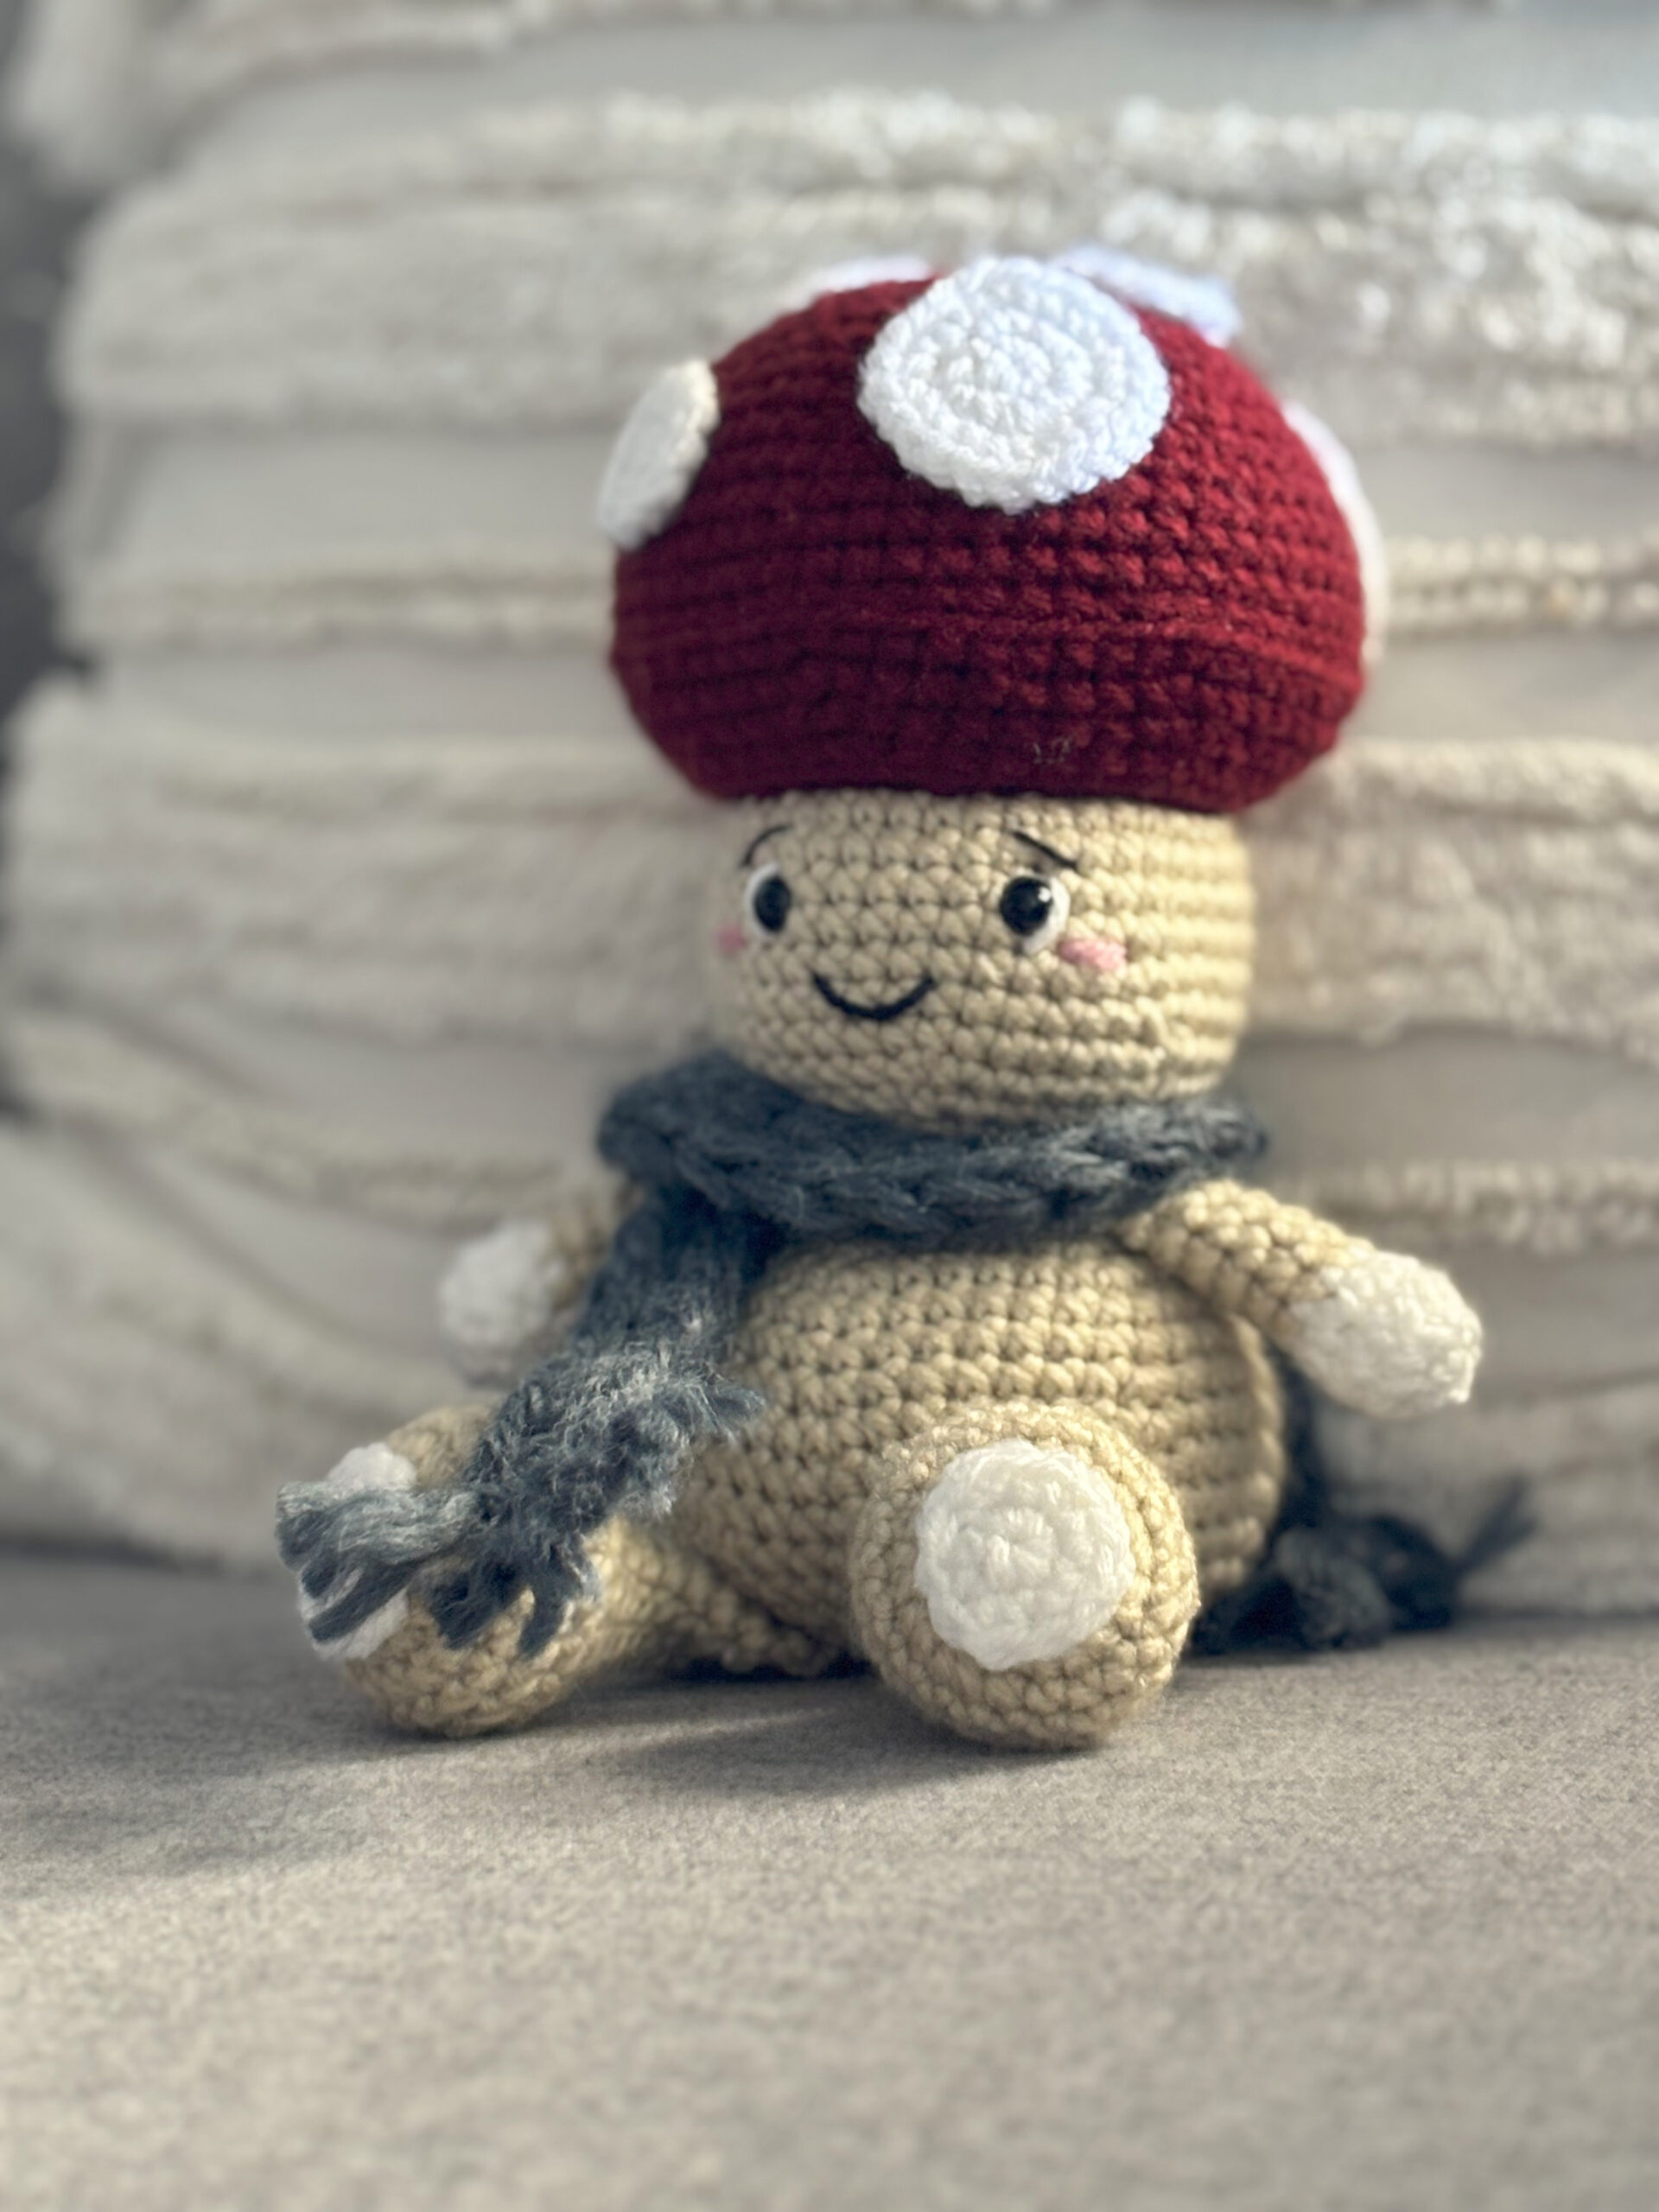
You can bring character and life to your amigurumi creations by using simple embroidery techniques. A few well-placed stitches can transform a simple shape into a toy with personality and charm.
Whether you’re adding eyes, rosy cheeks, or delicate flower details, embroidery takes your amigurumi from cute to captivating.
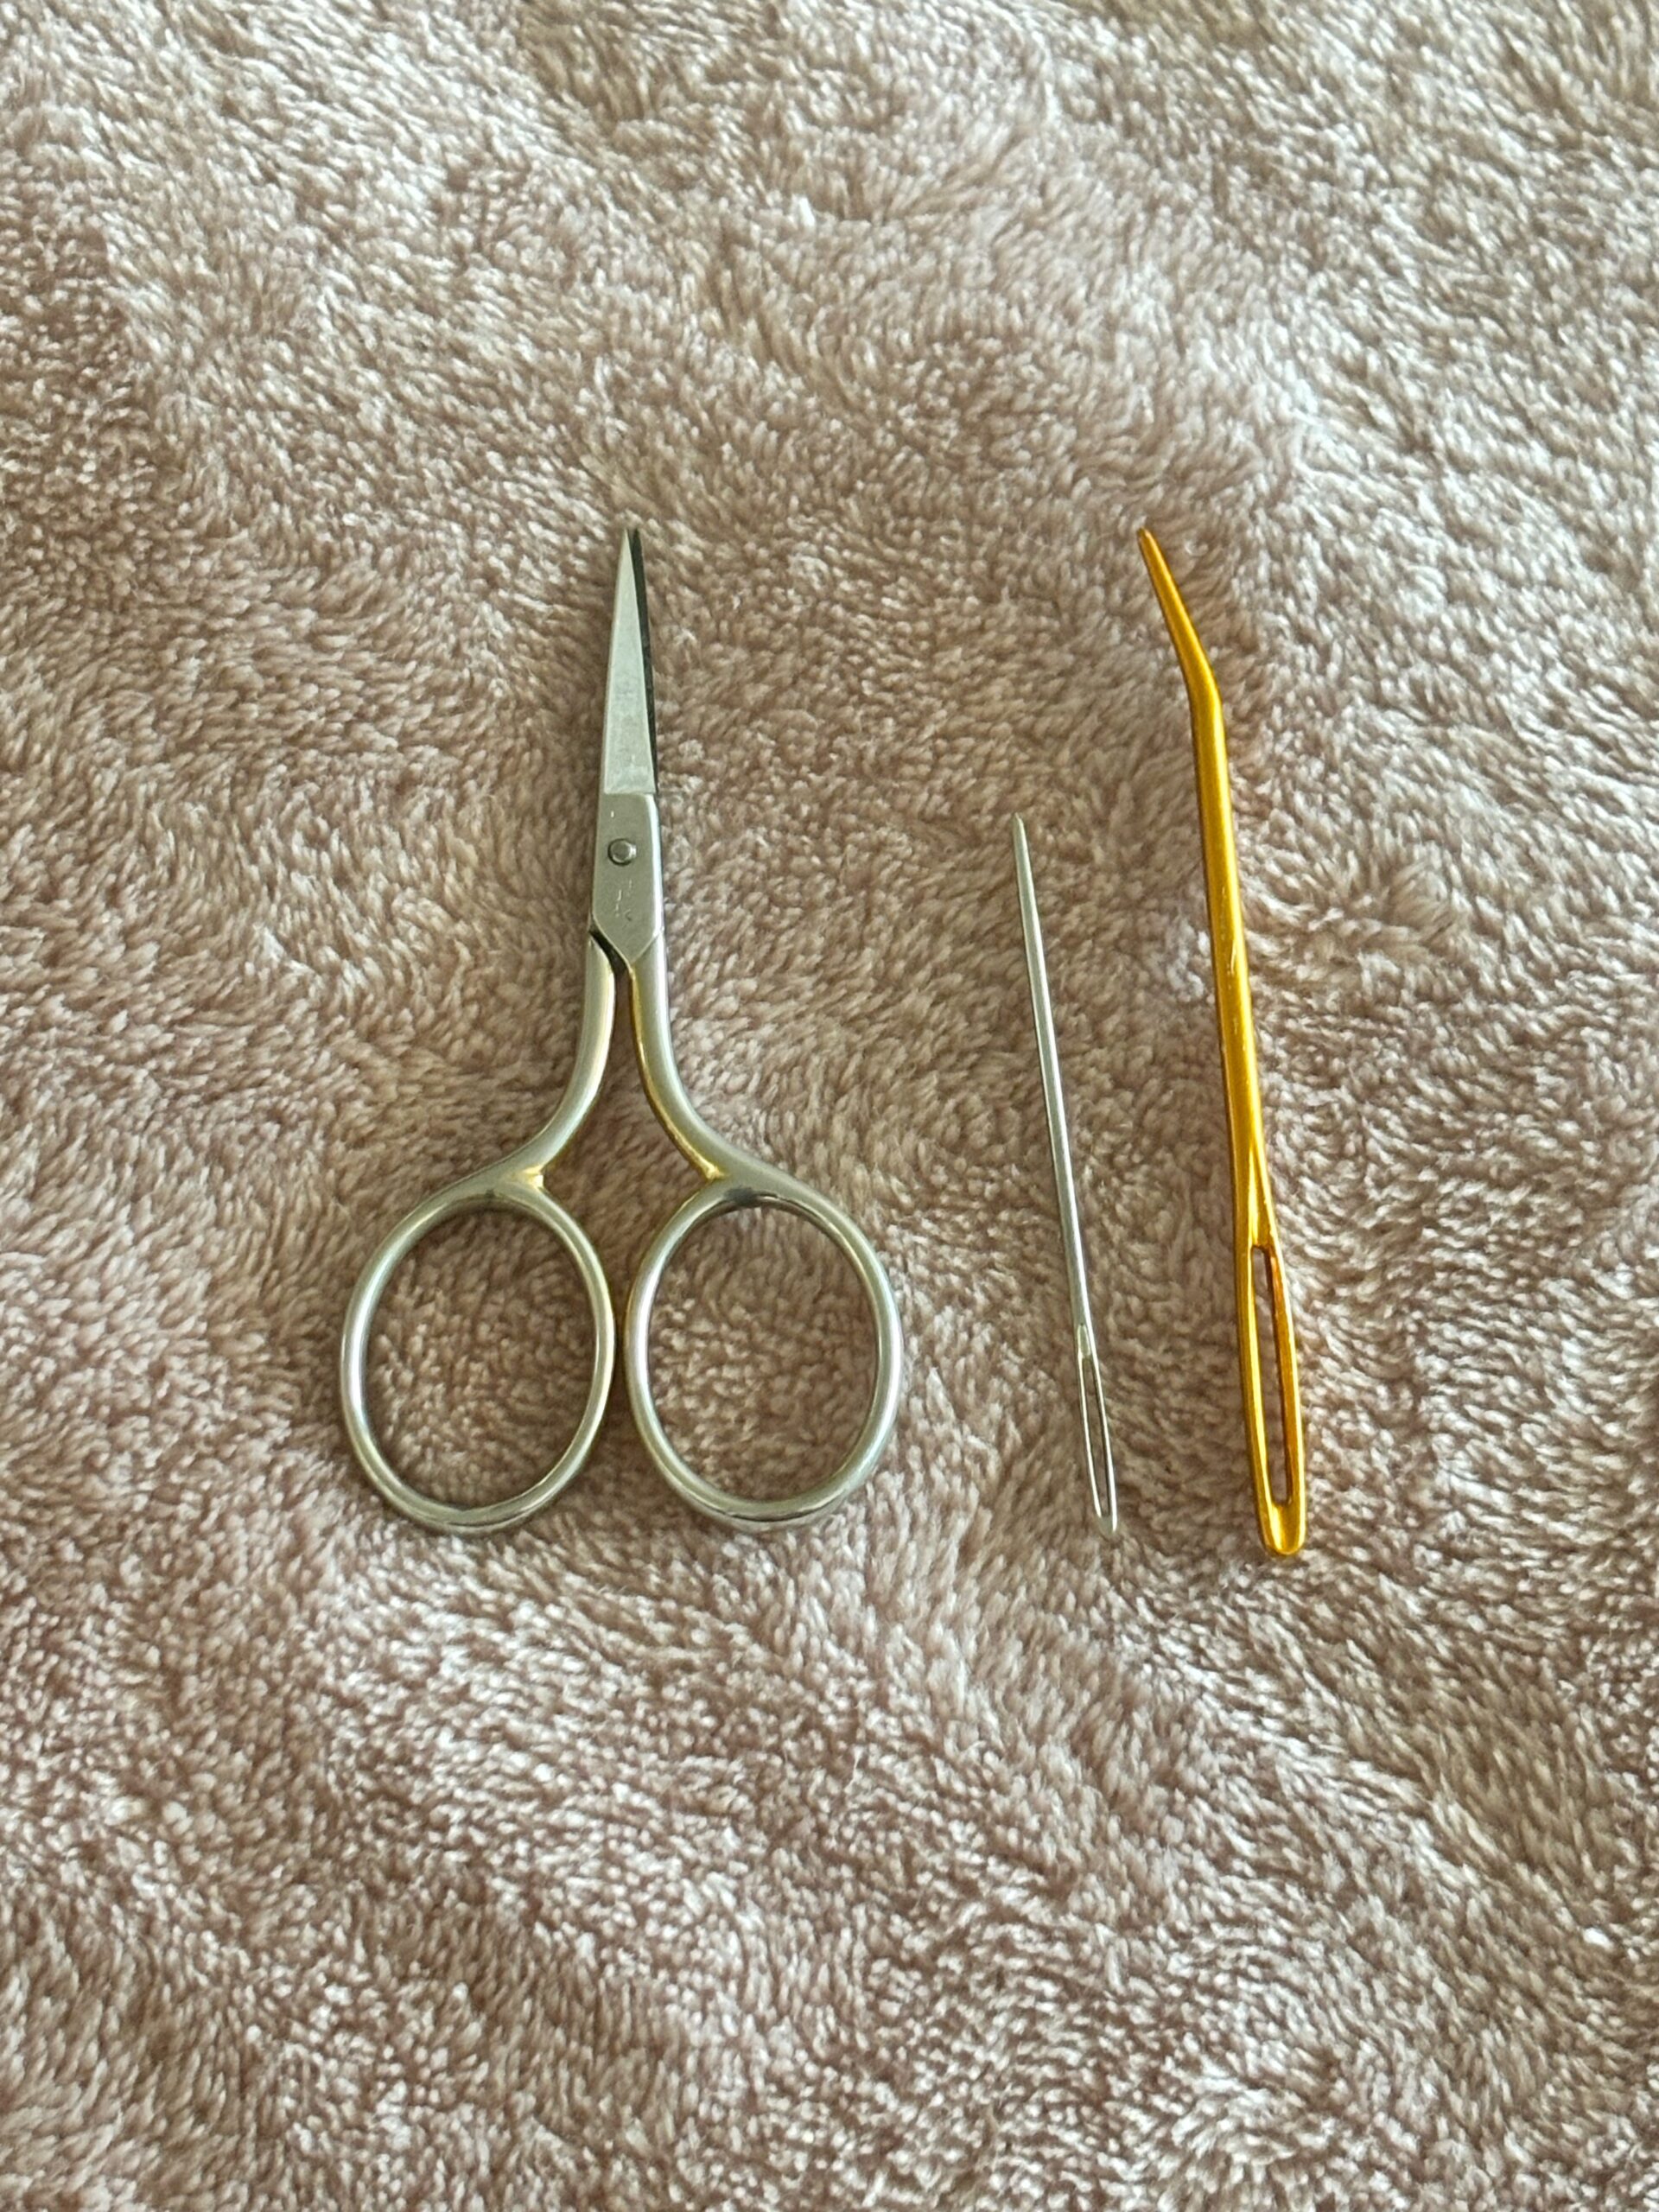
Before you dive in, gather your supplies:
- Tapestry Needle: Opt for a blunt needle with a big eye, perfect for manoeuvring between crochet stitches.
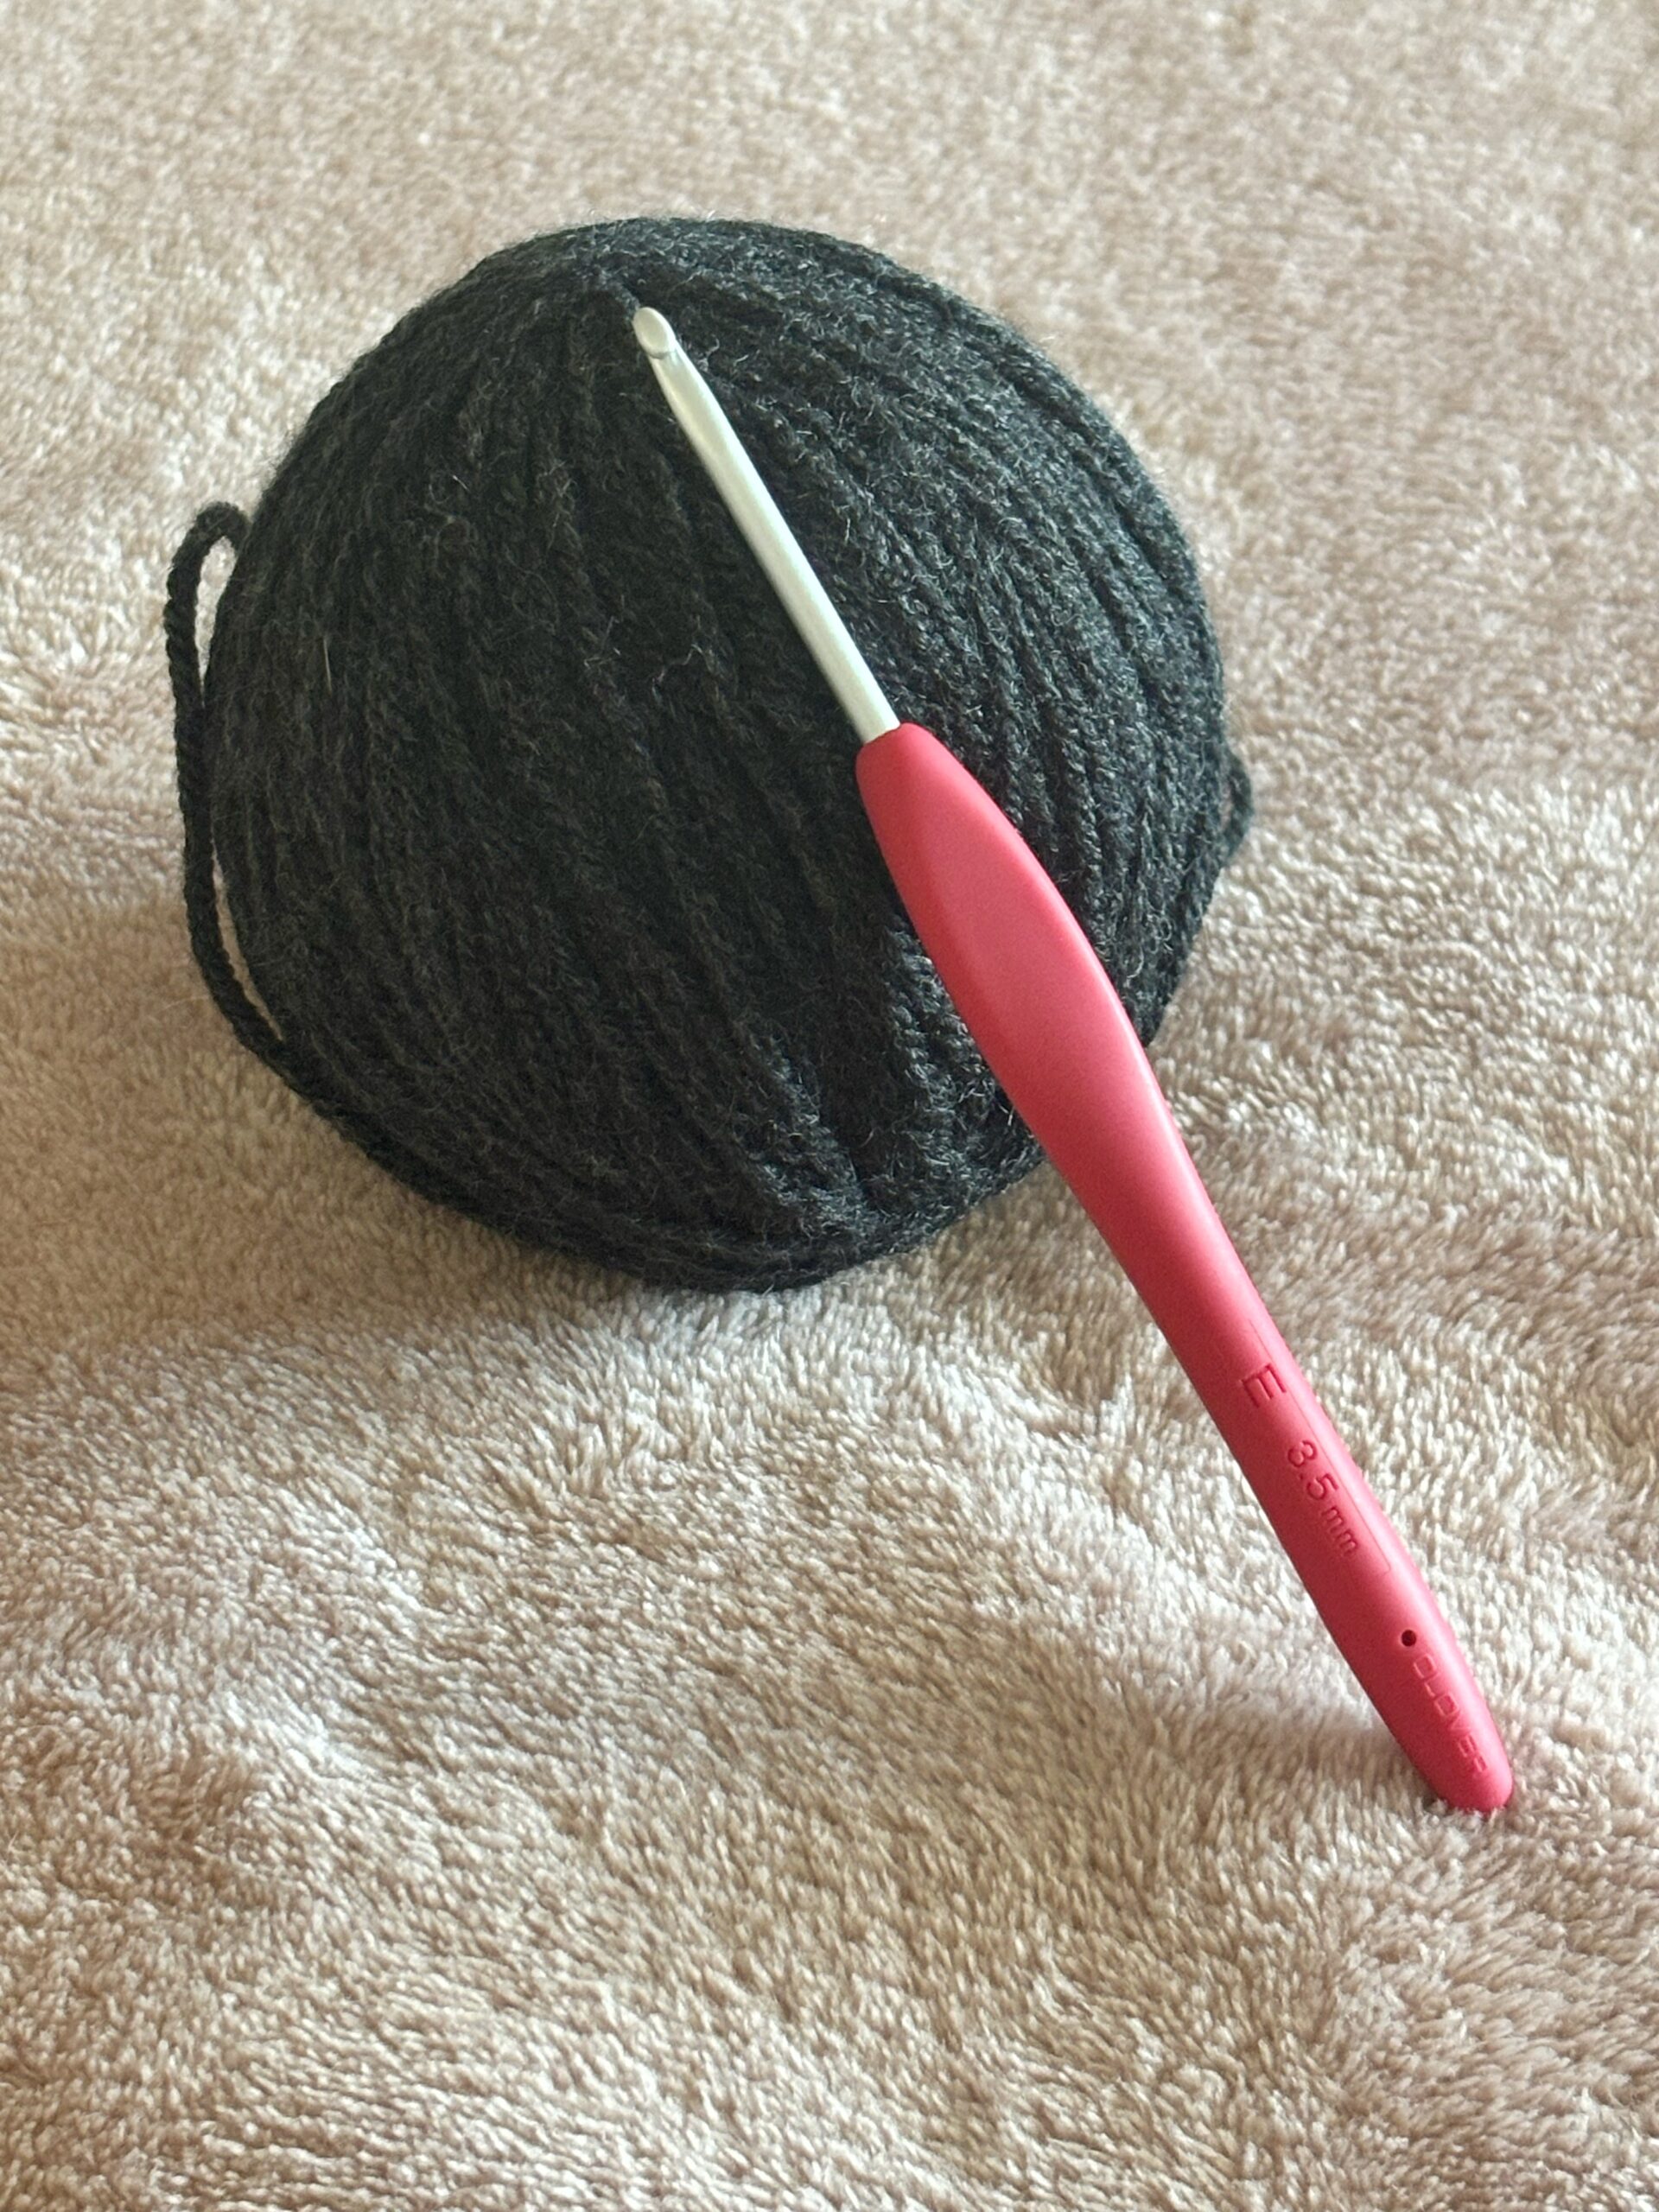
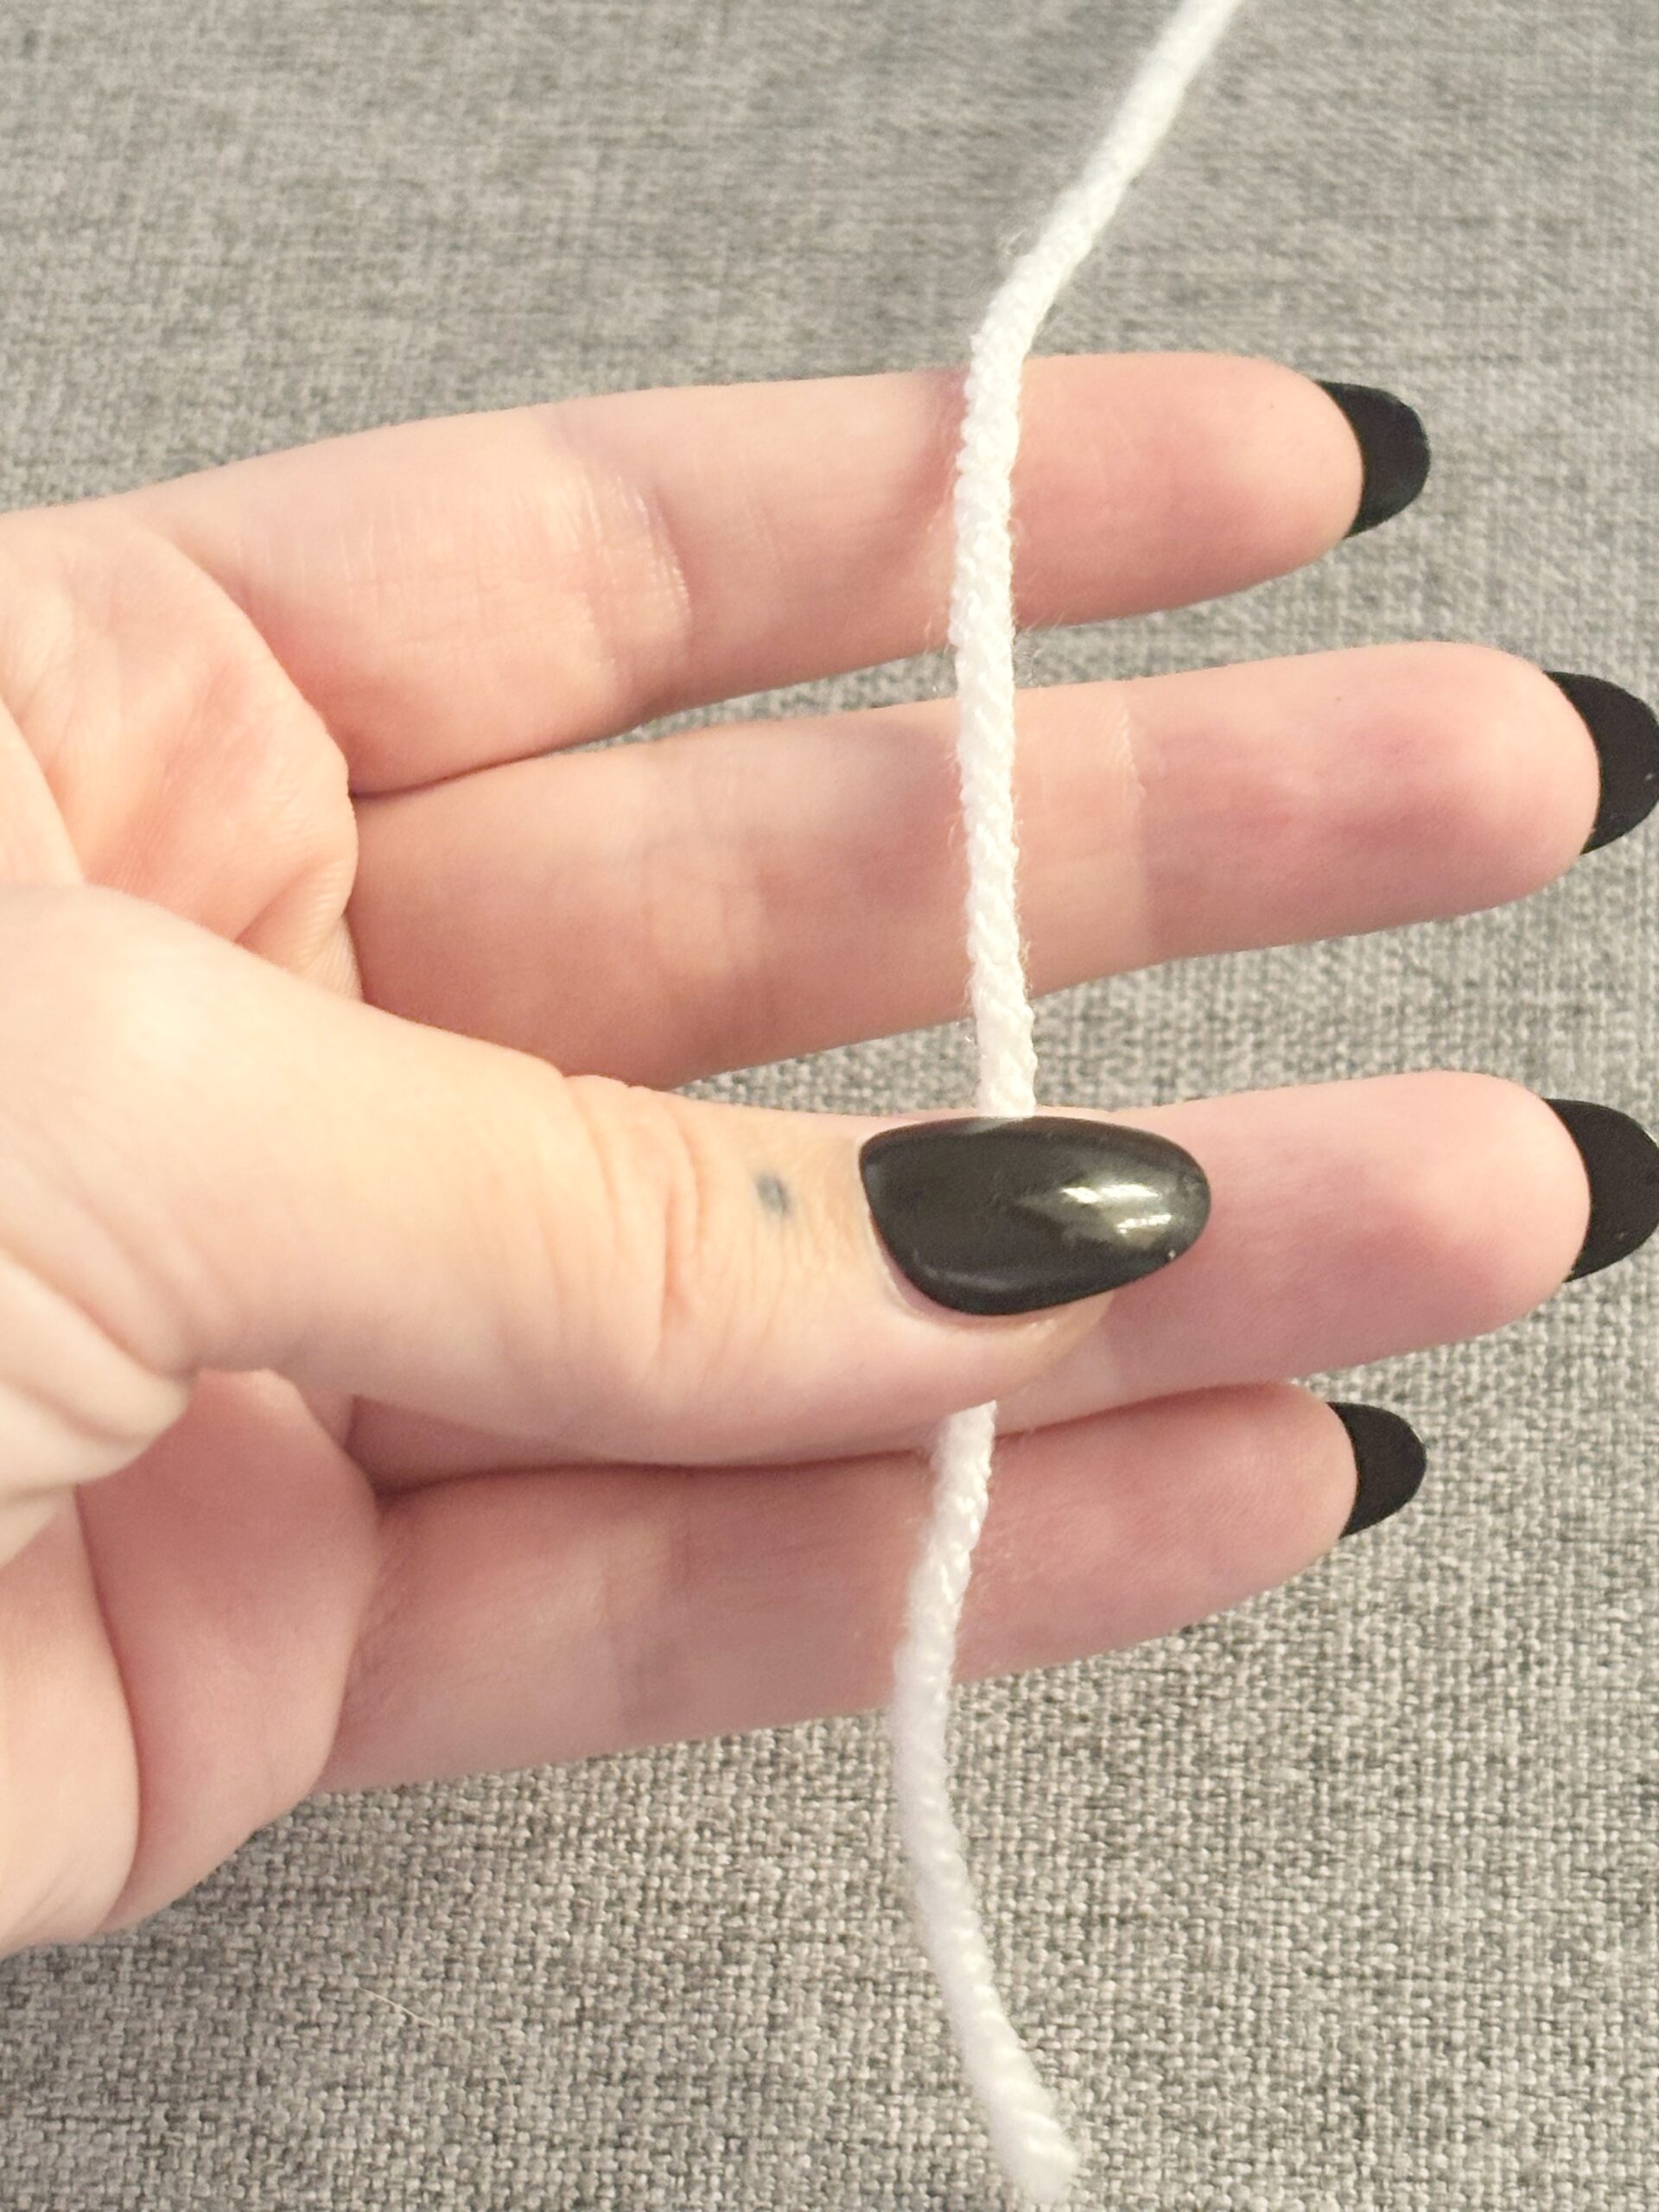
- Yarn: Choose a yarn weight that complements your amigurumi. We always use a thinner yarn than we used to crochet our amigurumi (i.e. if you crocheted your ami in Aran weight, use a DK weight for the face details). For small accents like eyebrows, use fingerling weight yarn (cotton works best) or even embroidery floss.
- Scissors: Keep a pair of sharp scissors handy for snipping yarn.
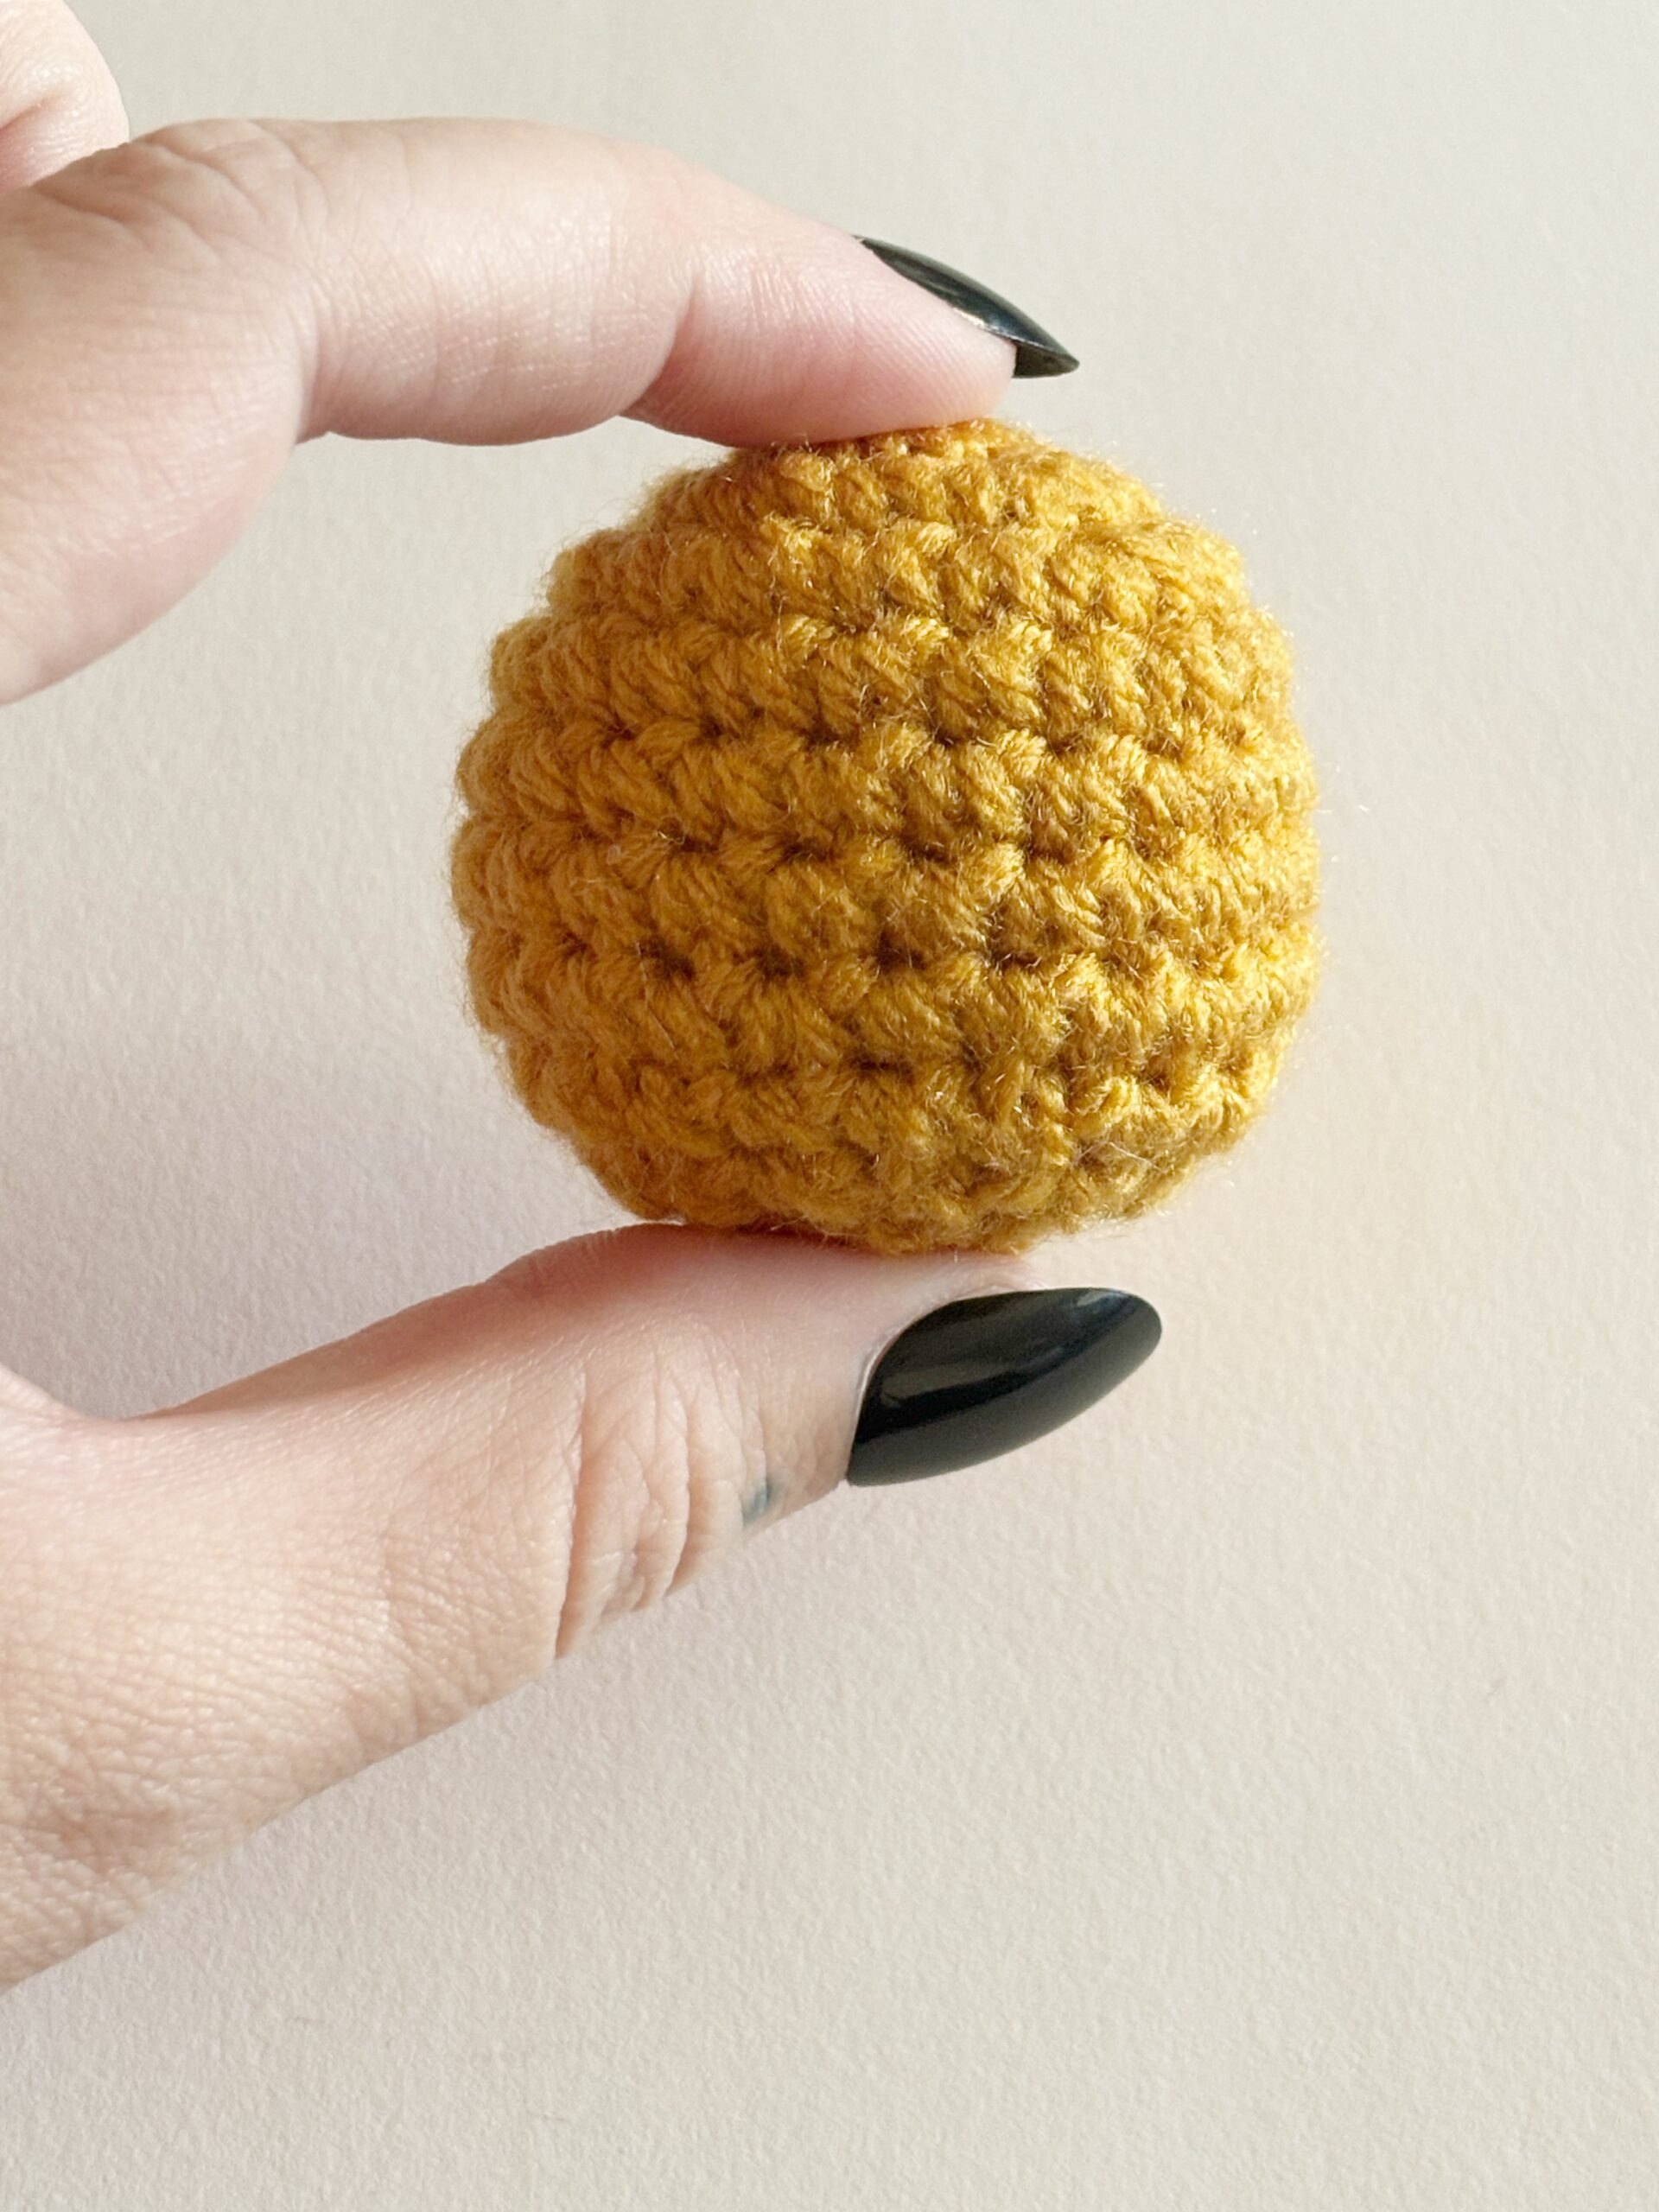
- Stuffing: Ensure your amigurumi is well-stuffed to provide a firm base for embroidery.
Here are some key techniques to master on how to embroider on amigurumi designs:
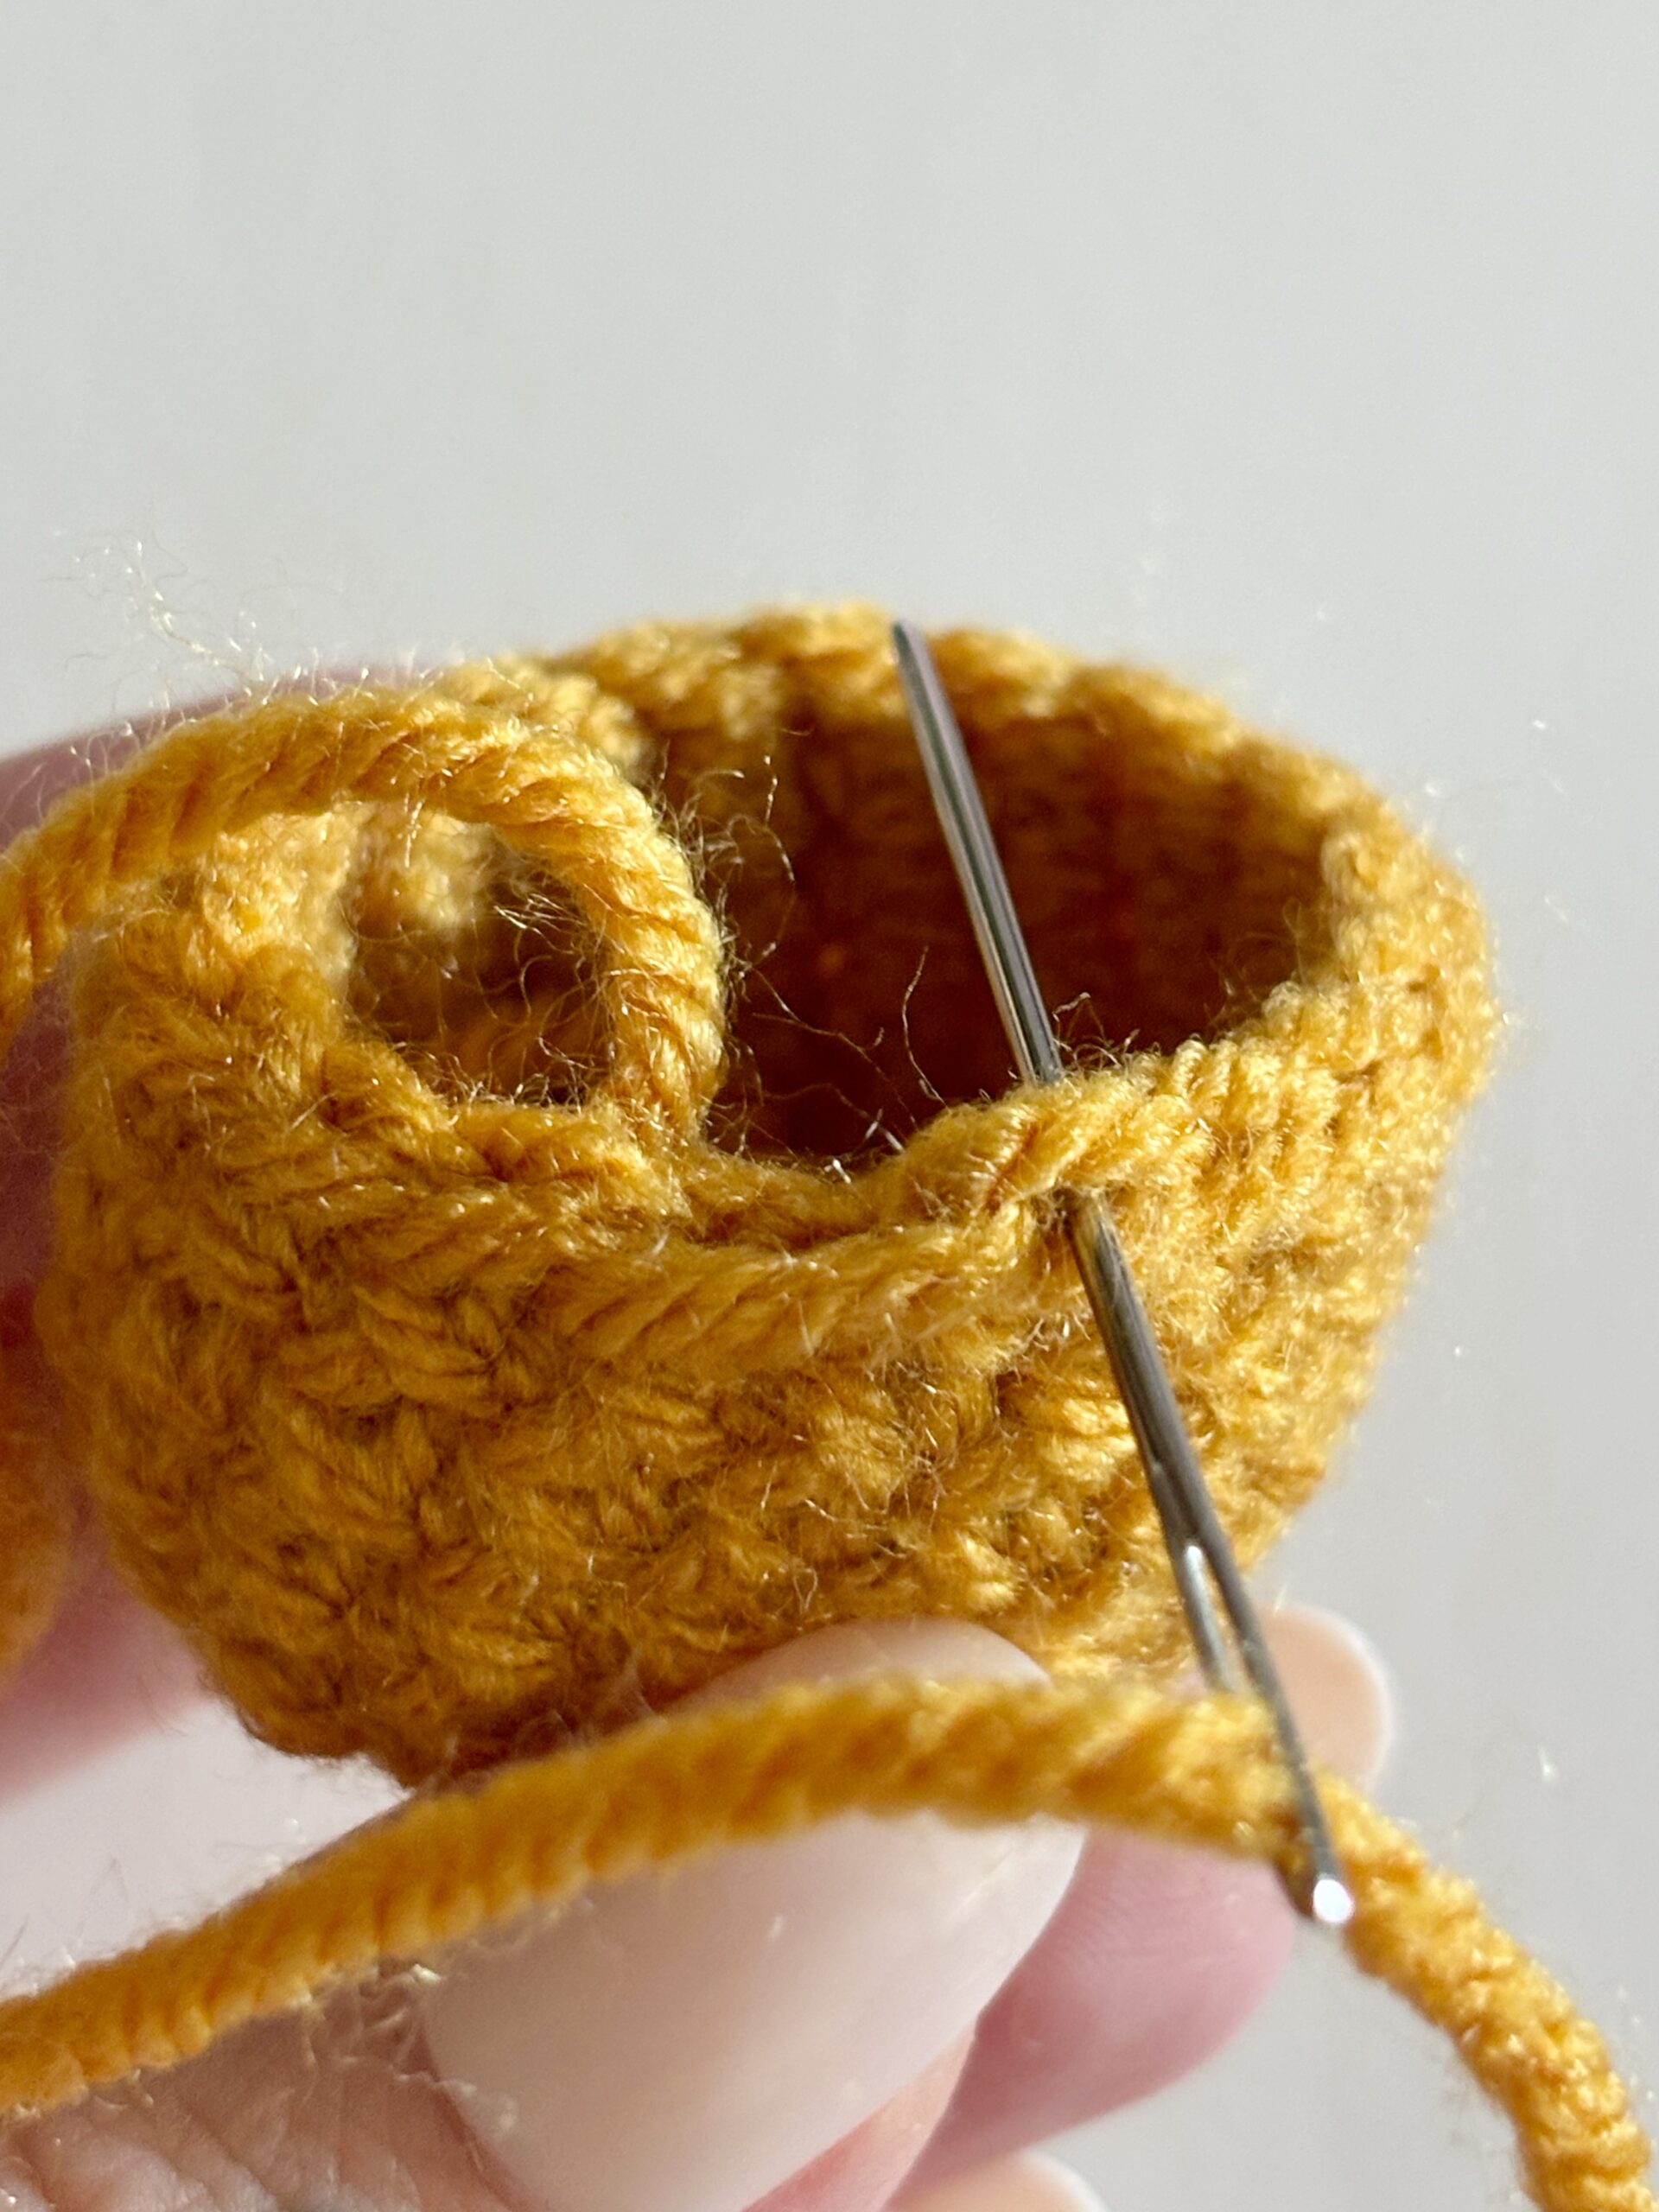
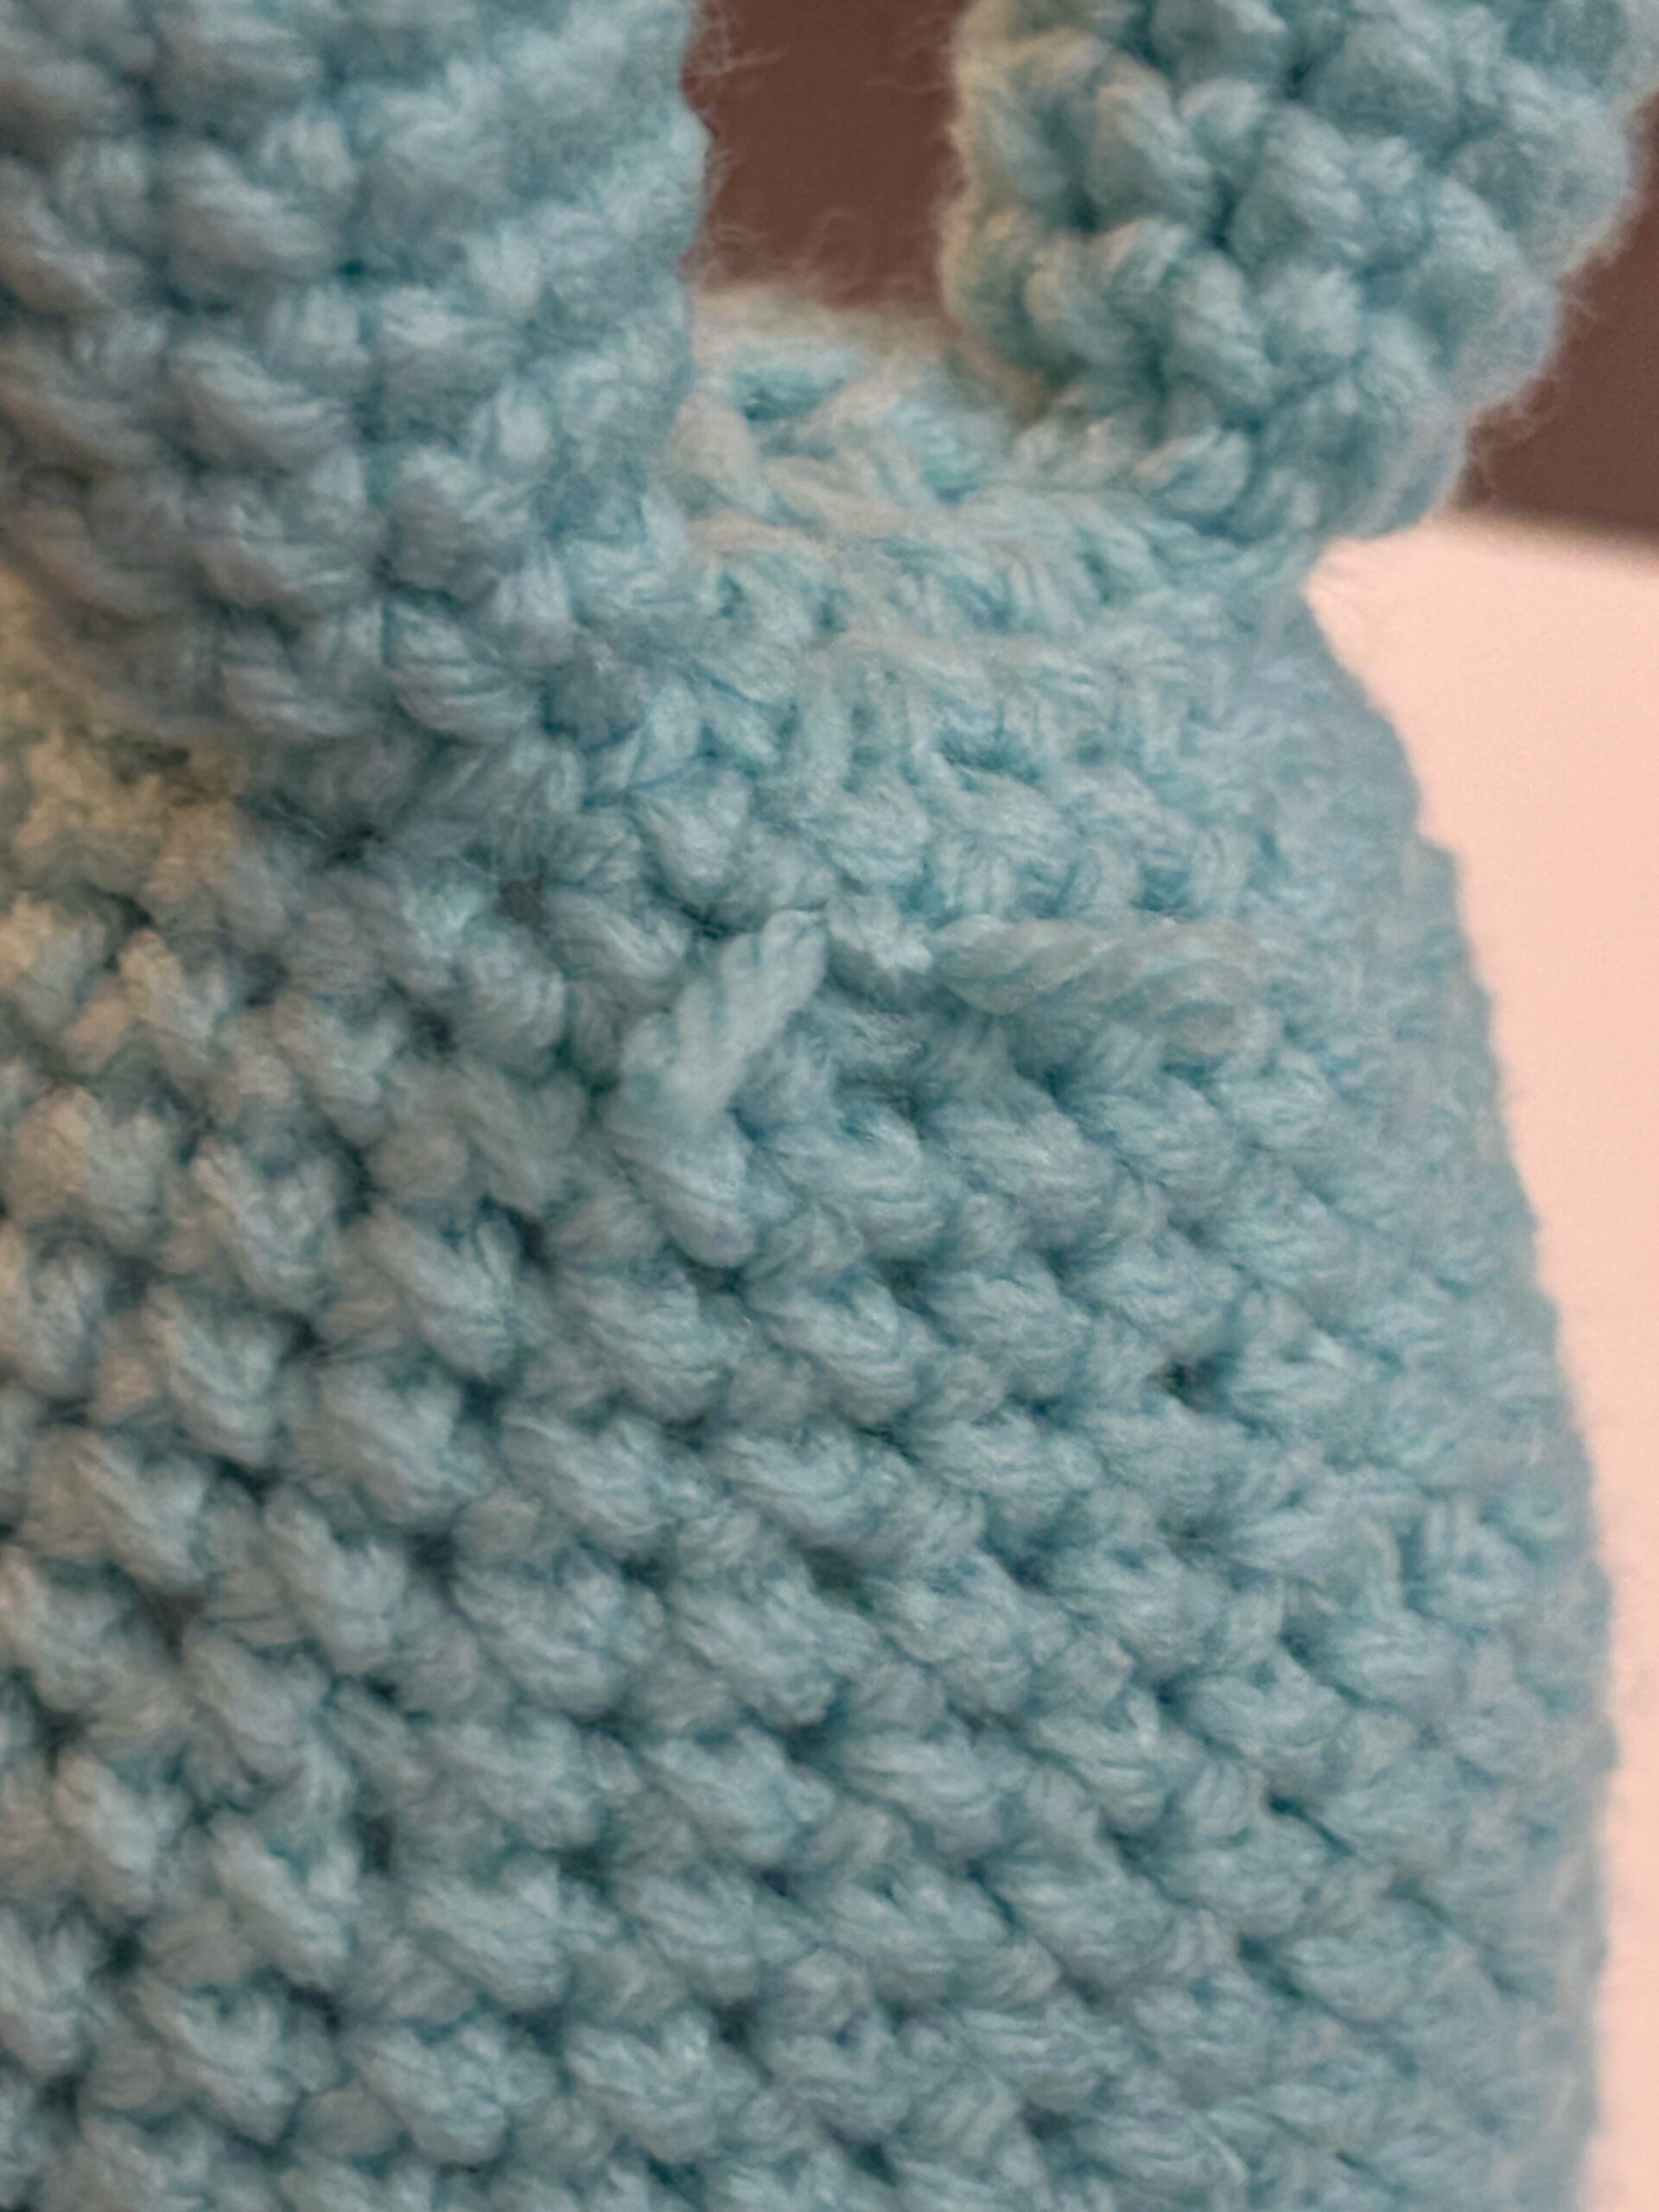
- Starting and Ending: Begin by leaving a long tail as you enter the piece. When finished, use the needle to exit the amigurumi in the same gap between the stitches where you started. Tie a double knot and snip off the tails. Push the knot inside the ami with the tip of your scissors. This secures the embroidery.
- Basic Stitches: Watch some YouTube videos on the basic stitches like backstitch, satin stitch, and French knots (these are more advanced and a bit tricky to accomplish with yarn).
- Stitch Placement: Plan your design! Use sewing pins to ensure proper placement before stitching.
Embroidering Facial Features:
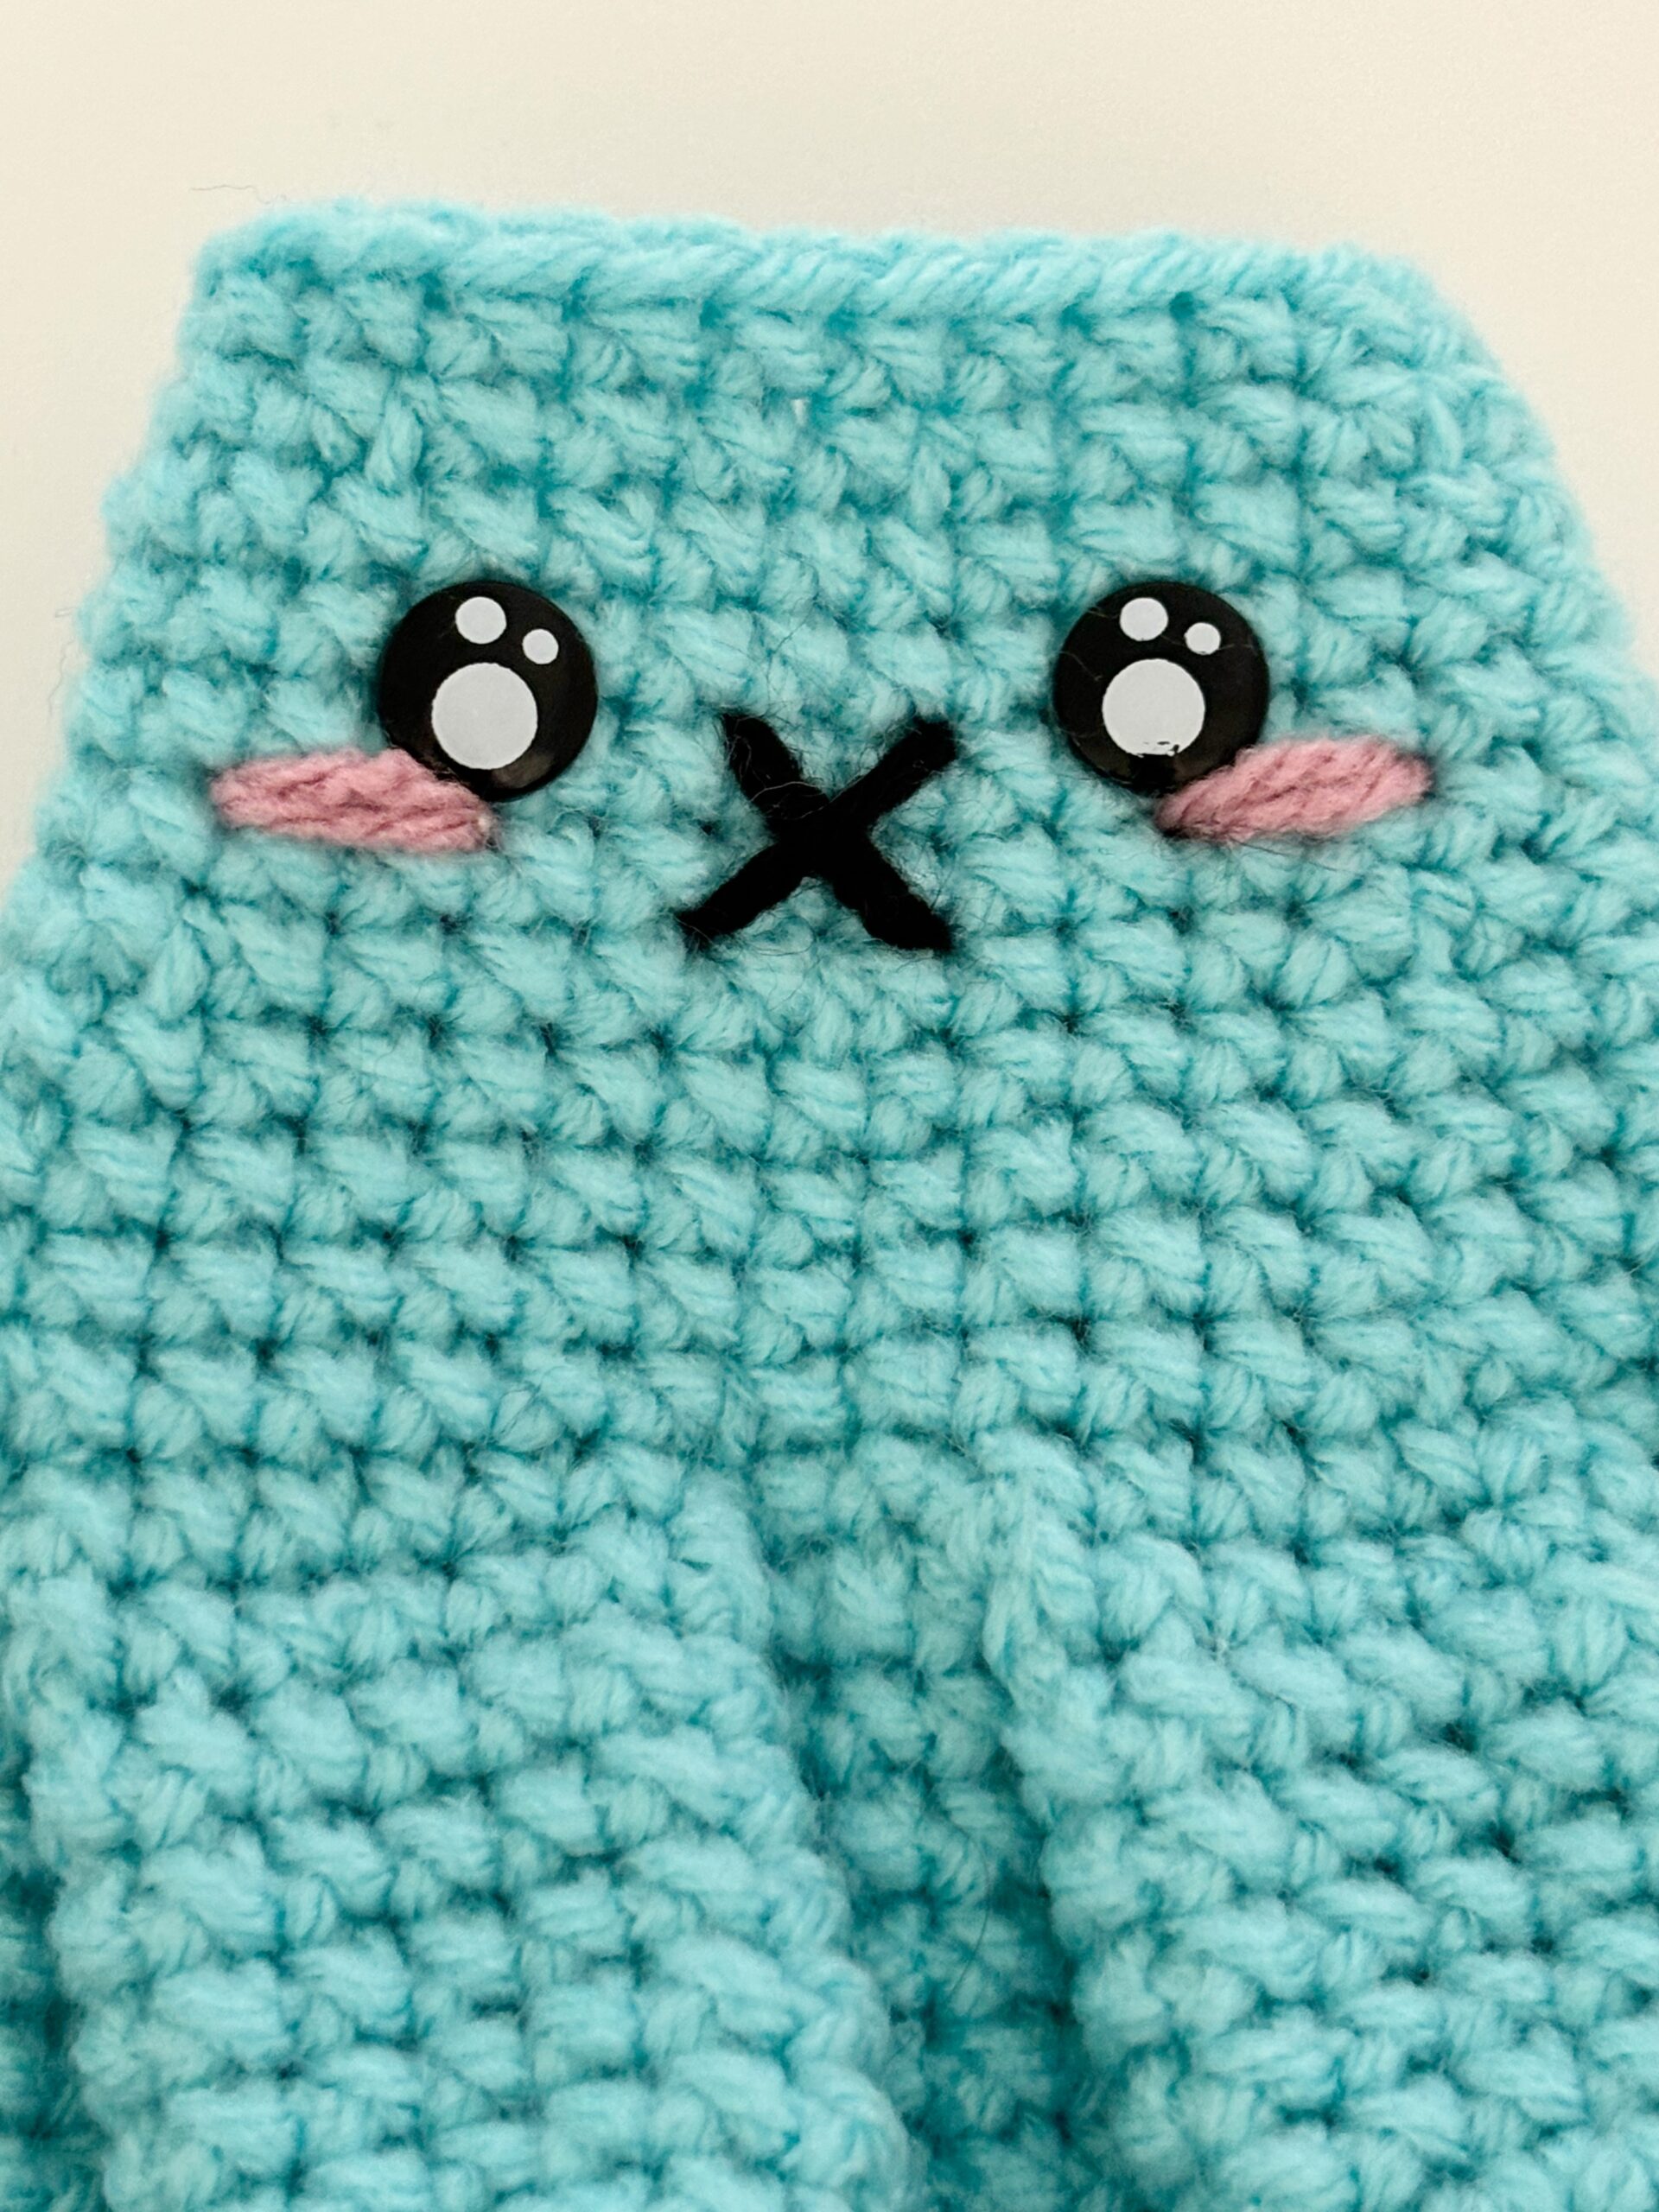
- Eyes: Black or brown yarn in backstitch is popular for simple eyes.
- Cheeks: Pink blush can be created with a couple of backstitches under the eyes.
- Nose: A few whip stitches and backstitches can add adorable little noses to your amigurumi. Triangular shaped noses can be a bit tricky to get right. Use sewing pins to map out the area, and then fill with a satin stitch. We like to finish with long backstitches to outline the nose.
- Mouth: A simple backstitch line can add so much personality to your amigurumi. You can smooth out a mouth by using a whip stitch around each backstitch.
Tip: When you’re embroidering, think about where you want the yarn / thread to lay and where you need to start your next stitch. Exit the stitch that you want to start in next. Try to think one step ahead of where you’re working.
Beyond the Basics:
Yarn embroidery isn’t limited to facial features! Here’s ways to add further details:
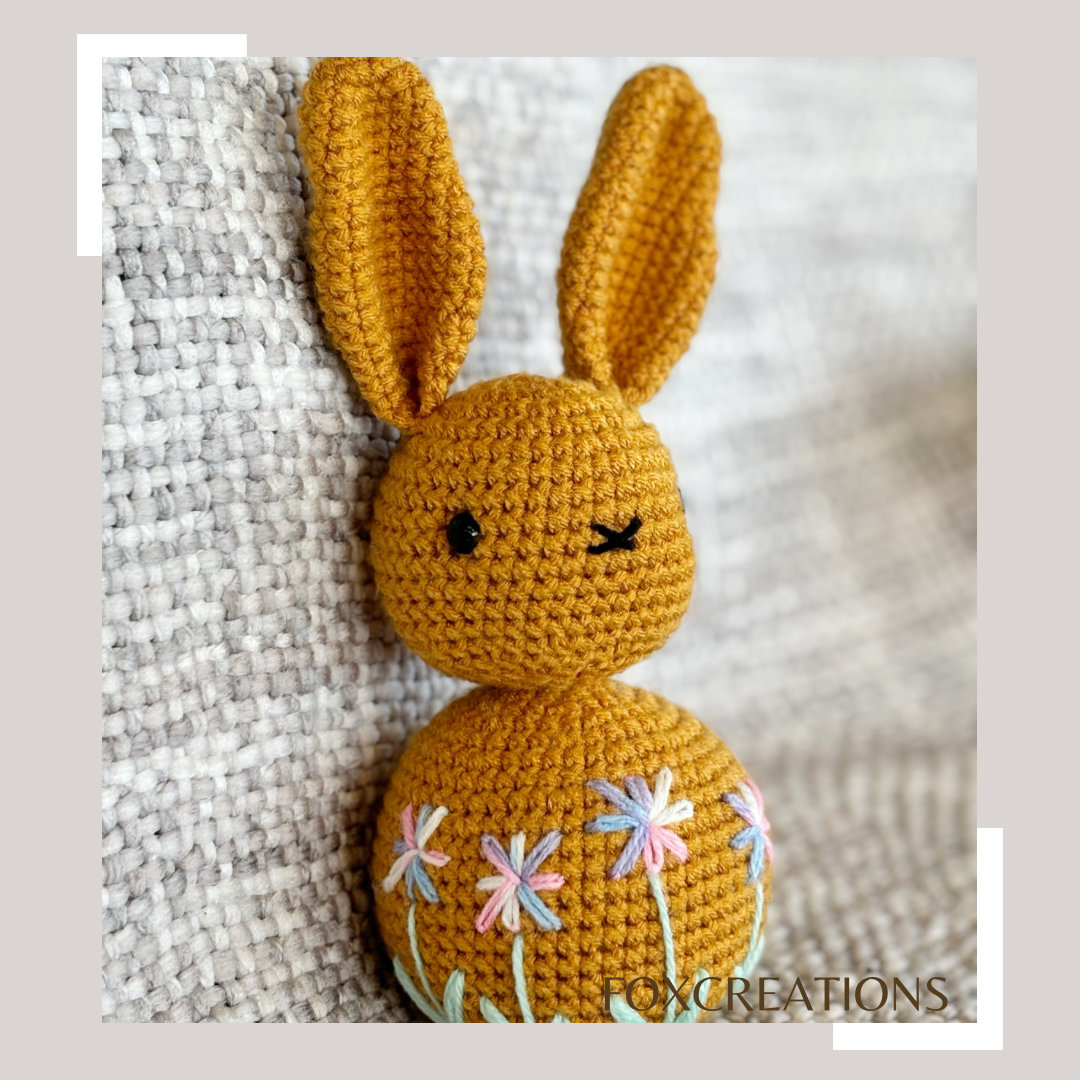
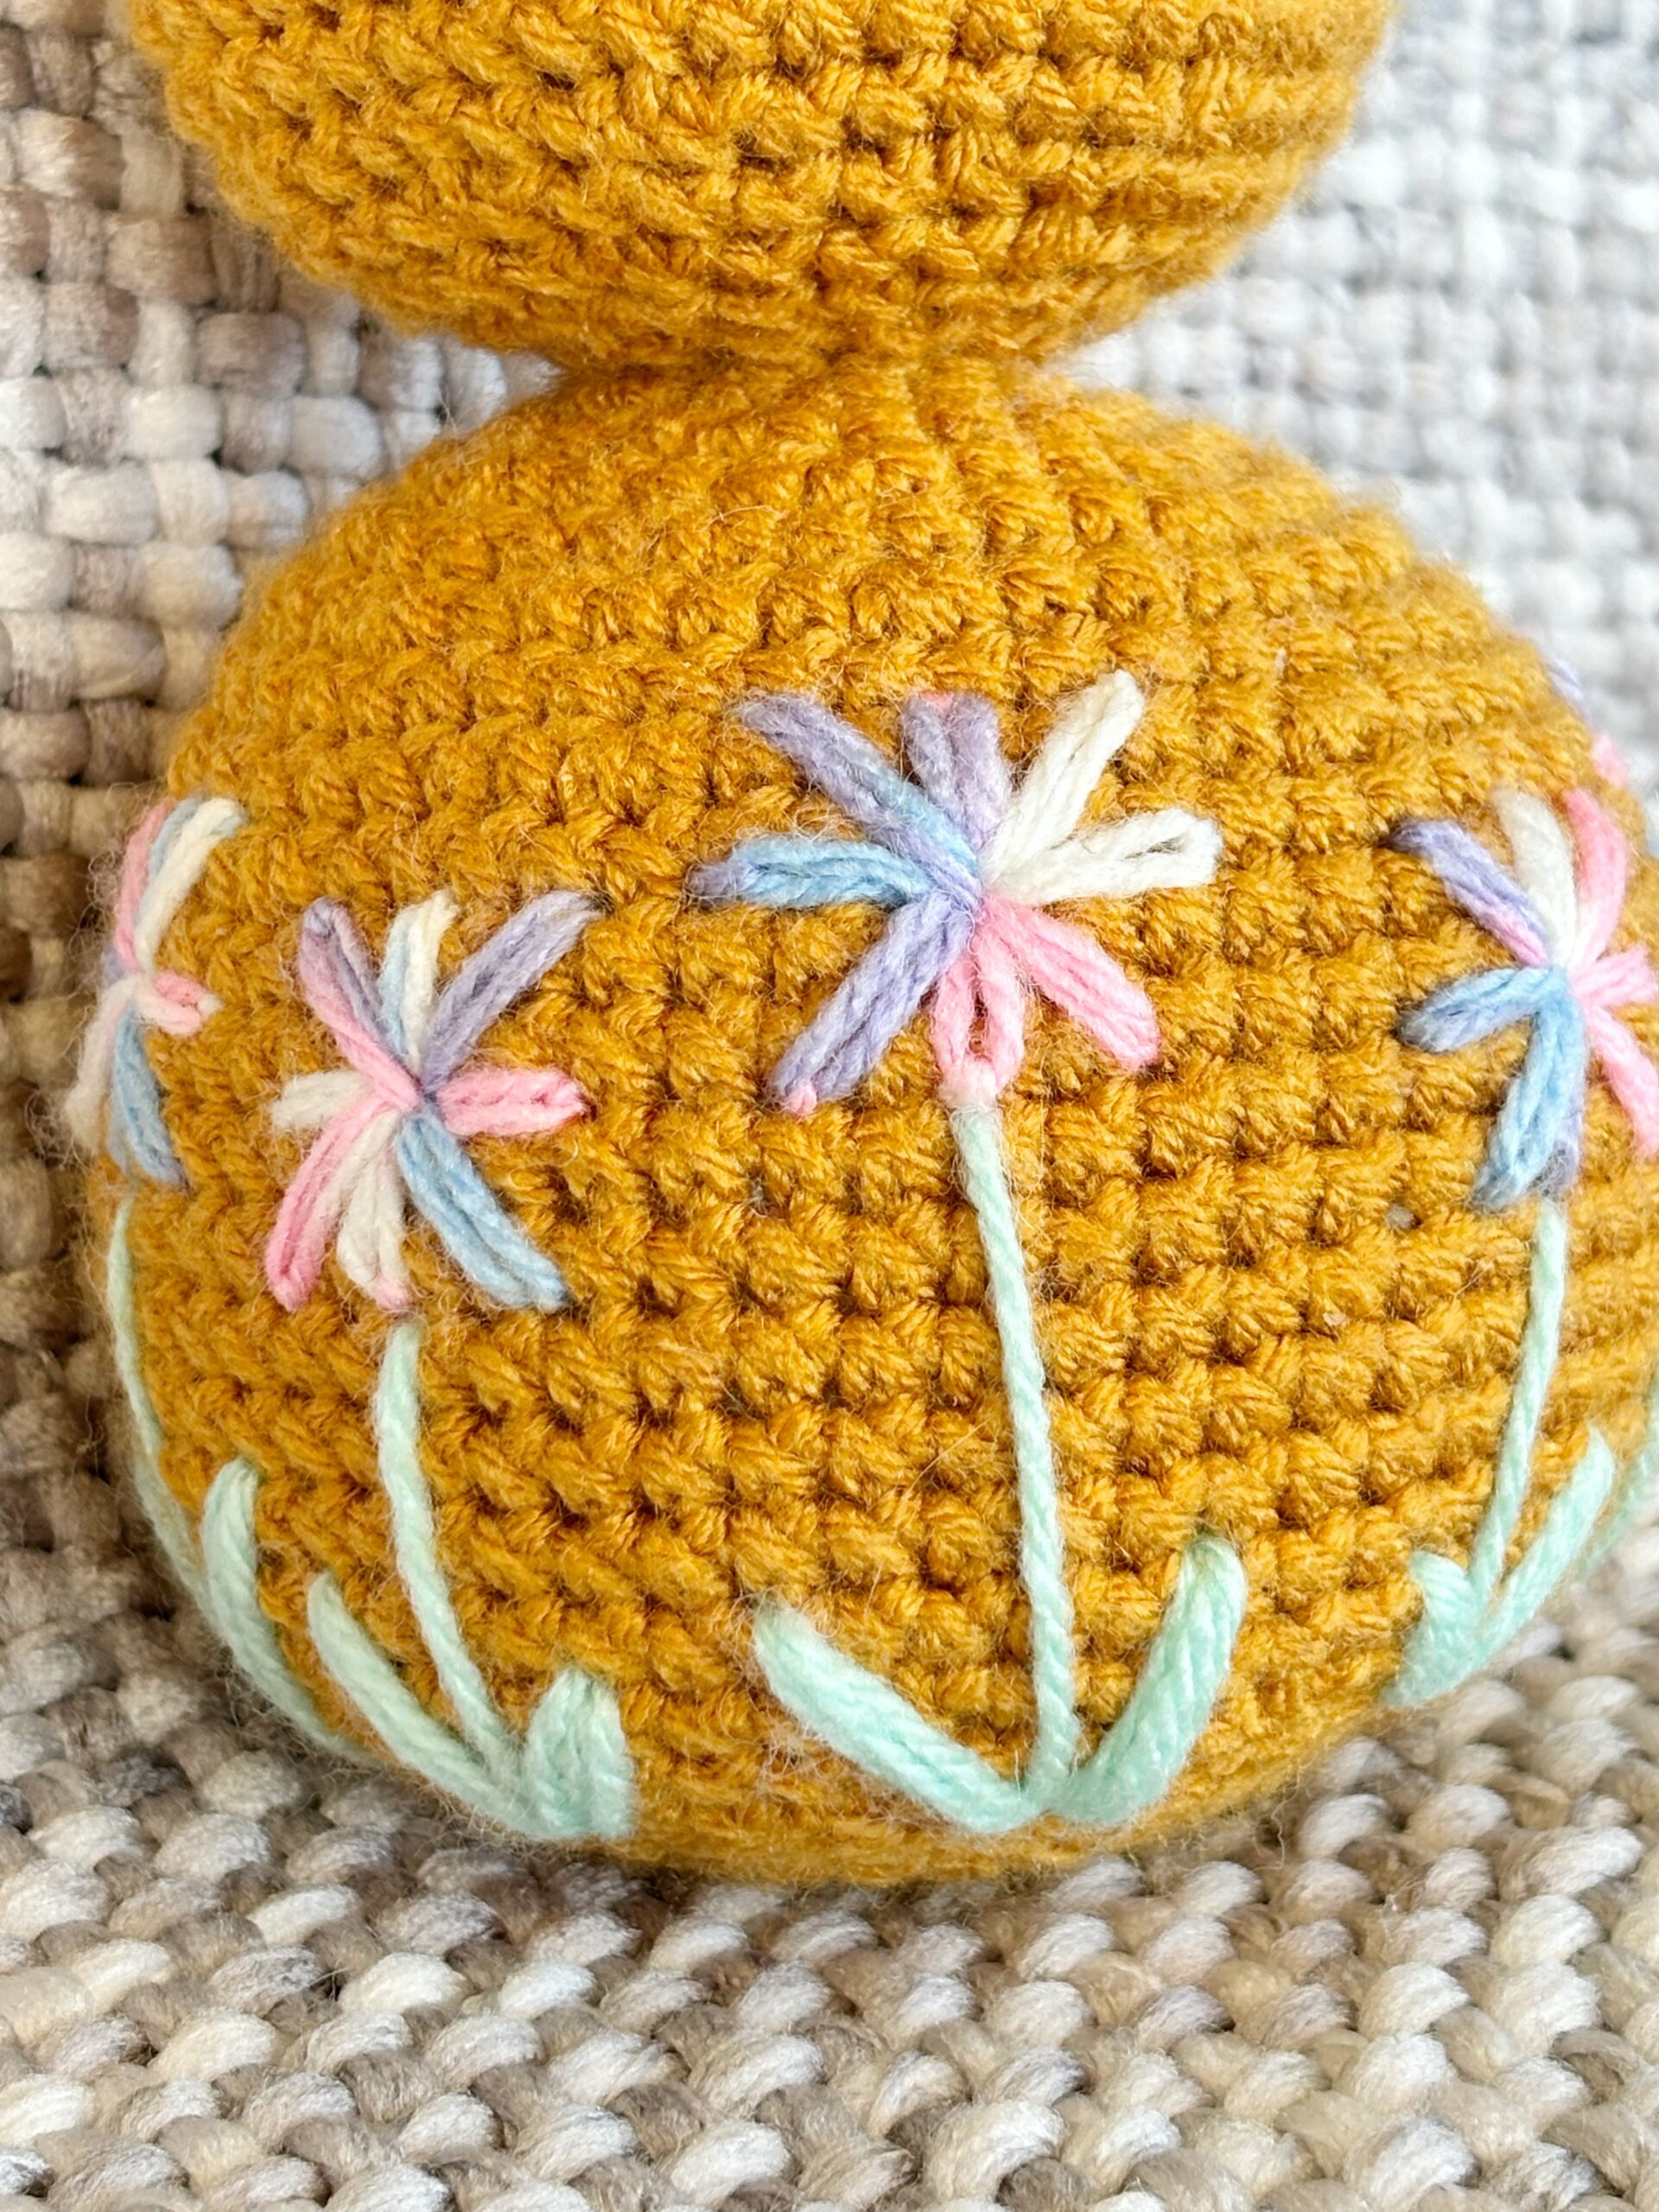
- Flowers: French Knots and the Lazy Daisy stitch go a long way to creating floral elements for your amigurumi. You could also use a satin stitch to fill in petals on a larger scale.
- Stripes and Accents: Use backstitch with yarn to add stripes, markings, or other details like fur.
- Hair: Backstitches with yarn in various lengths can create different hairstyles.
With a little practice and these tips, embroidery will become your secret weapon for transforming the most simple amigurumi into detailed creations.
So, grab your needle and yarn, and get ready to add personality to your crocheted friend!

