Working in an Oval Shape on the Other Side of the Chain for Amigurumi
Creating an oval and working down the other side of the chain might sound a bit tricky, but fear not – we’re here to break it down for you in simple steps.
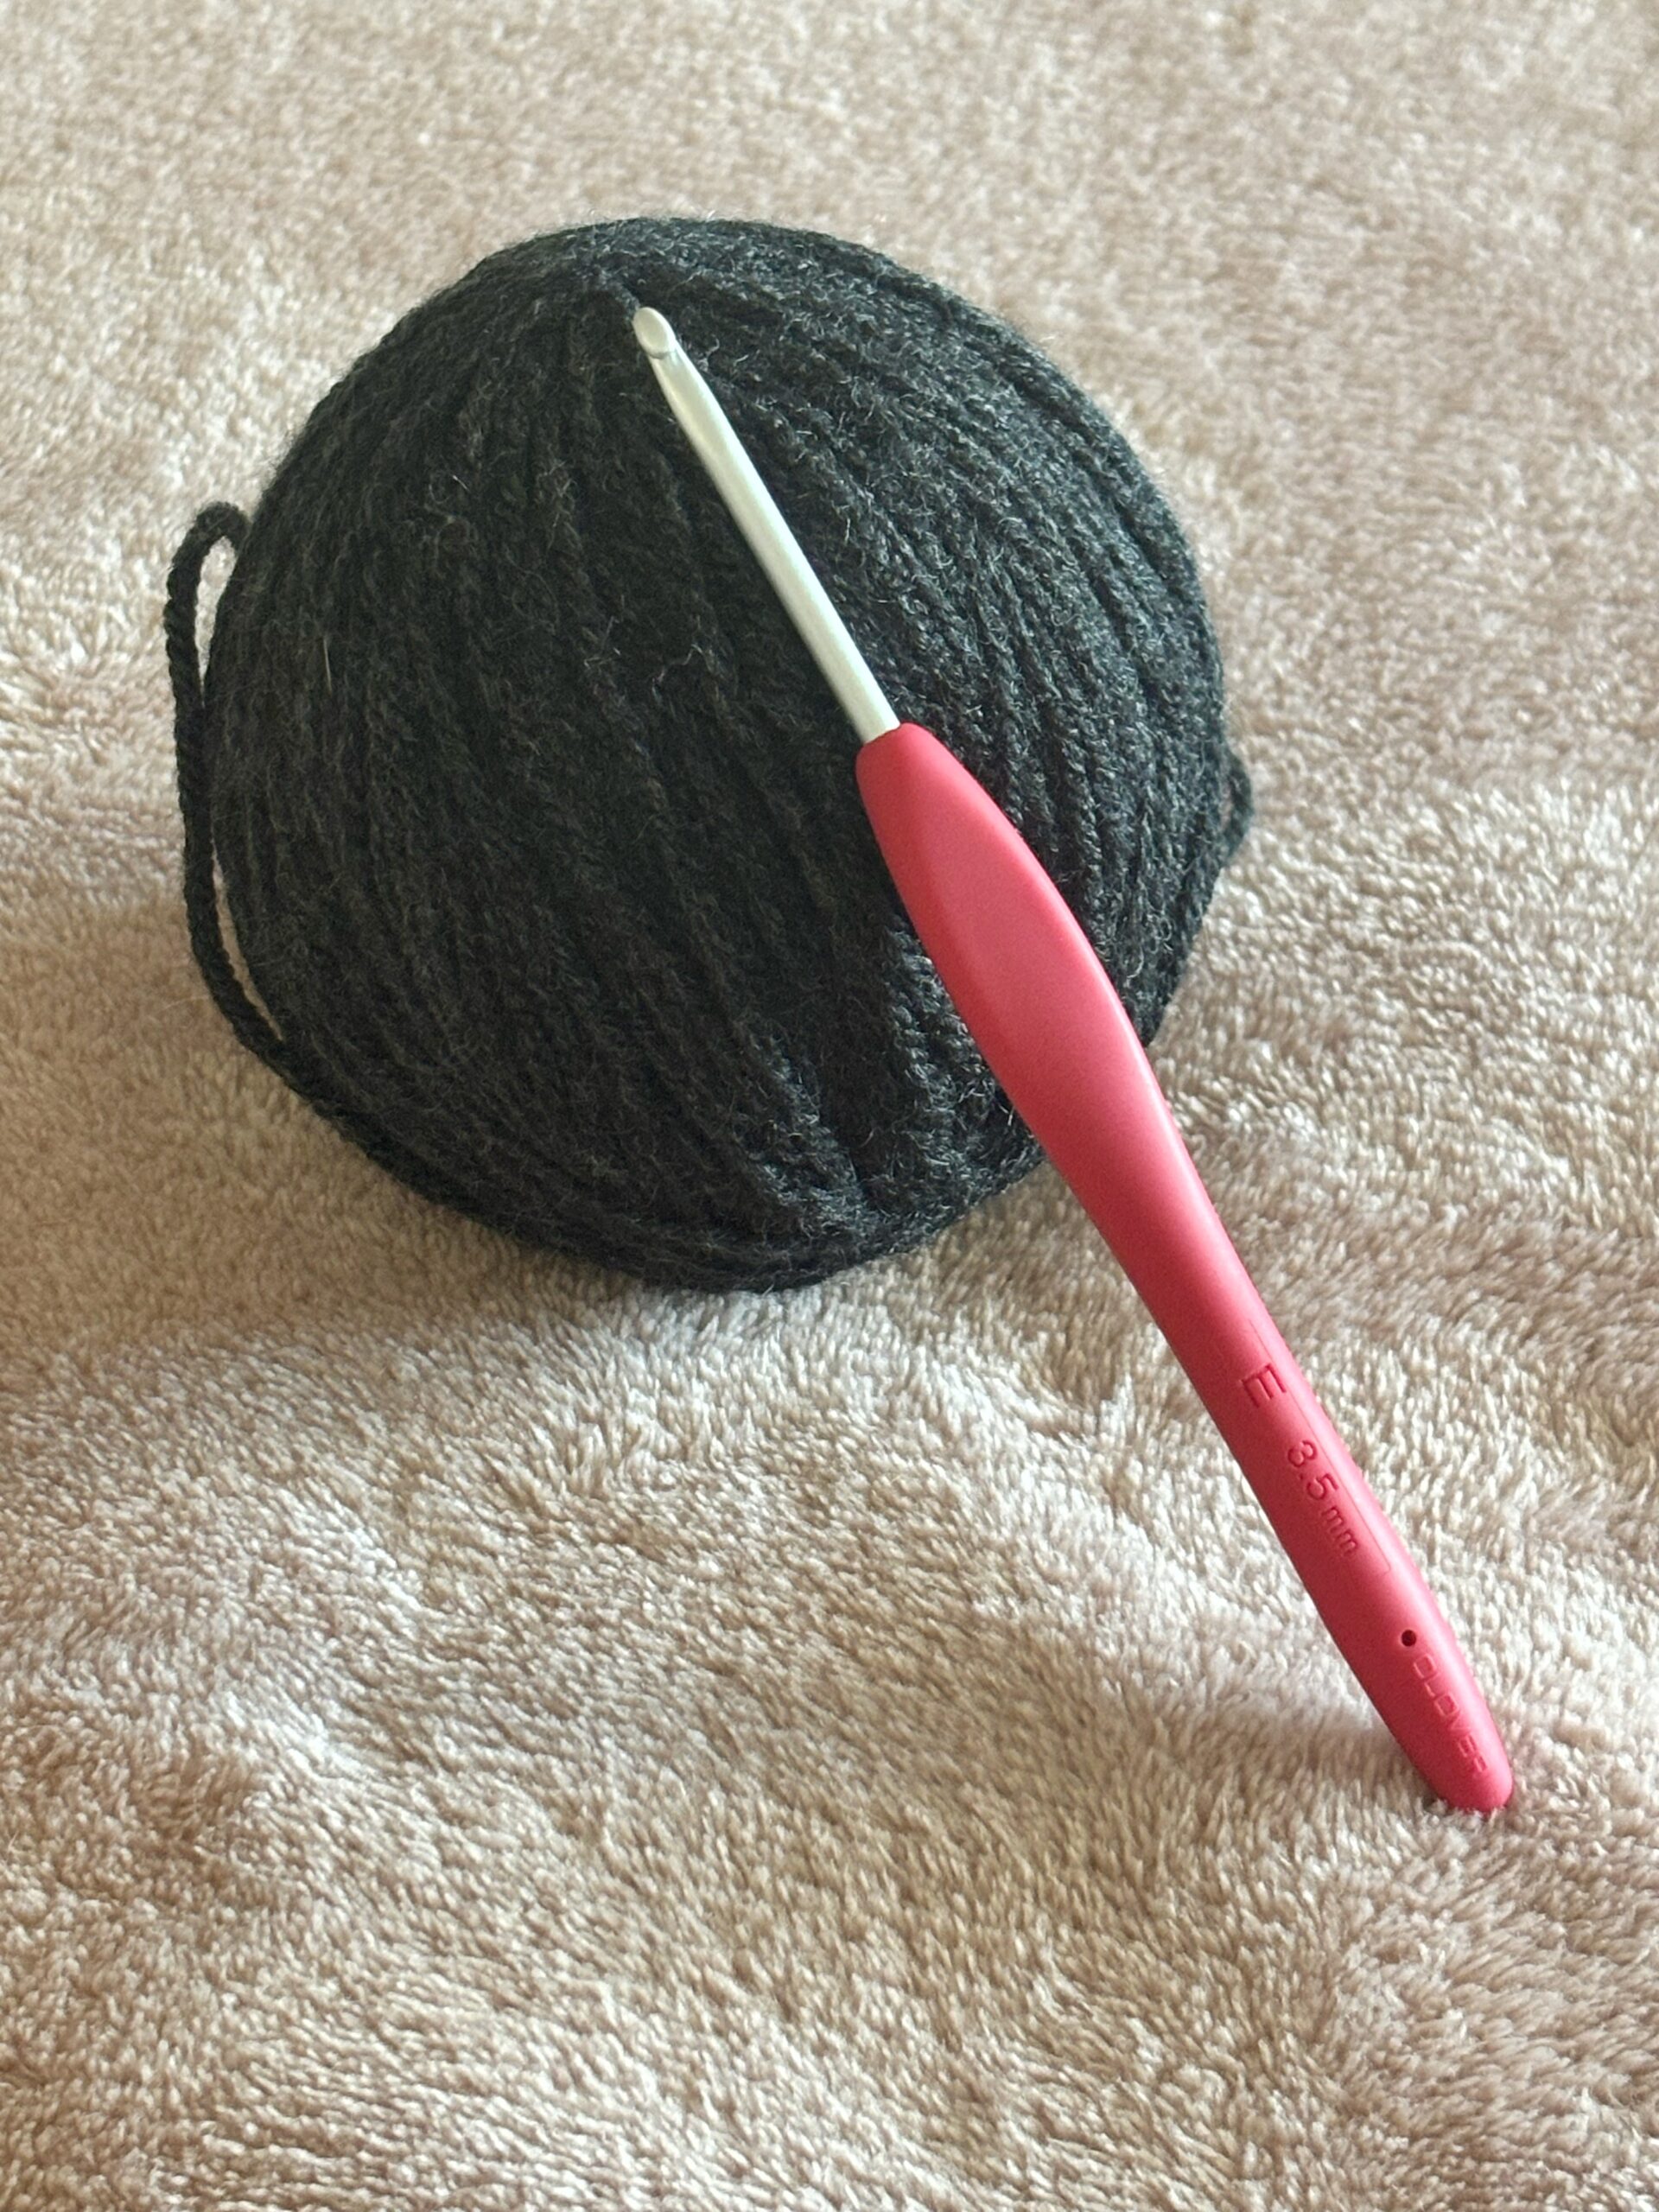
First things first, grab your yarn and hook – we’re about to dive in!
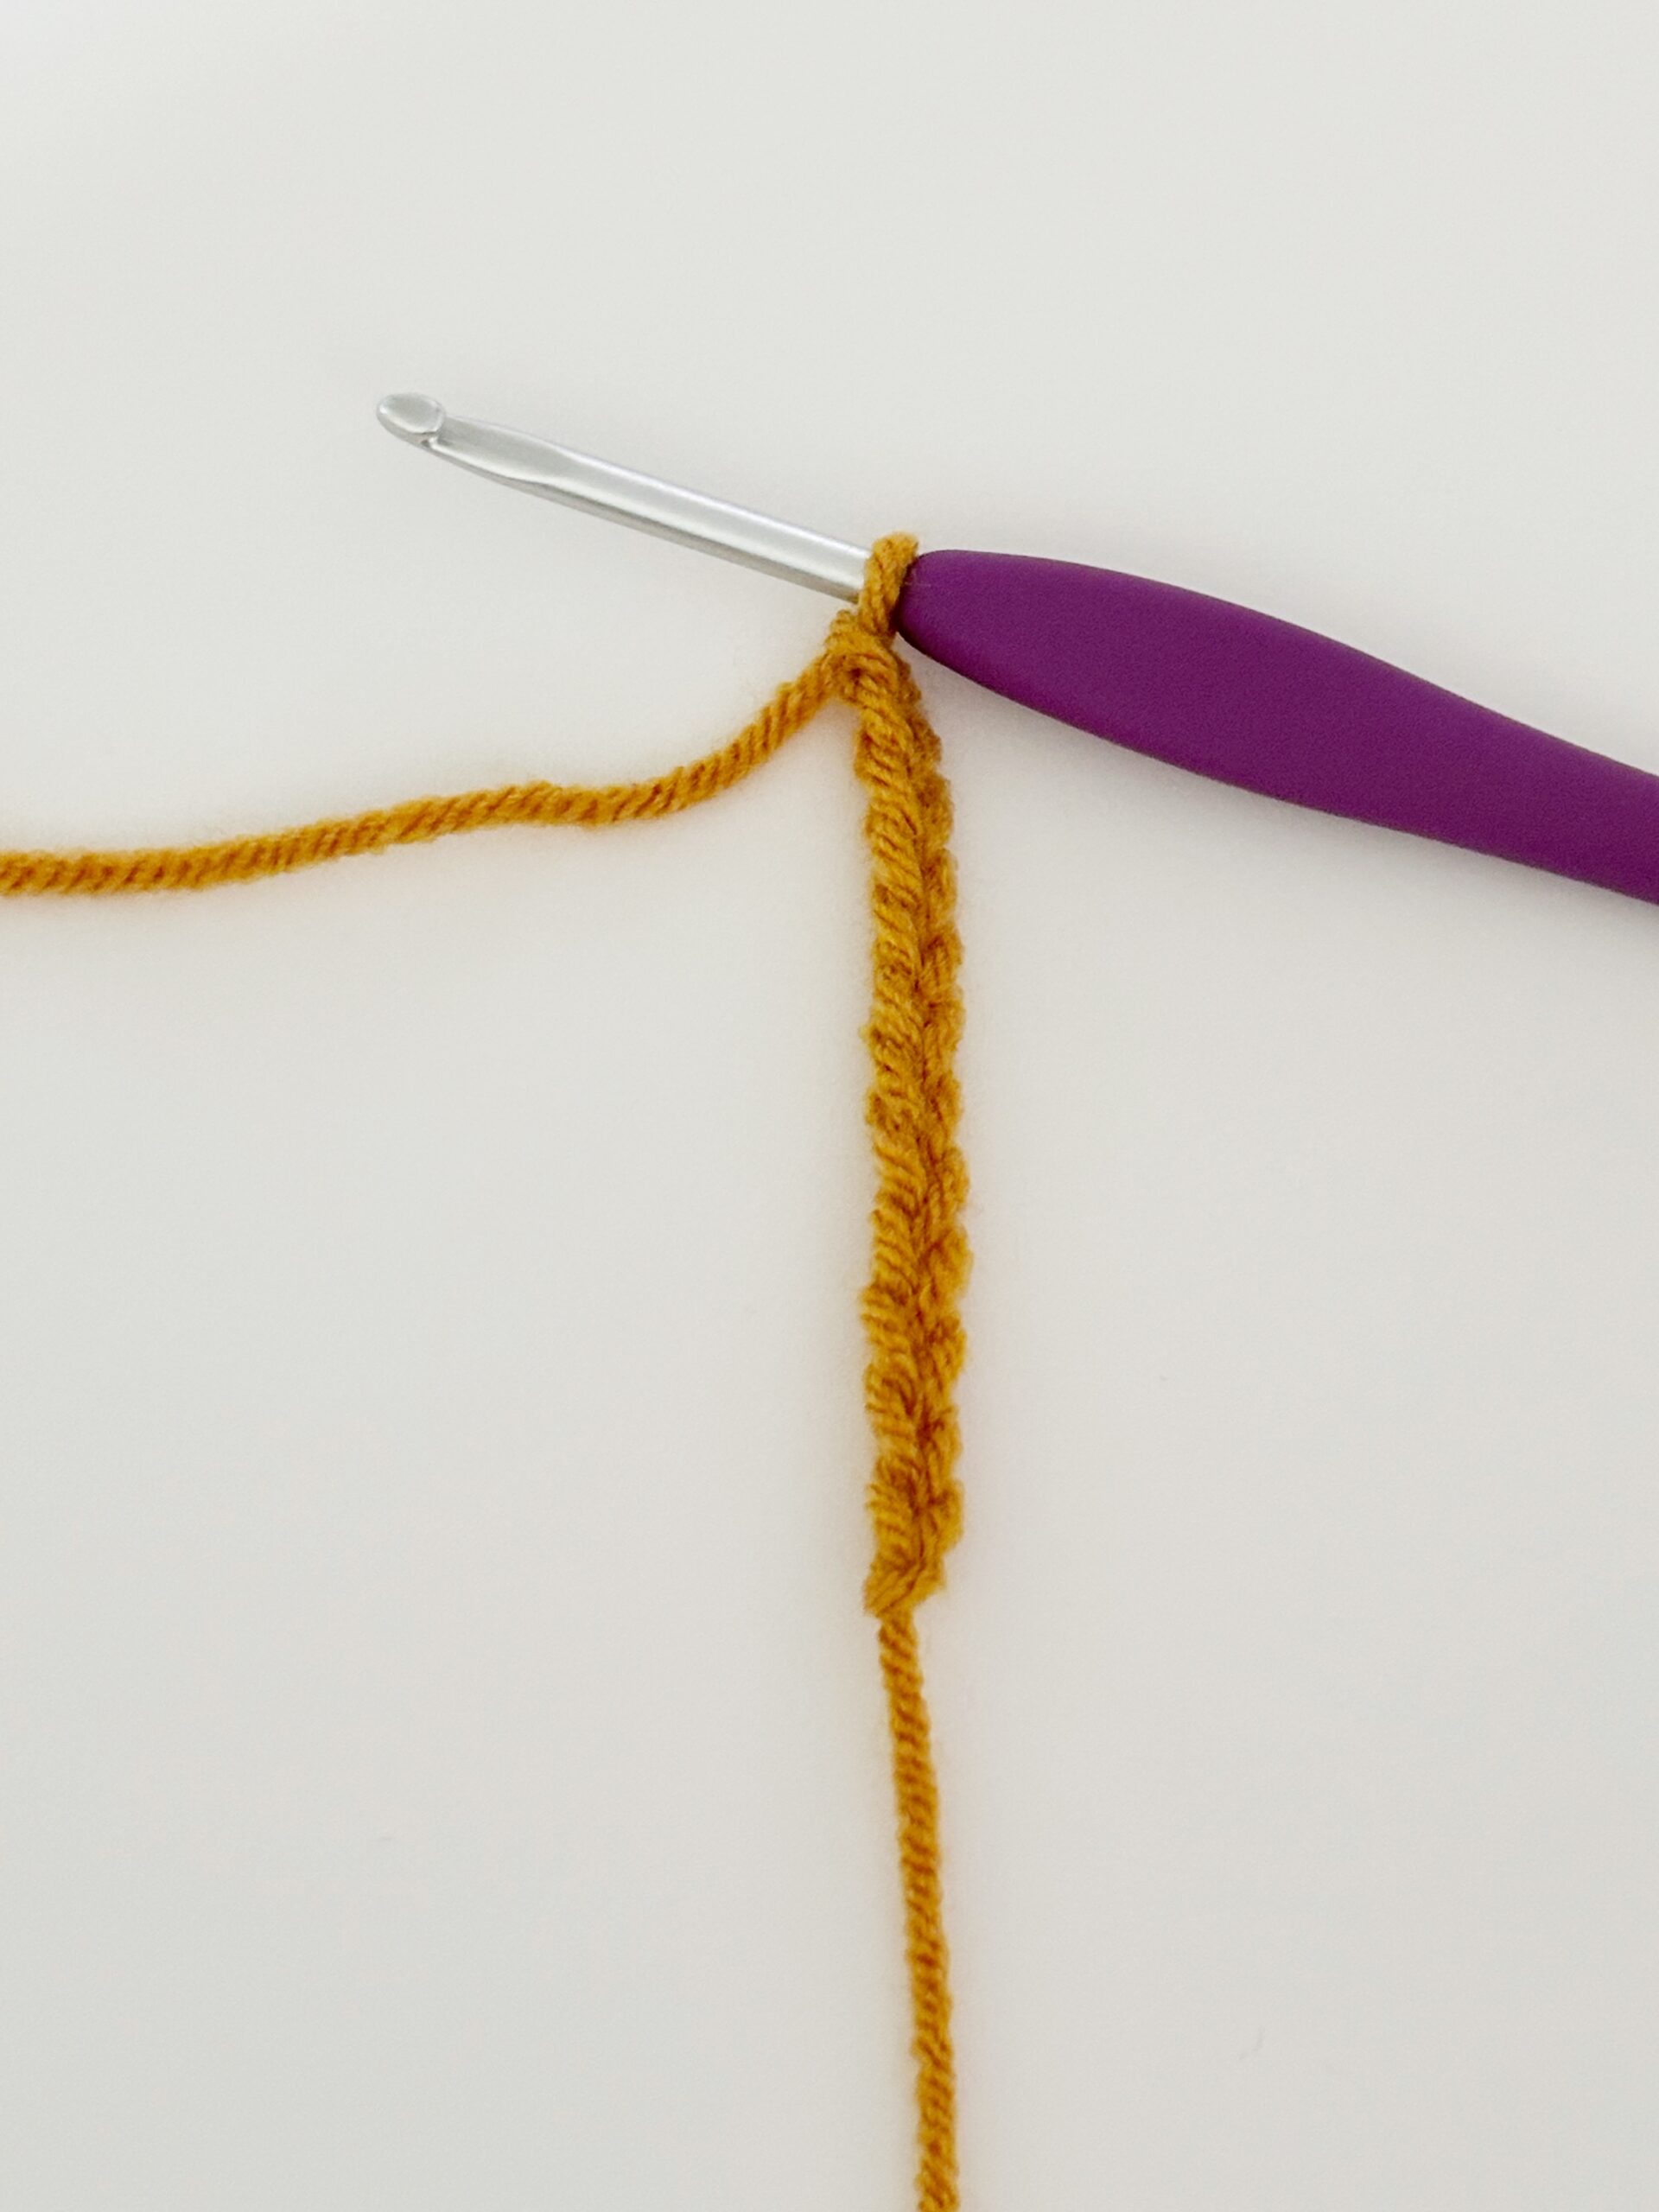
1. Foundation Chain
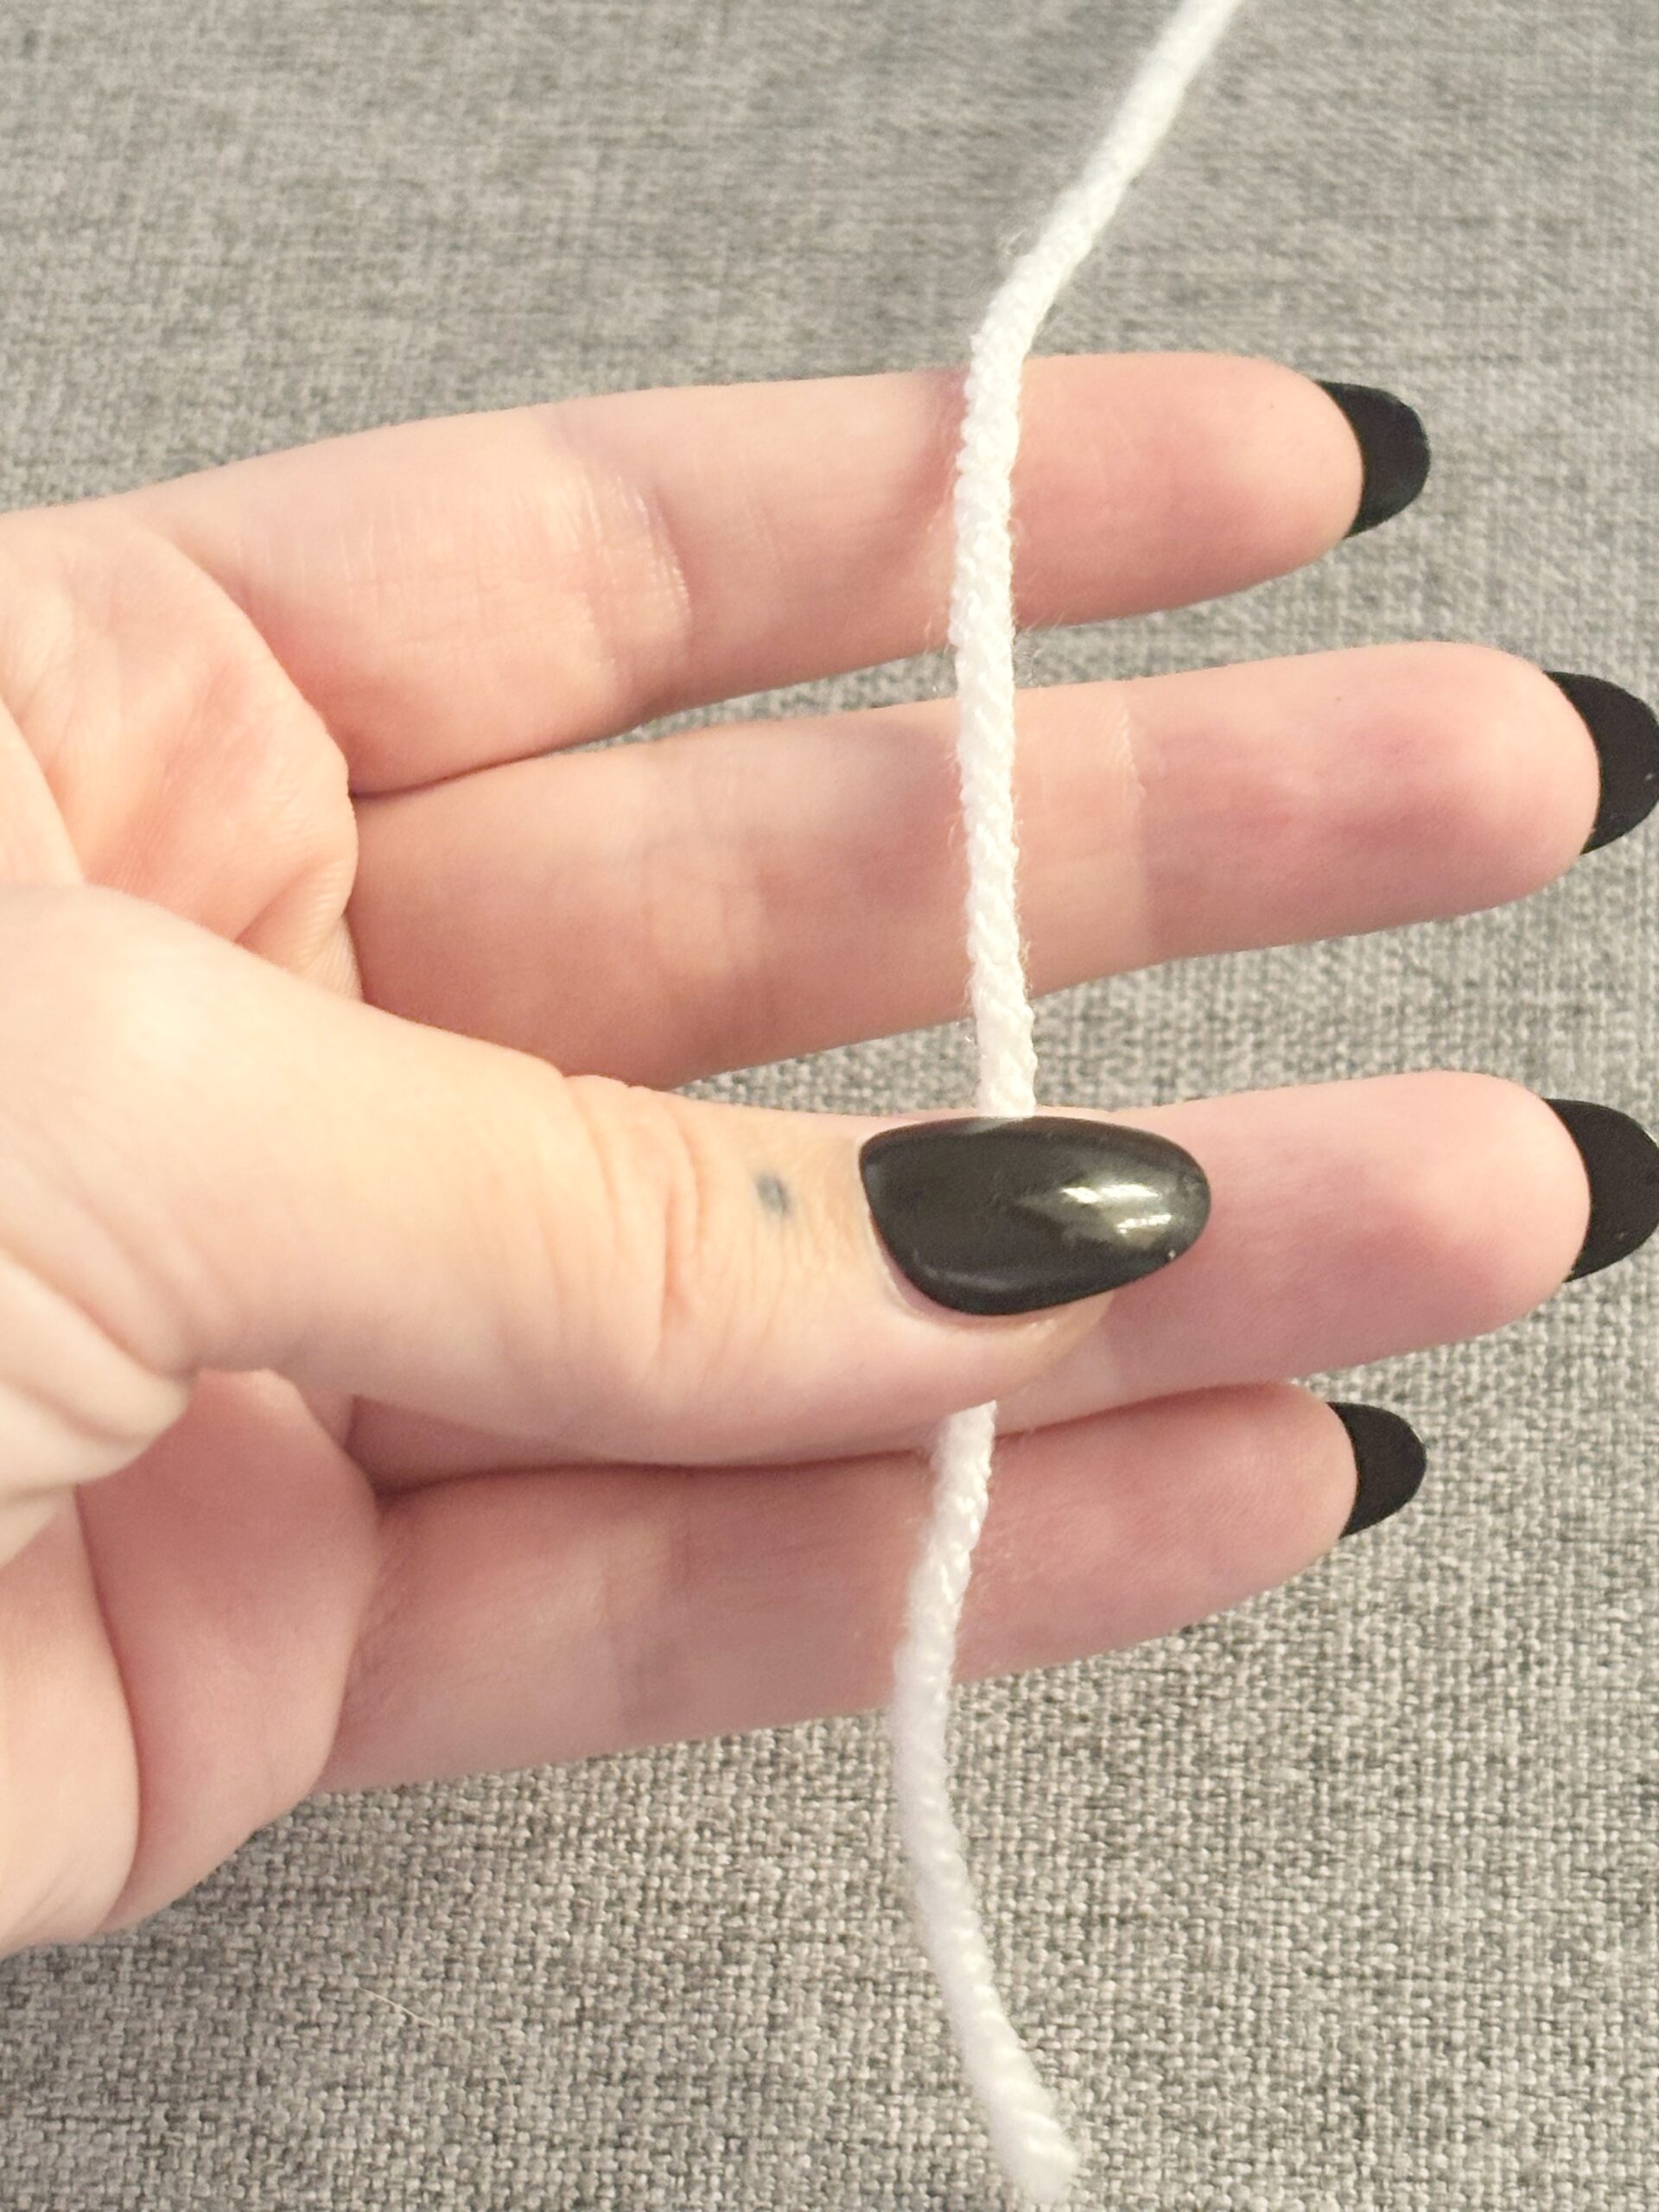
Begin by making a foundation chain of the desired length. This chain serves as the base of your oval. Remember, the length of this chain determines how long your oval will be.
For our example, let’s chain 11 (10 chains and 1 turning chain).
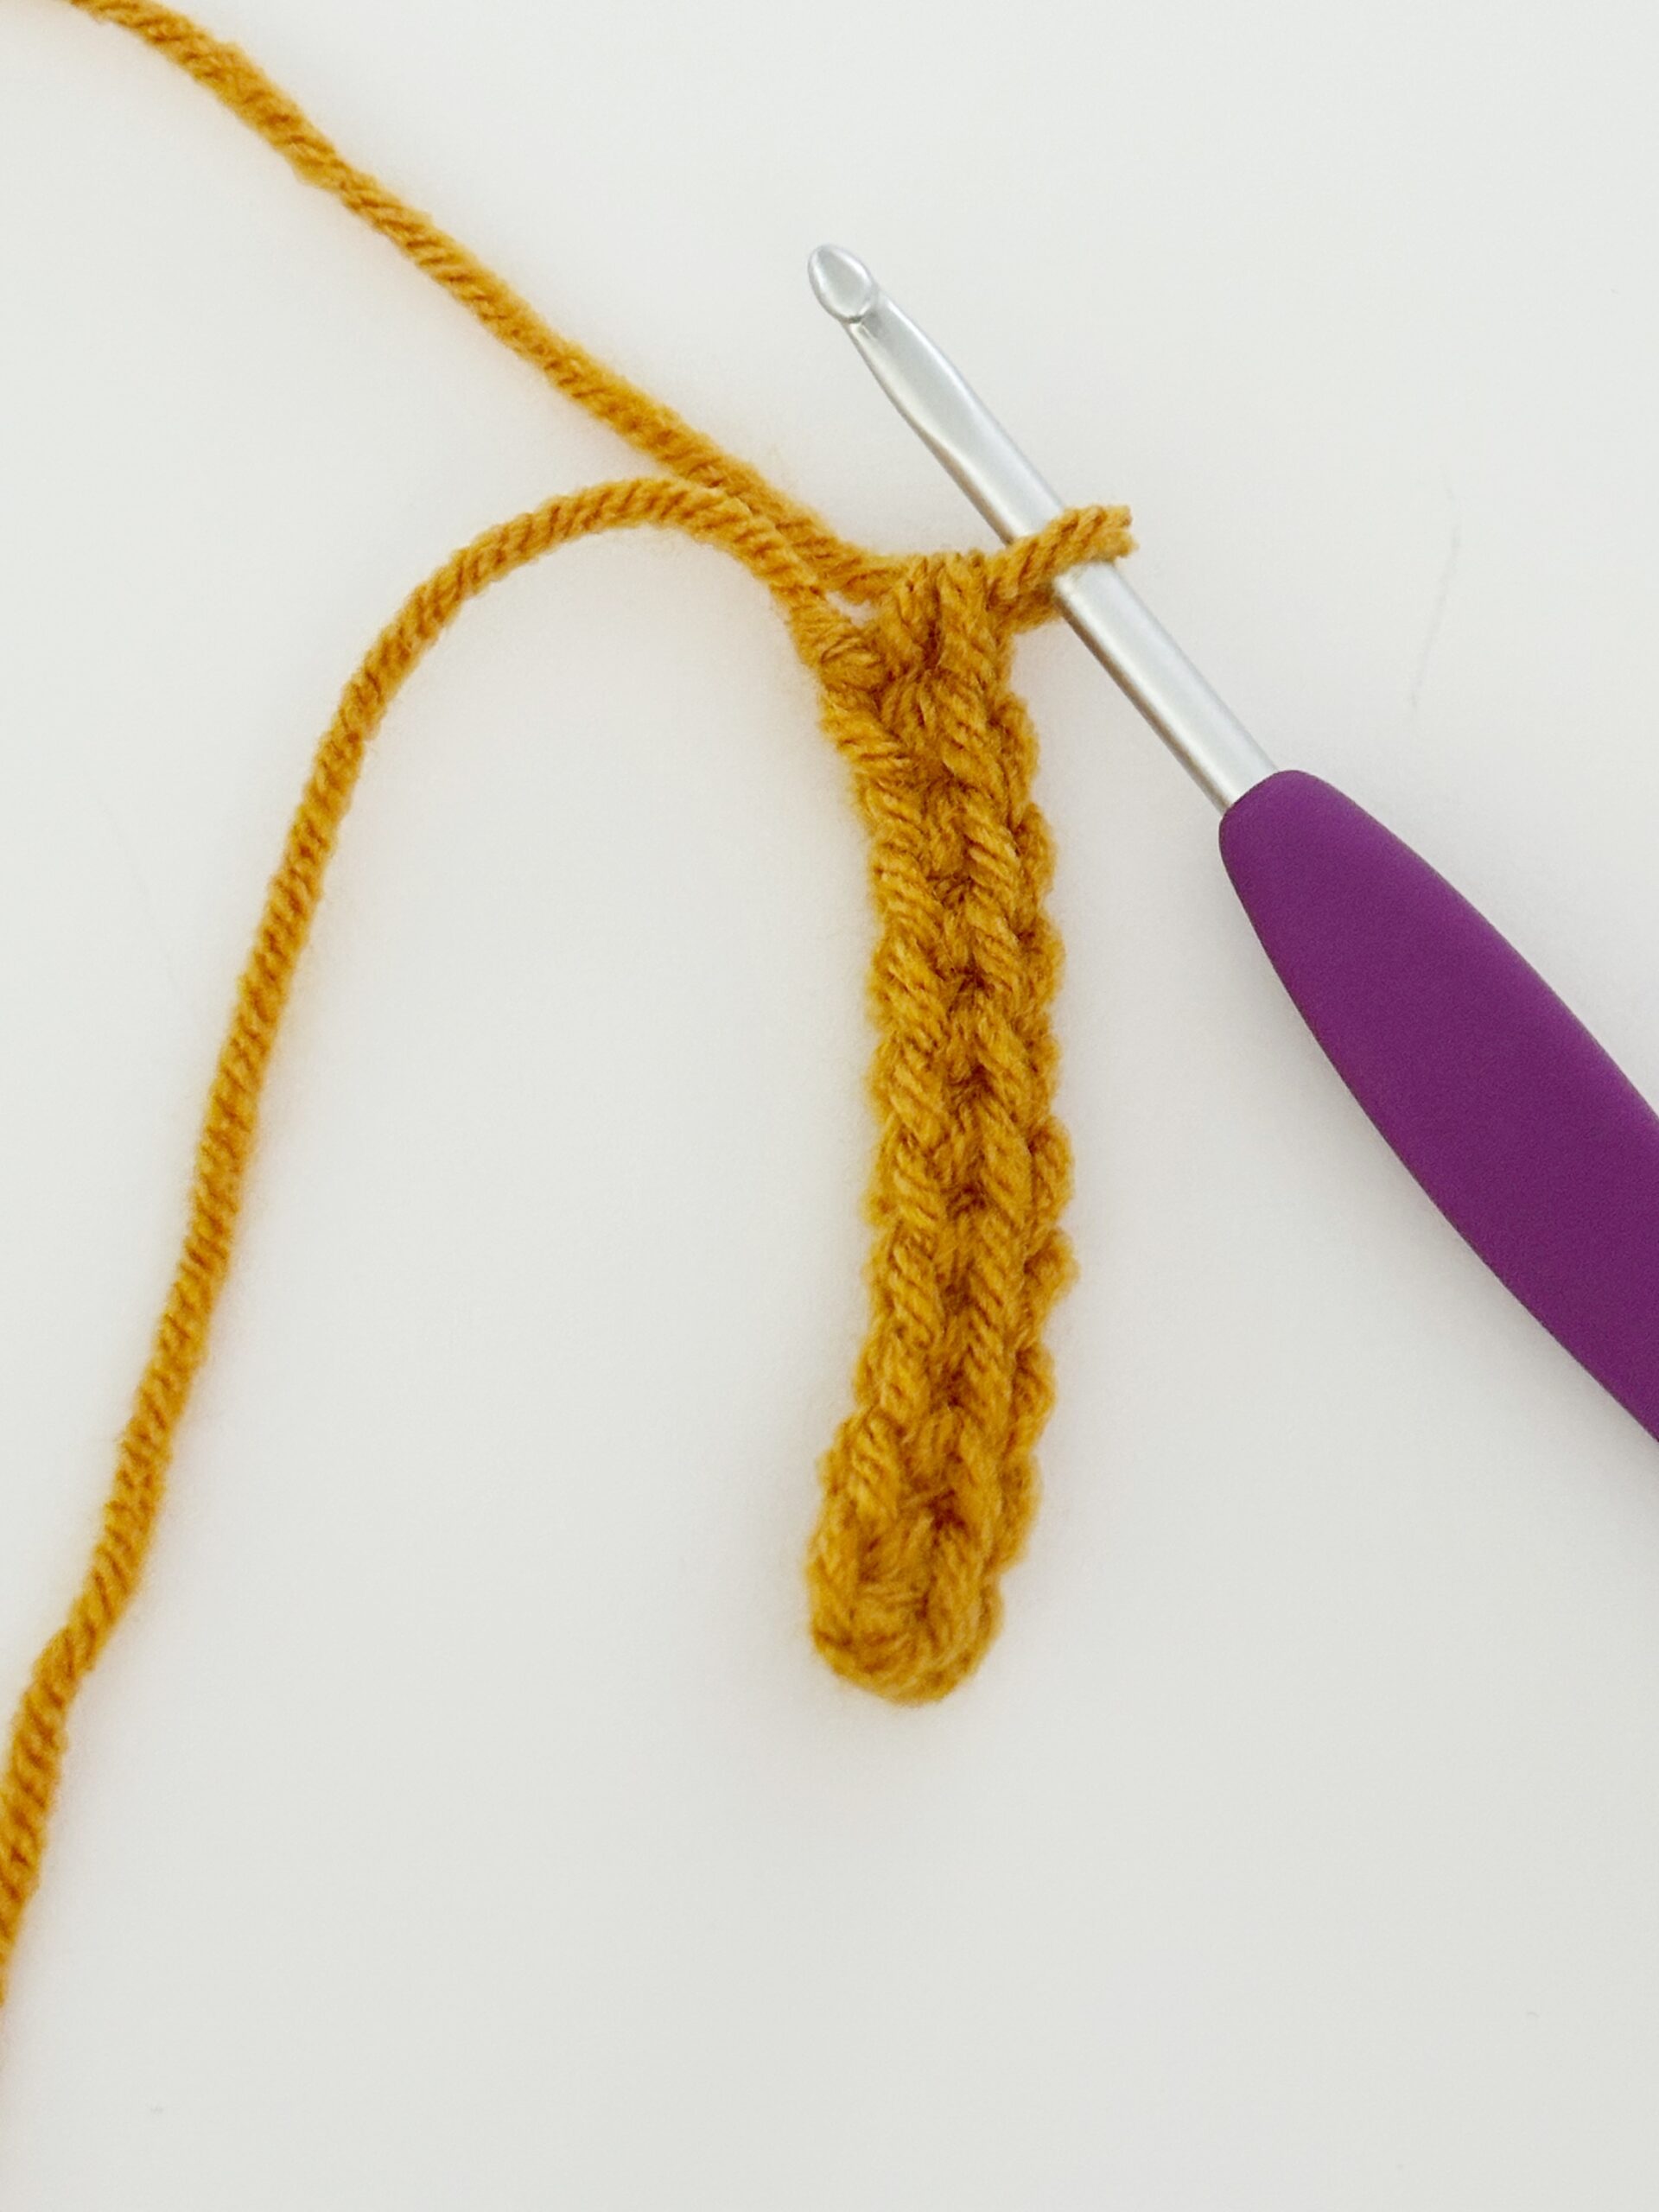
2. Single Crochet Across
For the first side of the oval, work single crochet stitches into each chain across the foundation chain.
Tip: Work into the back bump of the chain to stop gaps forming in the middle of the oval. If you’re still getting gaps, try using a smaller hook or thicker yarn.
Round 1: Single crochet from the 2nd chain from the hook and in each chain in the back bump (10 sc)
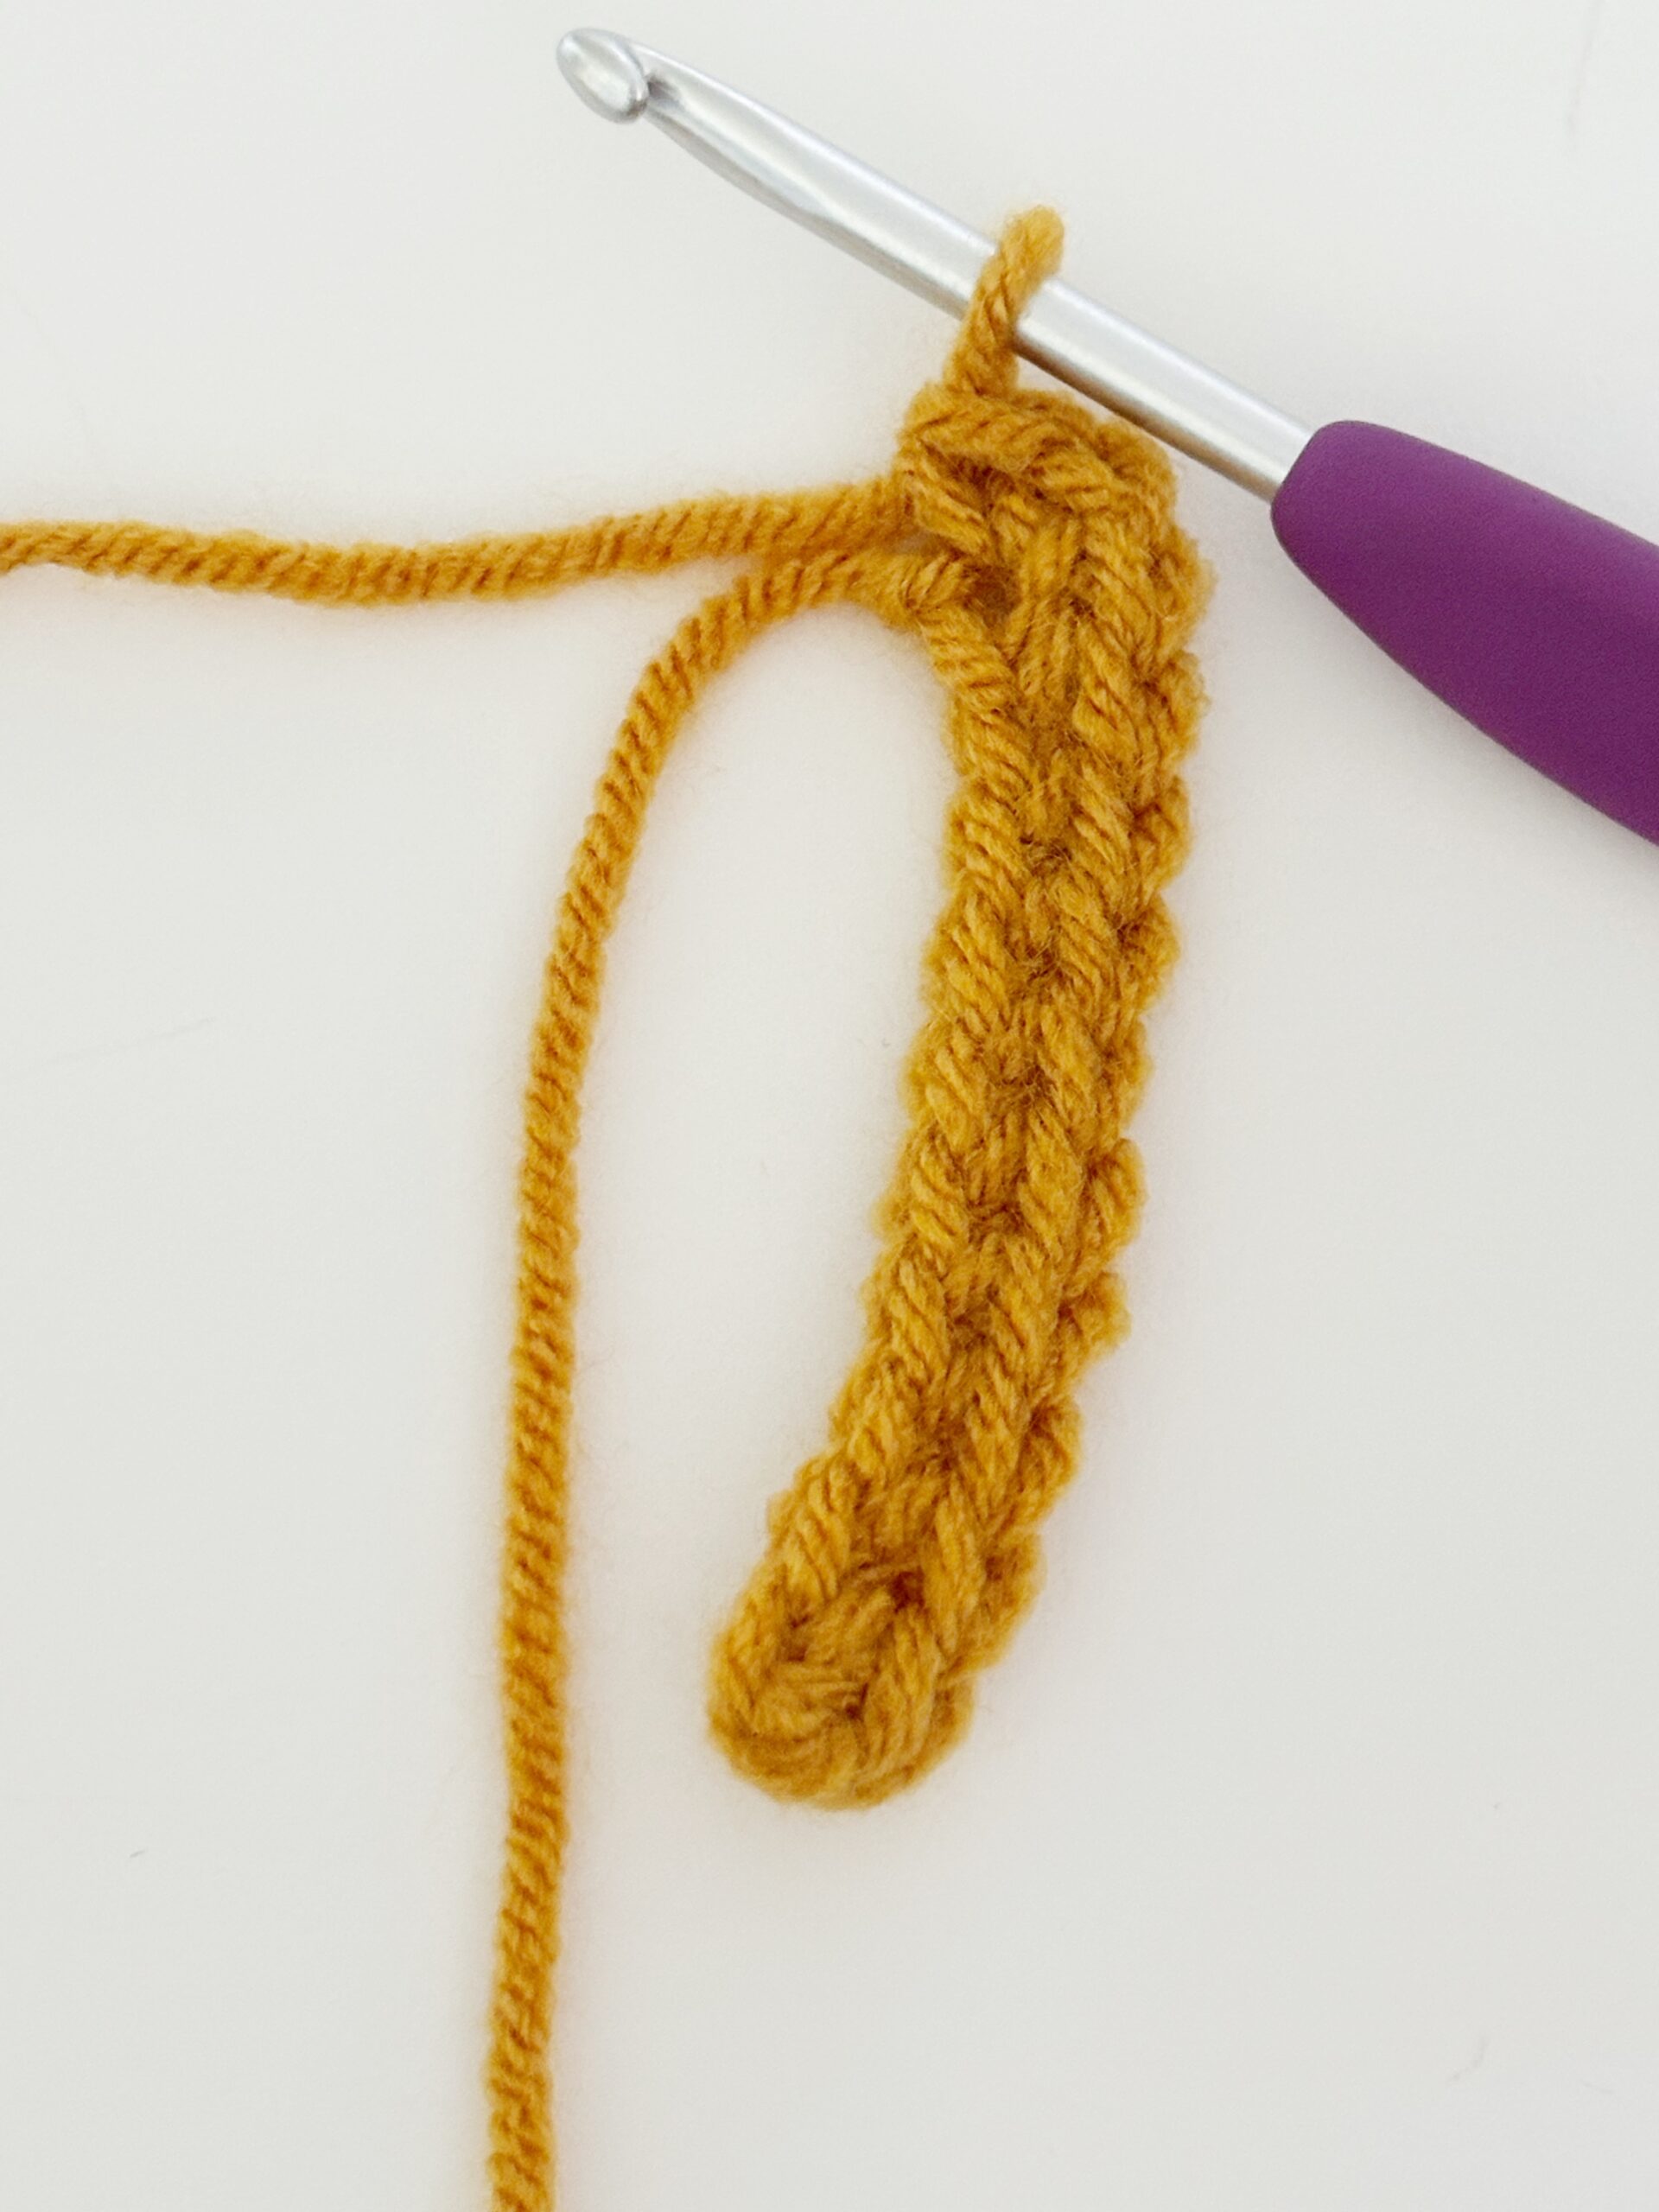
3. Corner Stitches
When you reach the end of the foundation chain, make a couple extra stitches in the last chain to help smoothly transition around the corner of the oval.
This step is crucial for maintaining a rounded shape.
Round 1: In the final chain, single crochet 2 more times (12 sc)
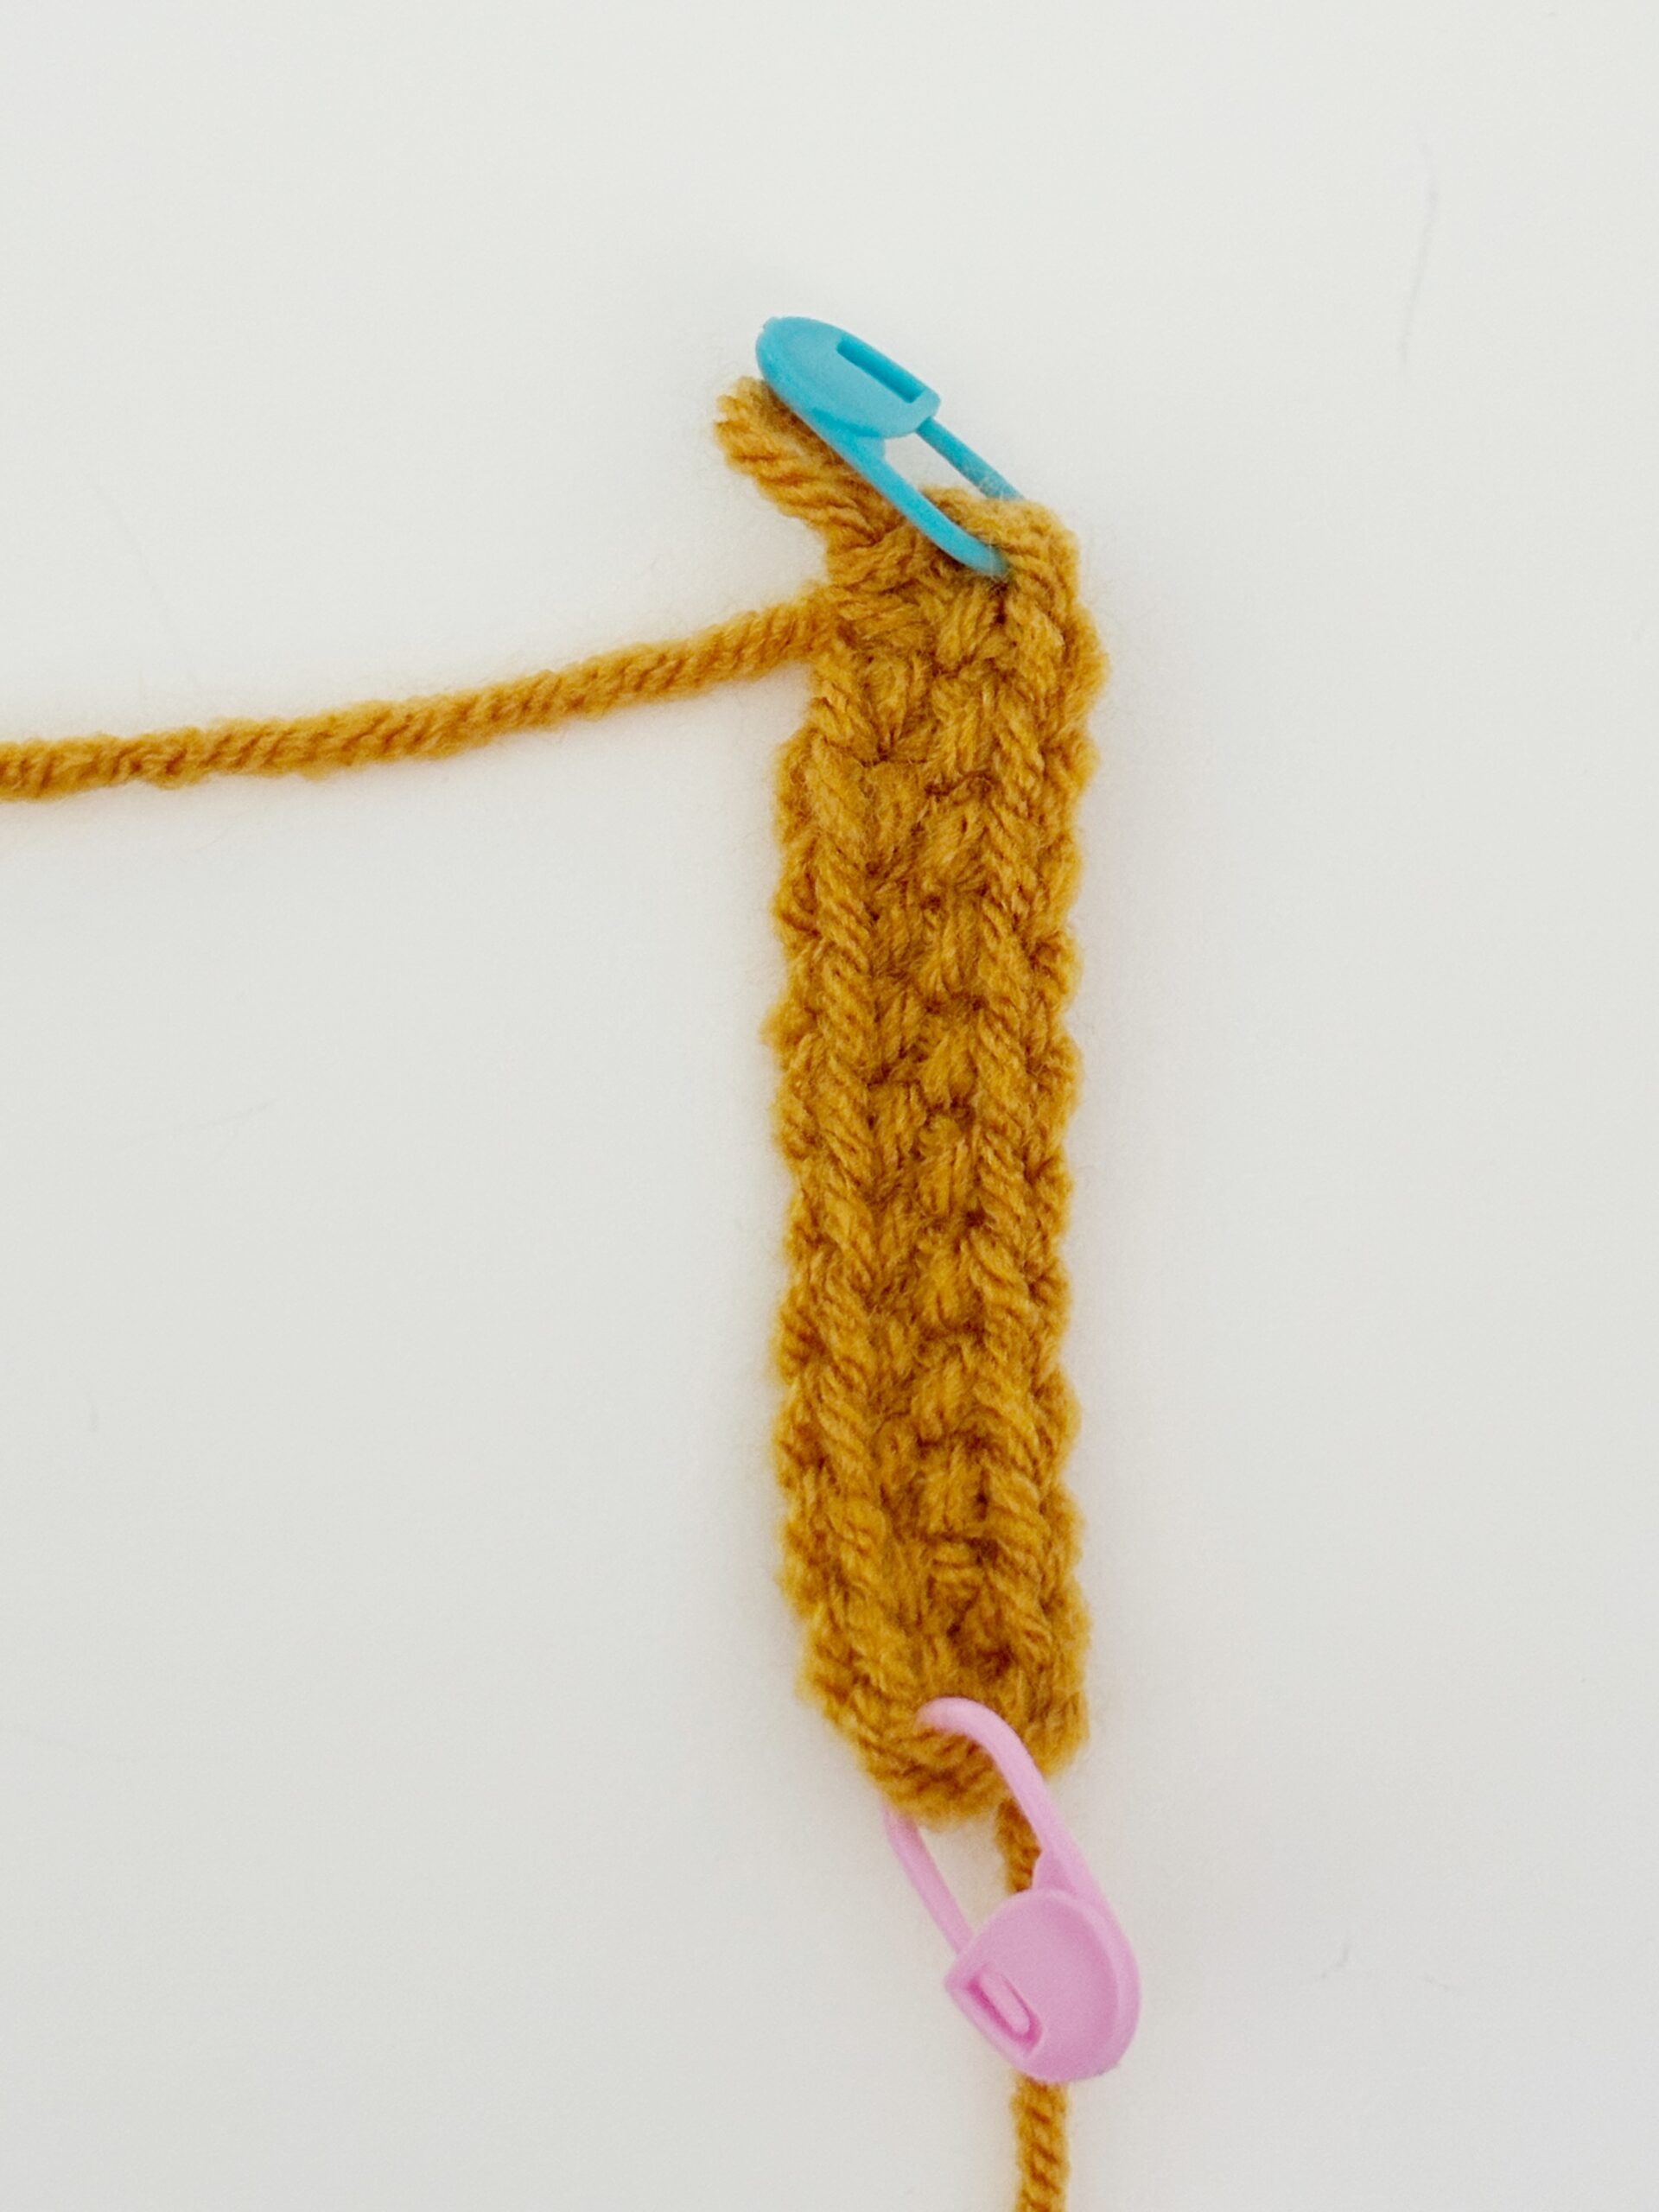
4. Crochet on the other side of the chain
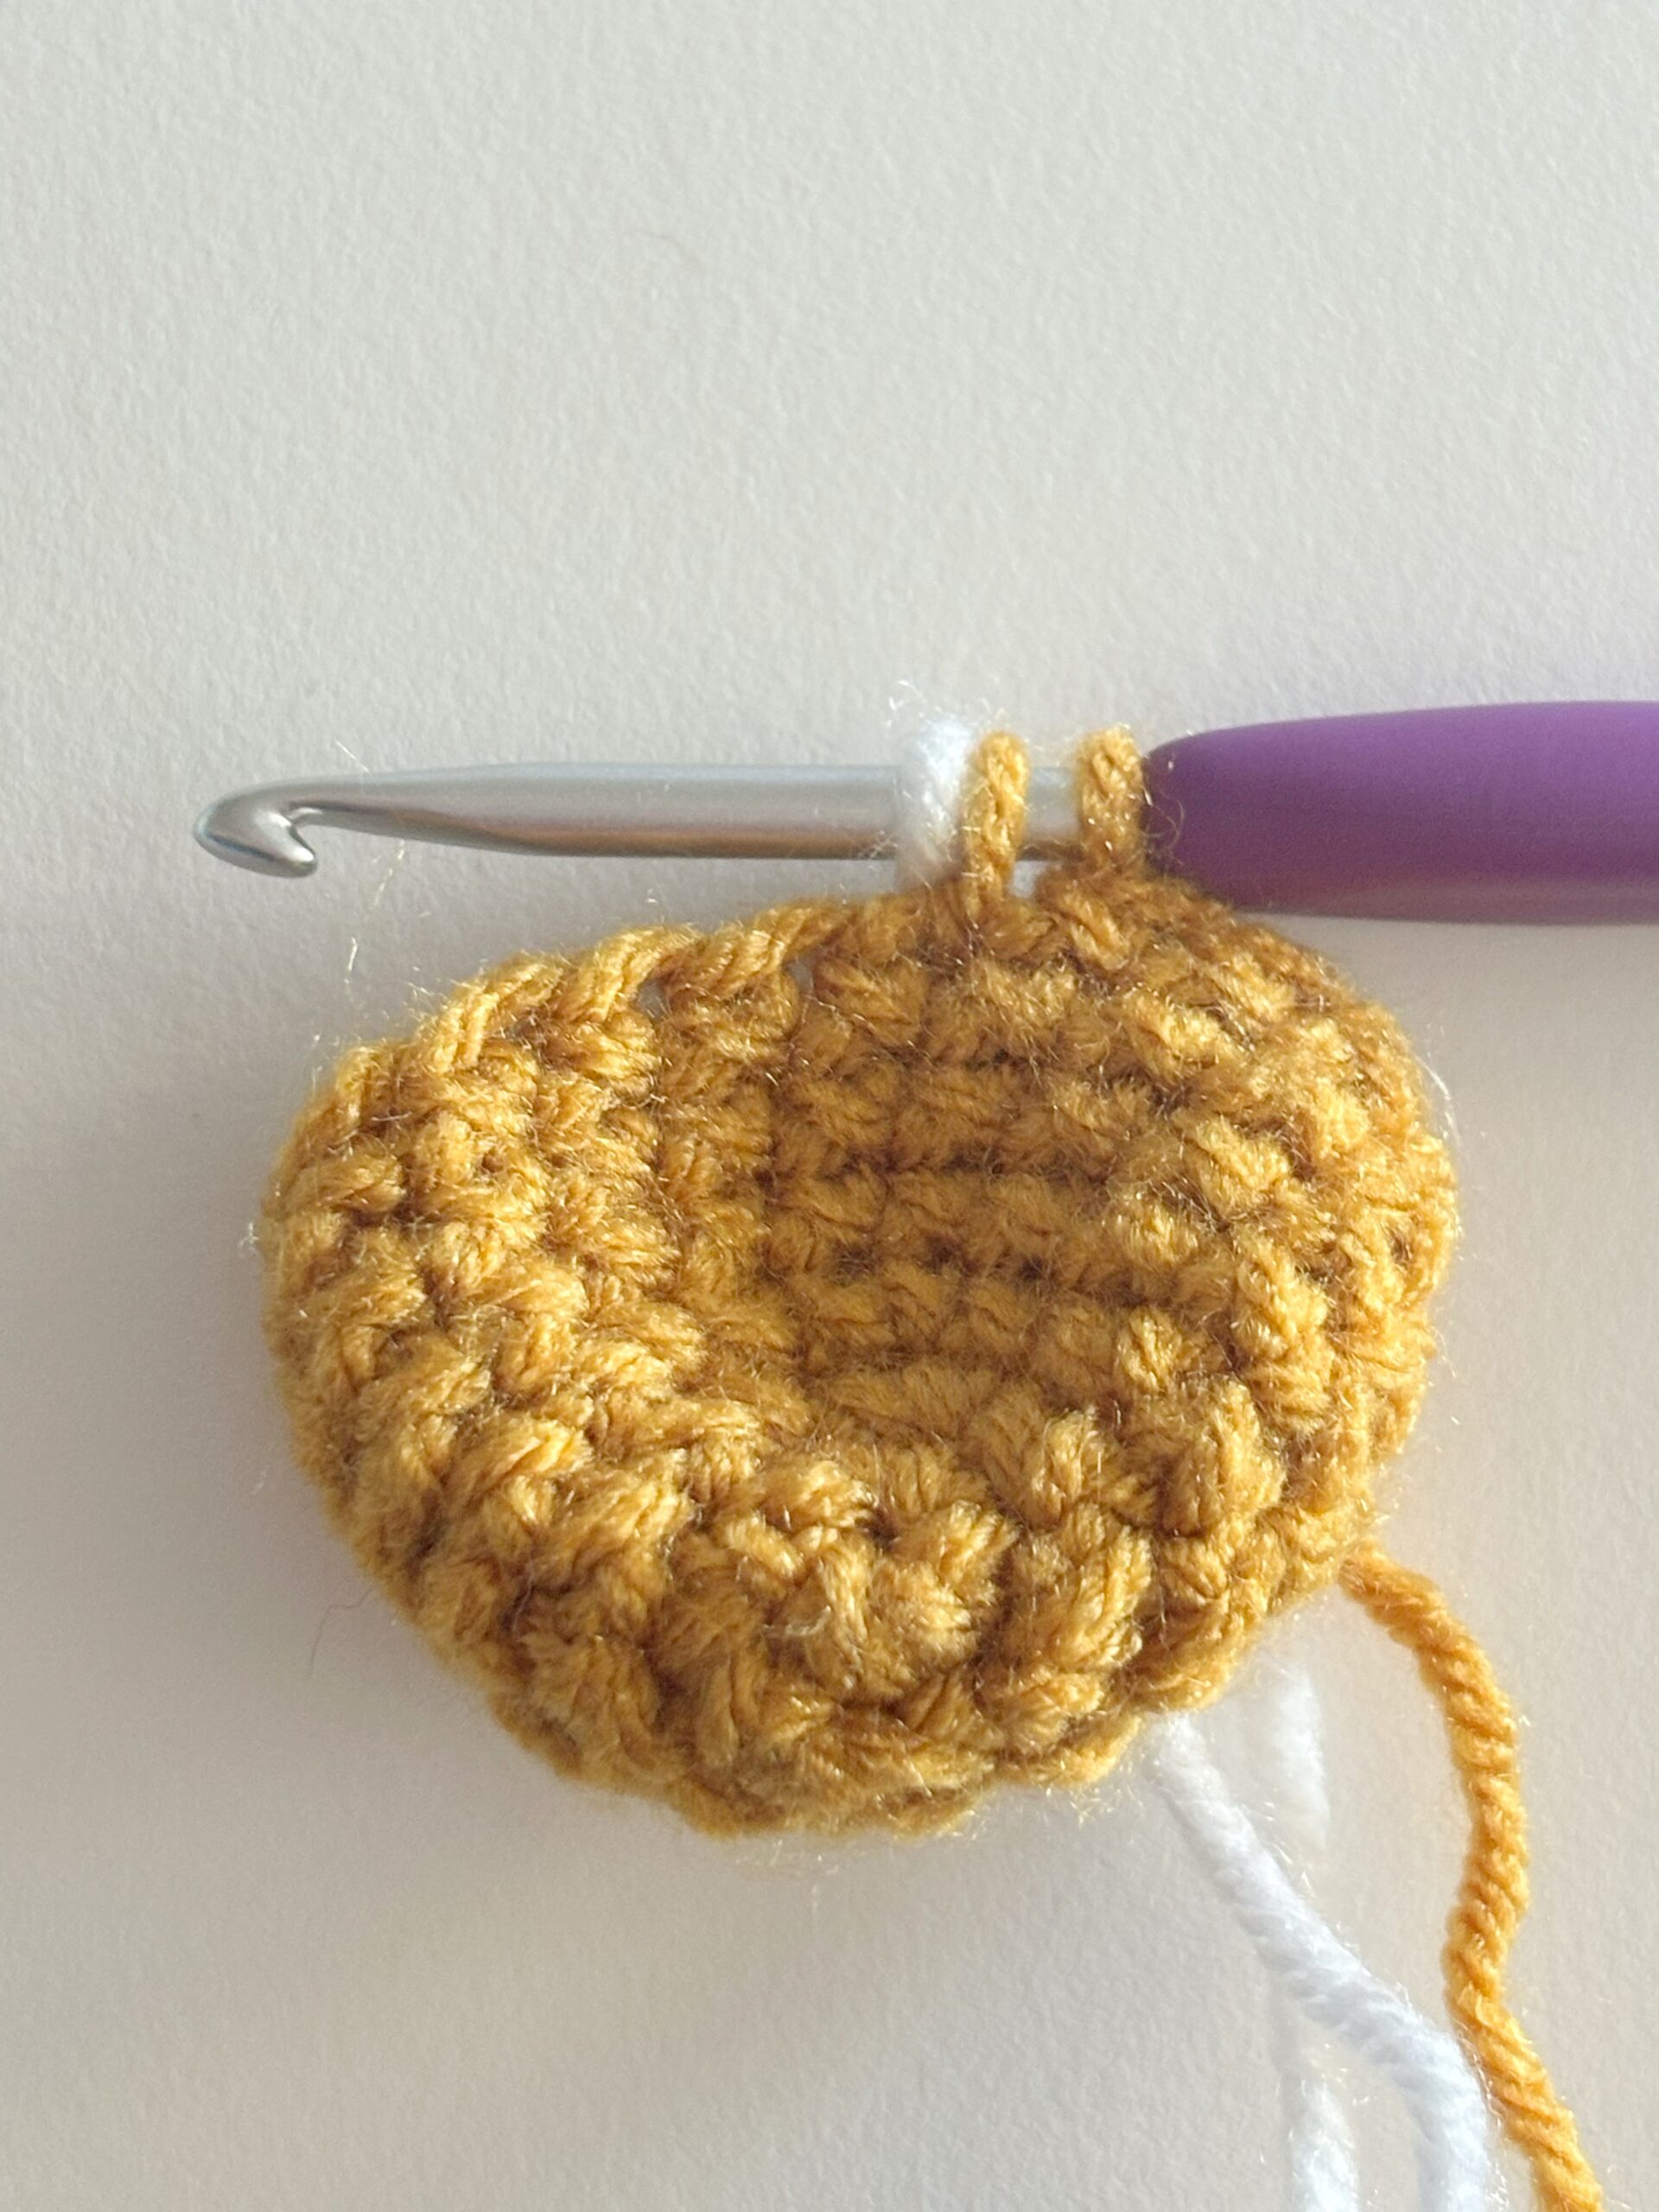
Turn the piece and continue working single crochet stitches along the other side of the foundation chain.
You’re essentially mirroring what you did on the first side.
Round 1: Single crochet in each of the 10 chains down the other side (22 sc)

5. Corner Stitches (Other Side)
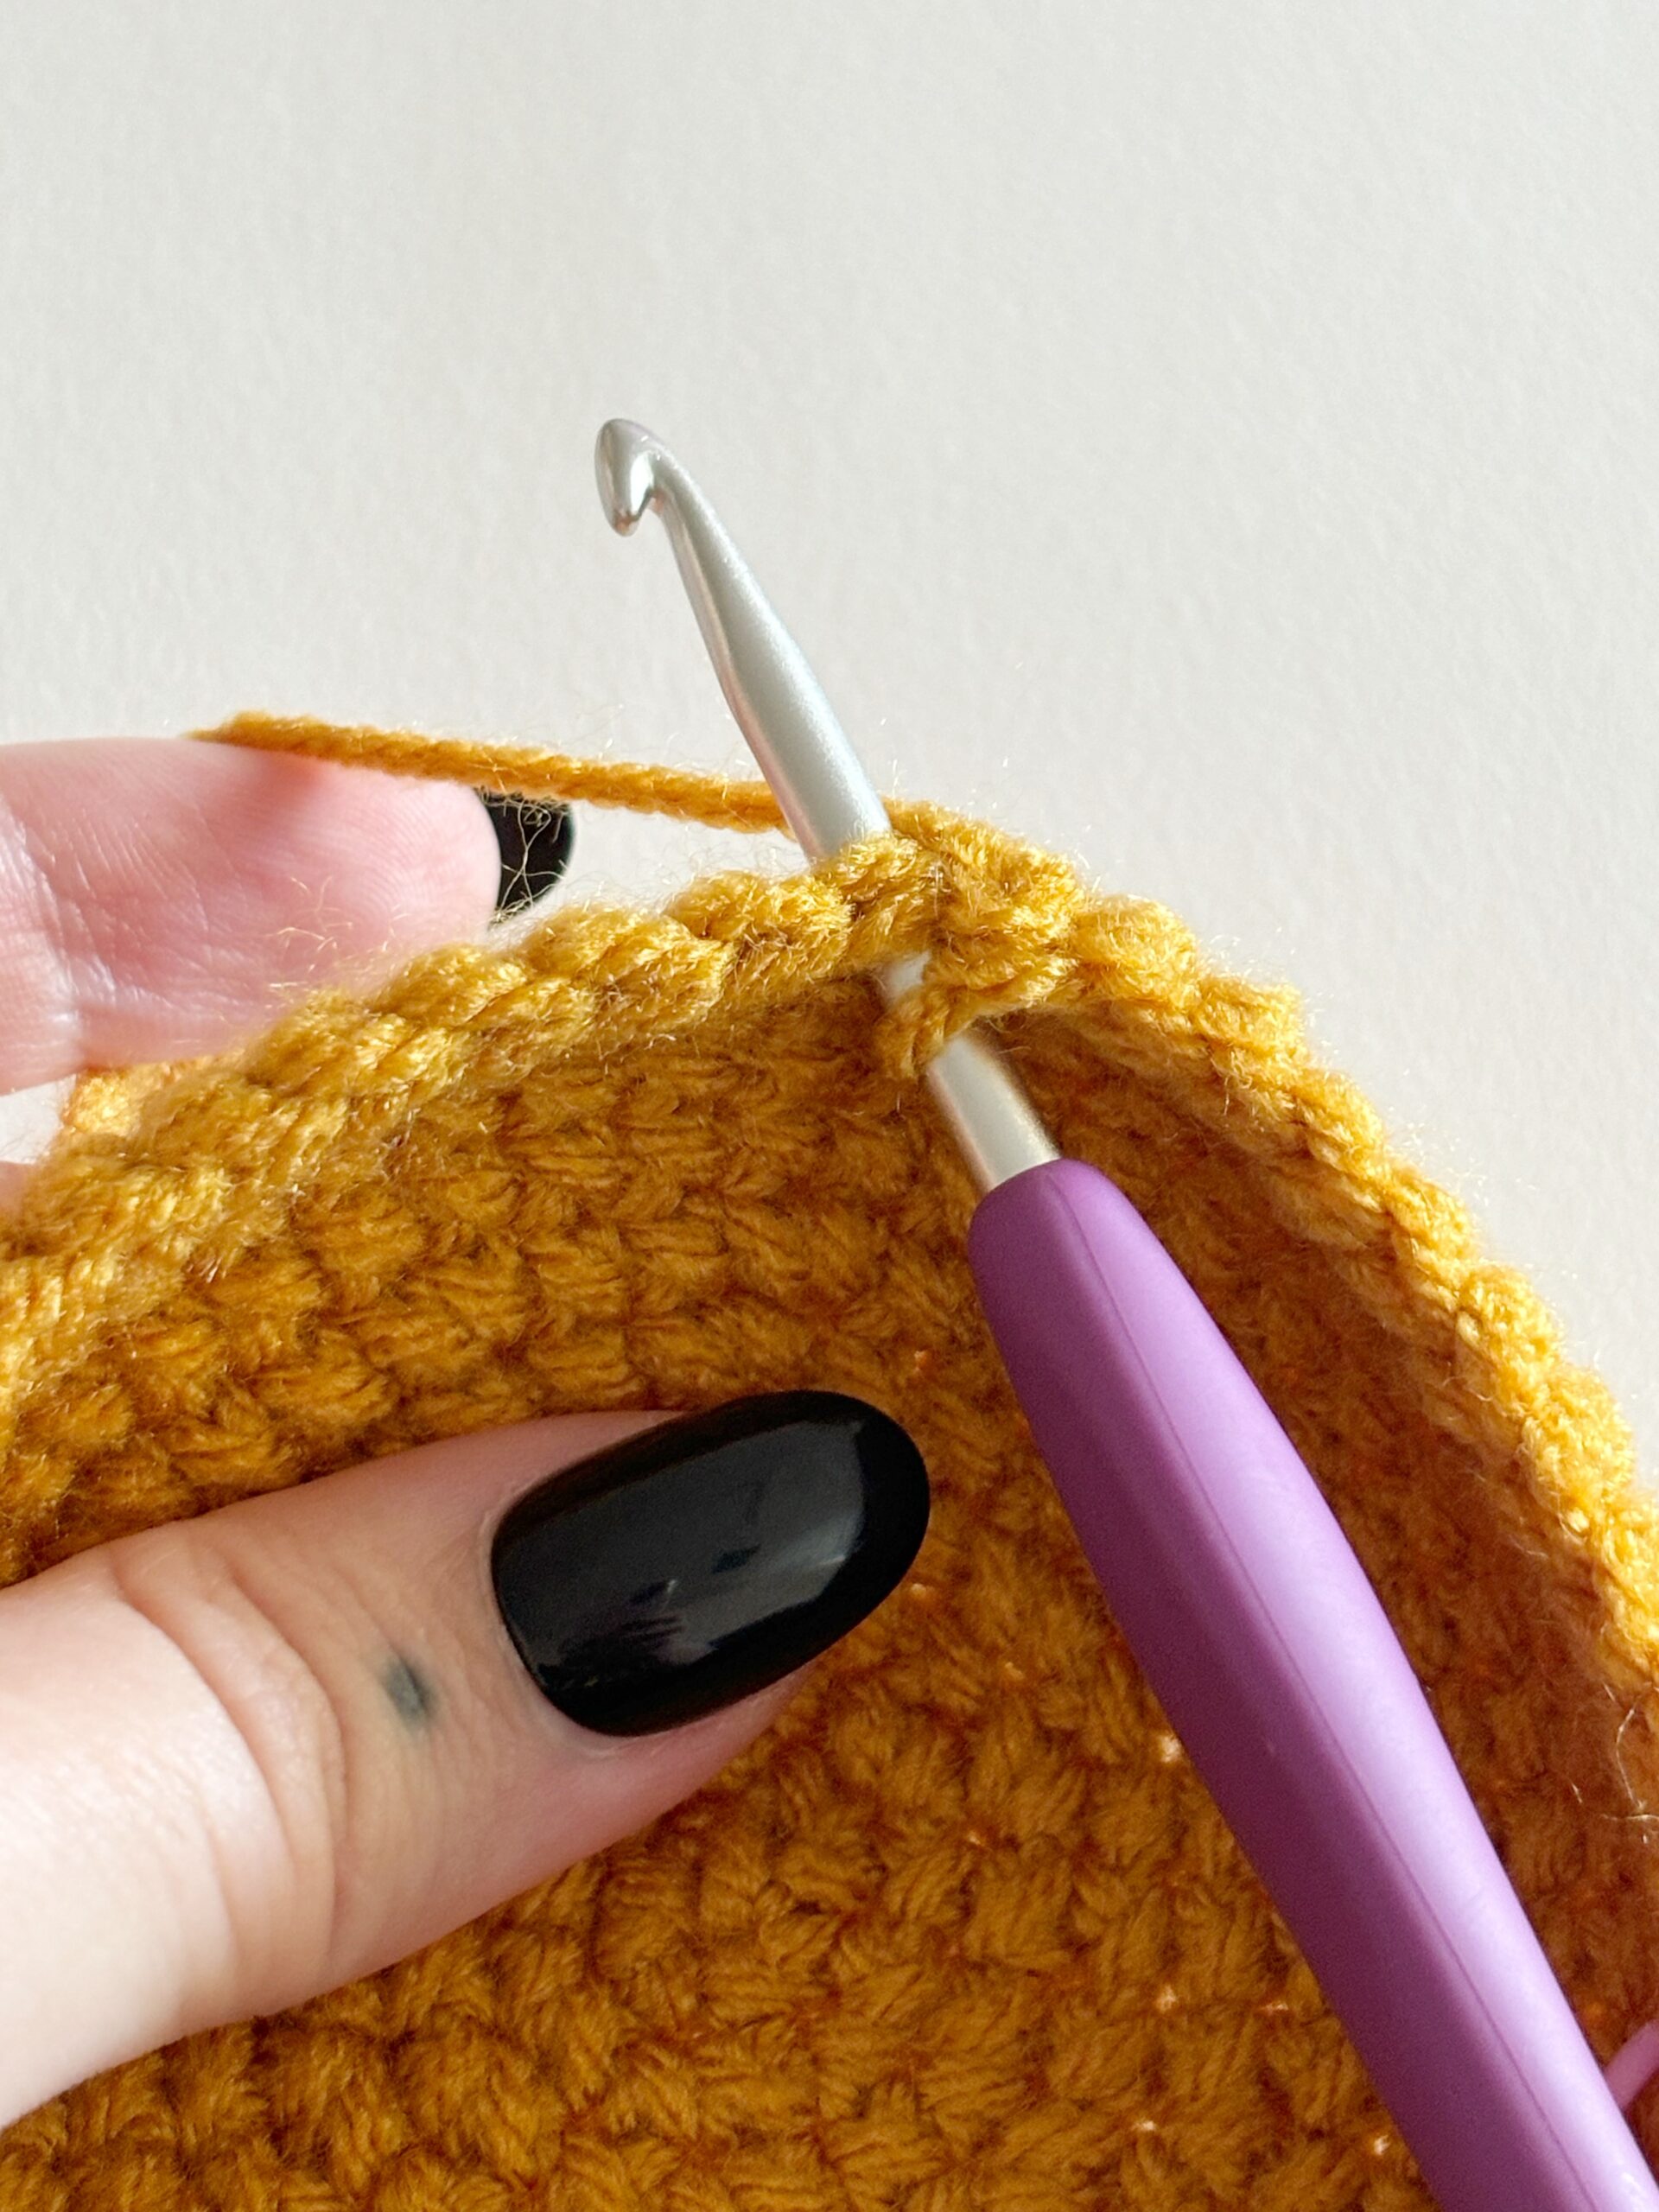
When you reach the end of the other side of the foundation chain, make two extra stitches in the last chain.
Round 1 creates an oval with 9 single crochet stitches on each side and 3 stitches at each end (which form the corners).
Round 1: In the final chain, single crochet 2 more times (24 sc)
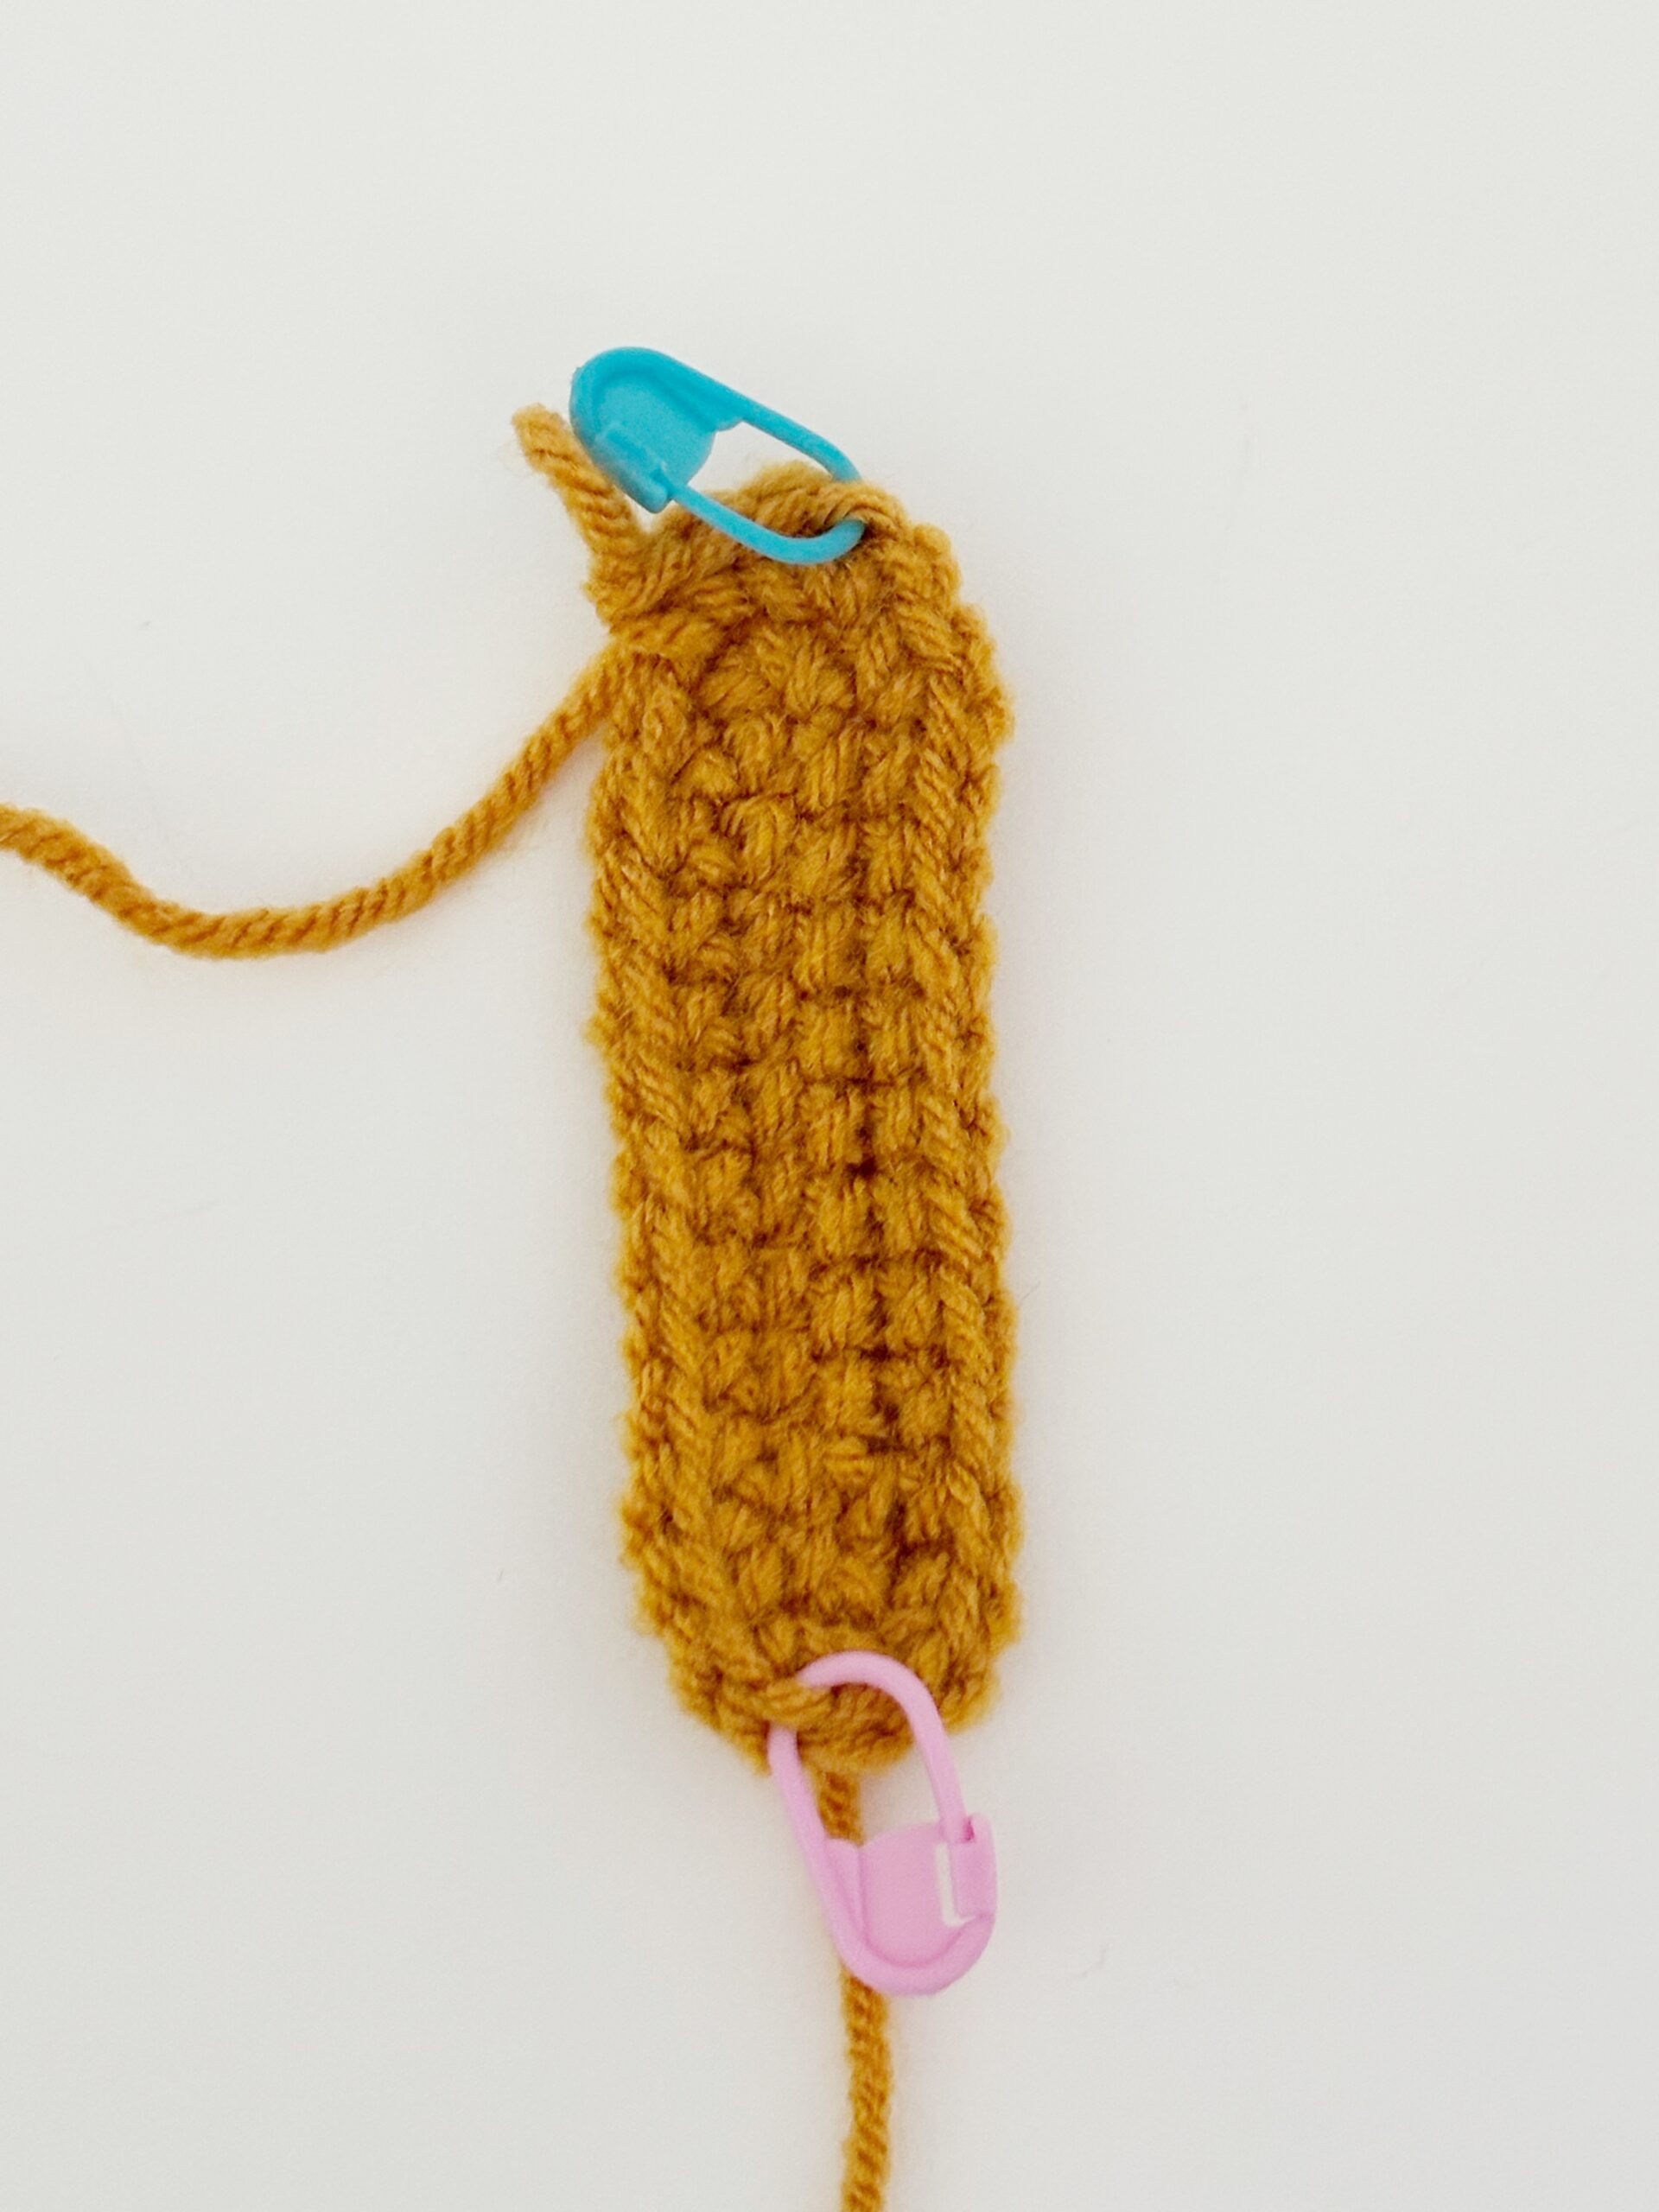
6. Increasing
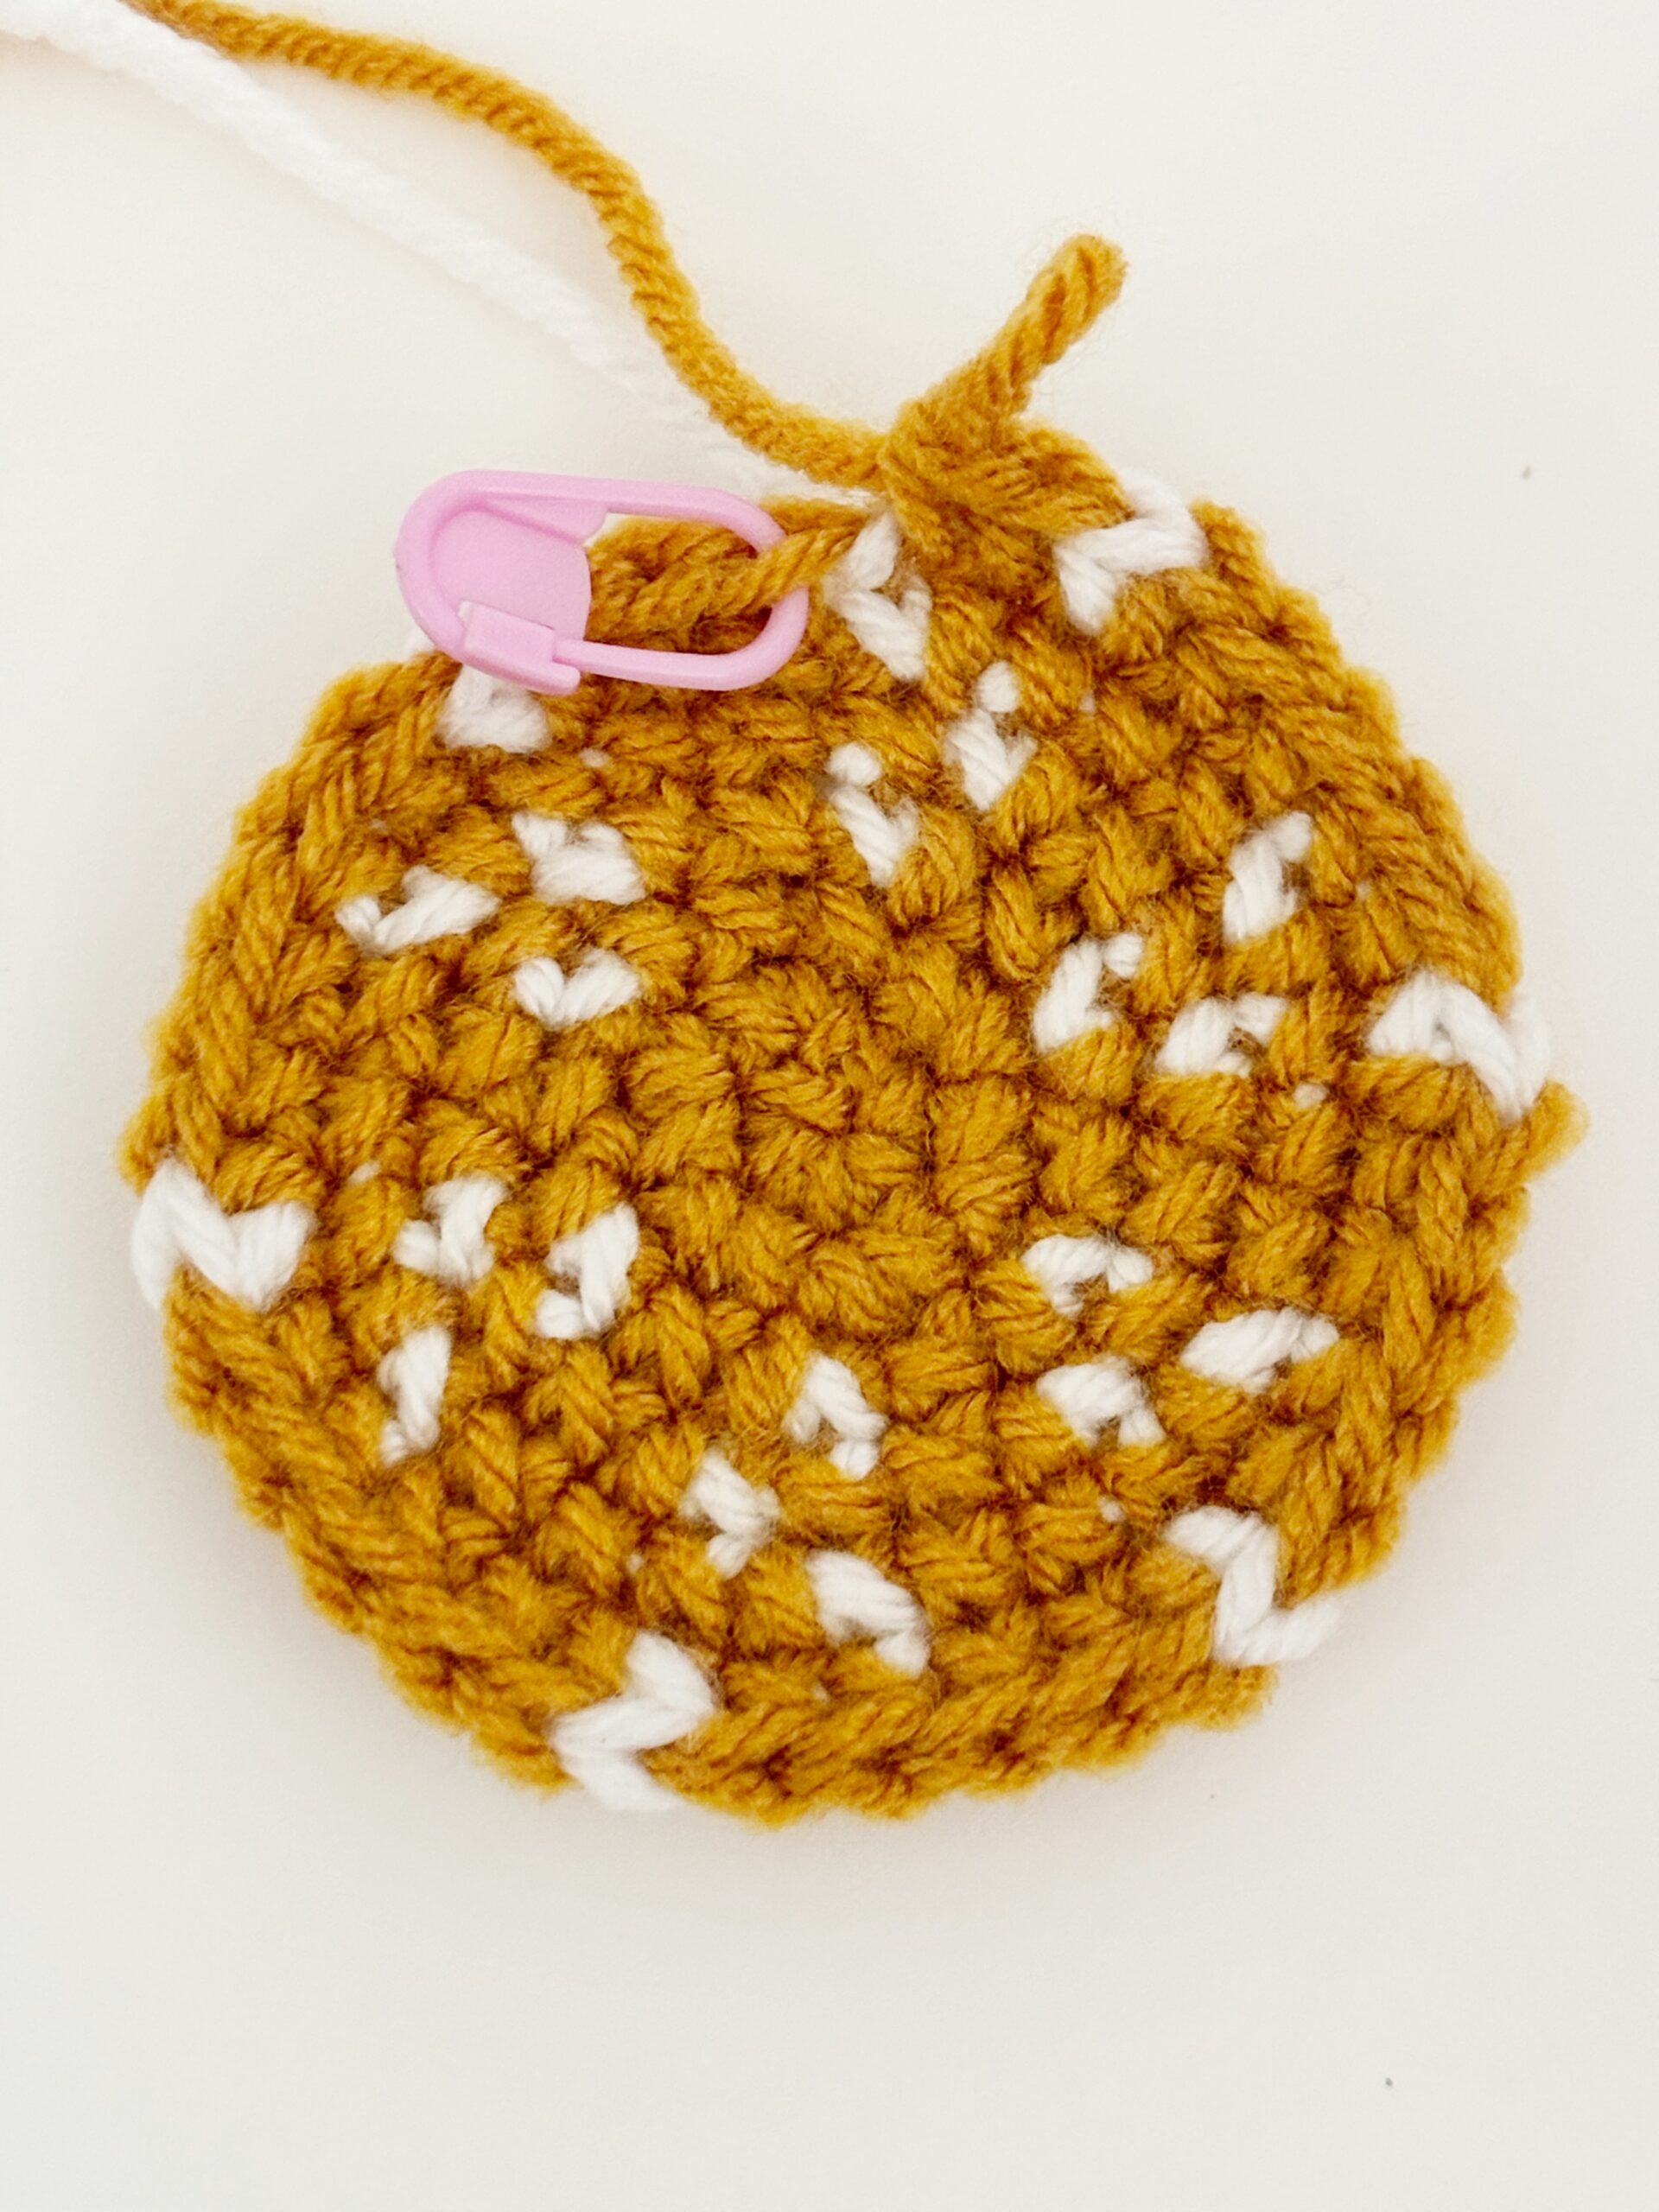
Since we’re making amigurumi, do not slip stitch to finish the round – we’re going to work in a spiral with a stitch marker.
In round two, we will continue increasing in each corner to make the oval bigger. The middle stitches of the 3 single crochets at each end are the corners of Round 2 (image shows stitch markers in each corner / end).
Round 2: Single crochet in the next 9 stitches, 2 single crochet in the next stitch, 3 single crochet in the next stitch, 2 single crochet in the next stitch,
(Second side) single crochet in the next 9 stitches, 2 single crochet in the next stitch, 3 single crochet in the next stitch, 2 single crochet in the next stitch
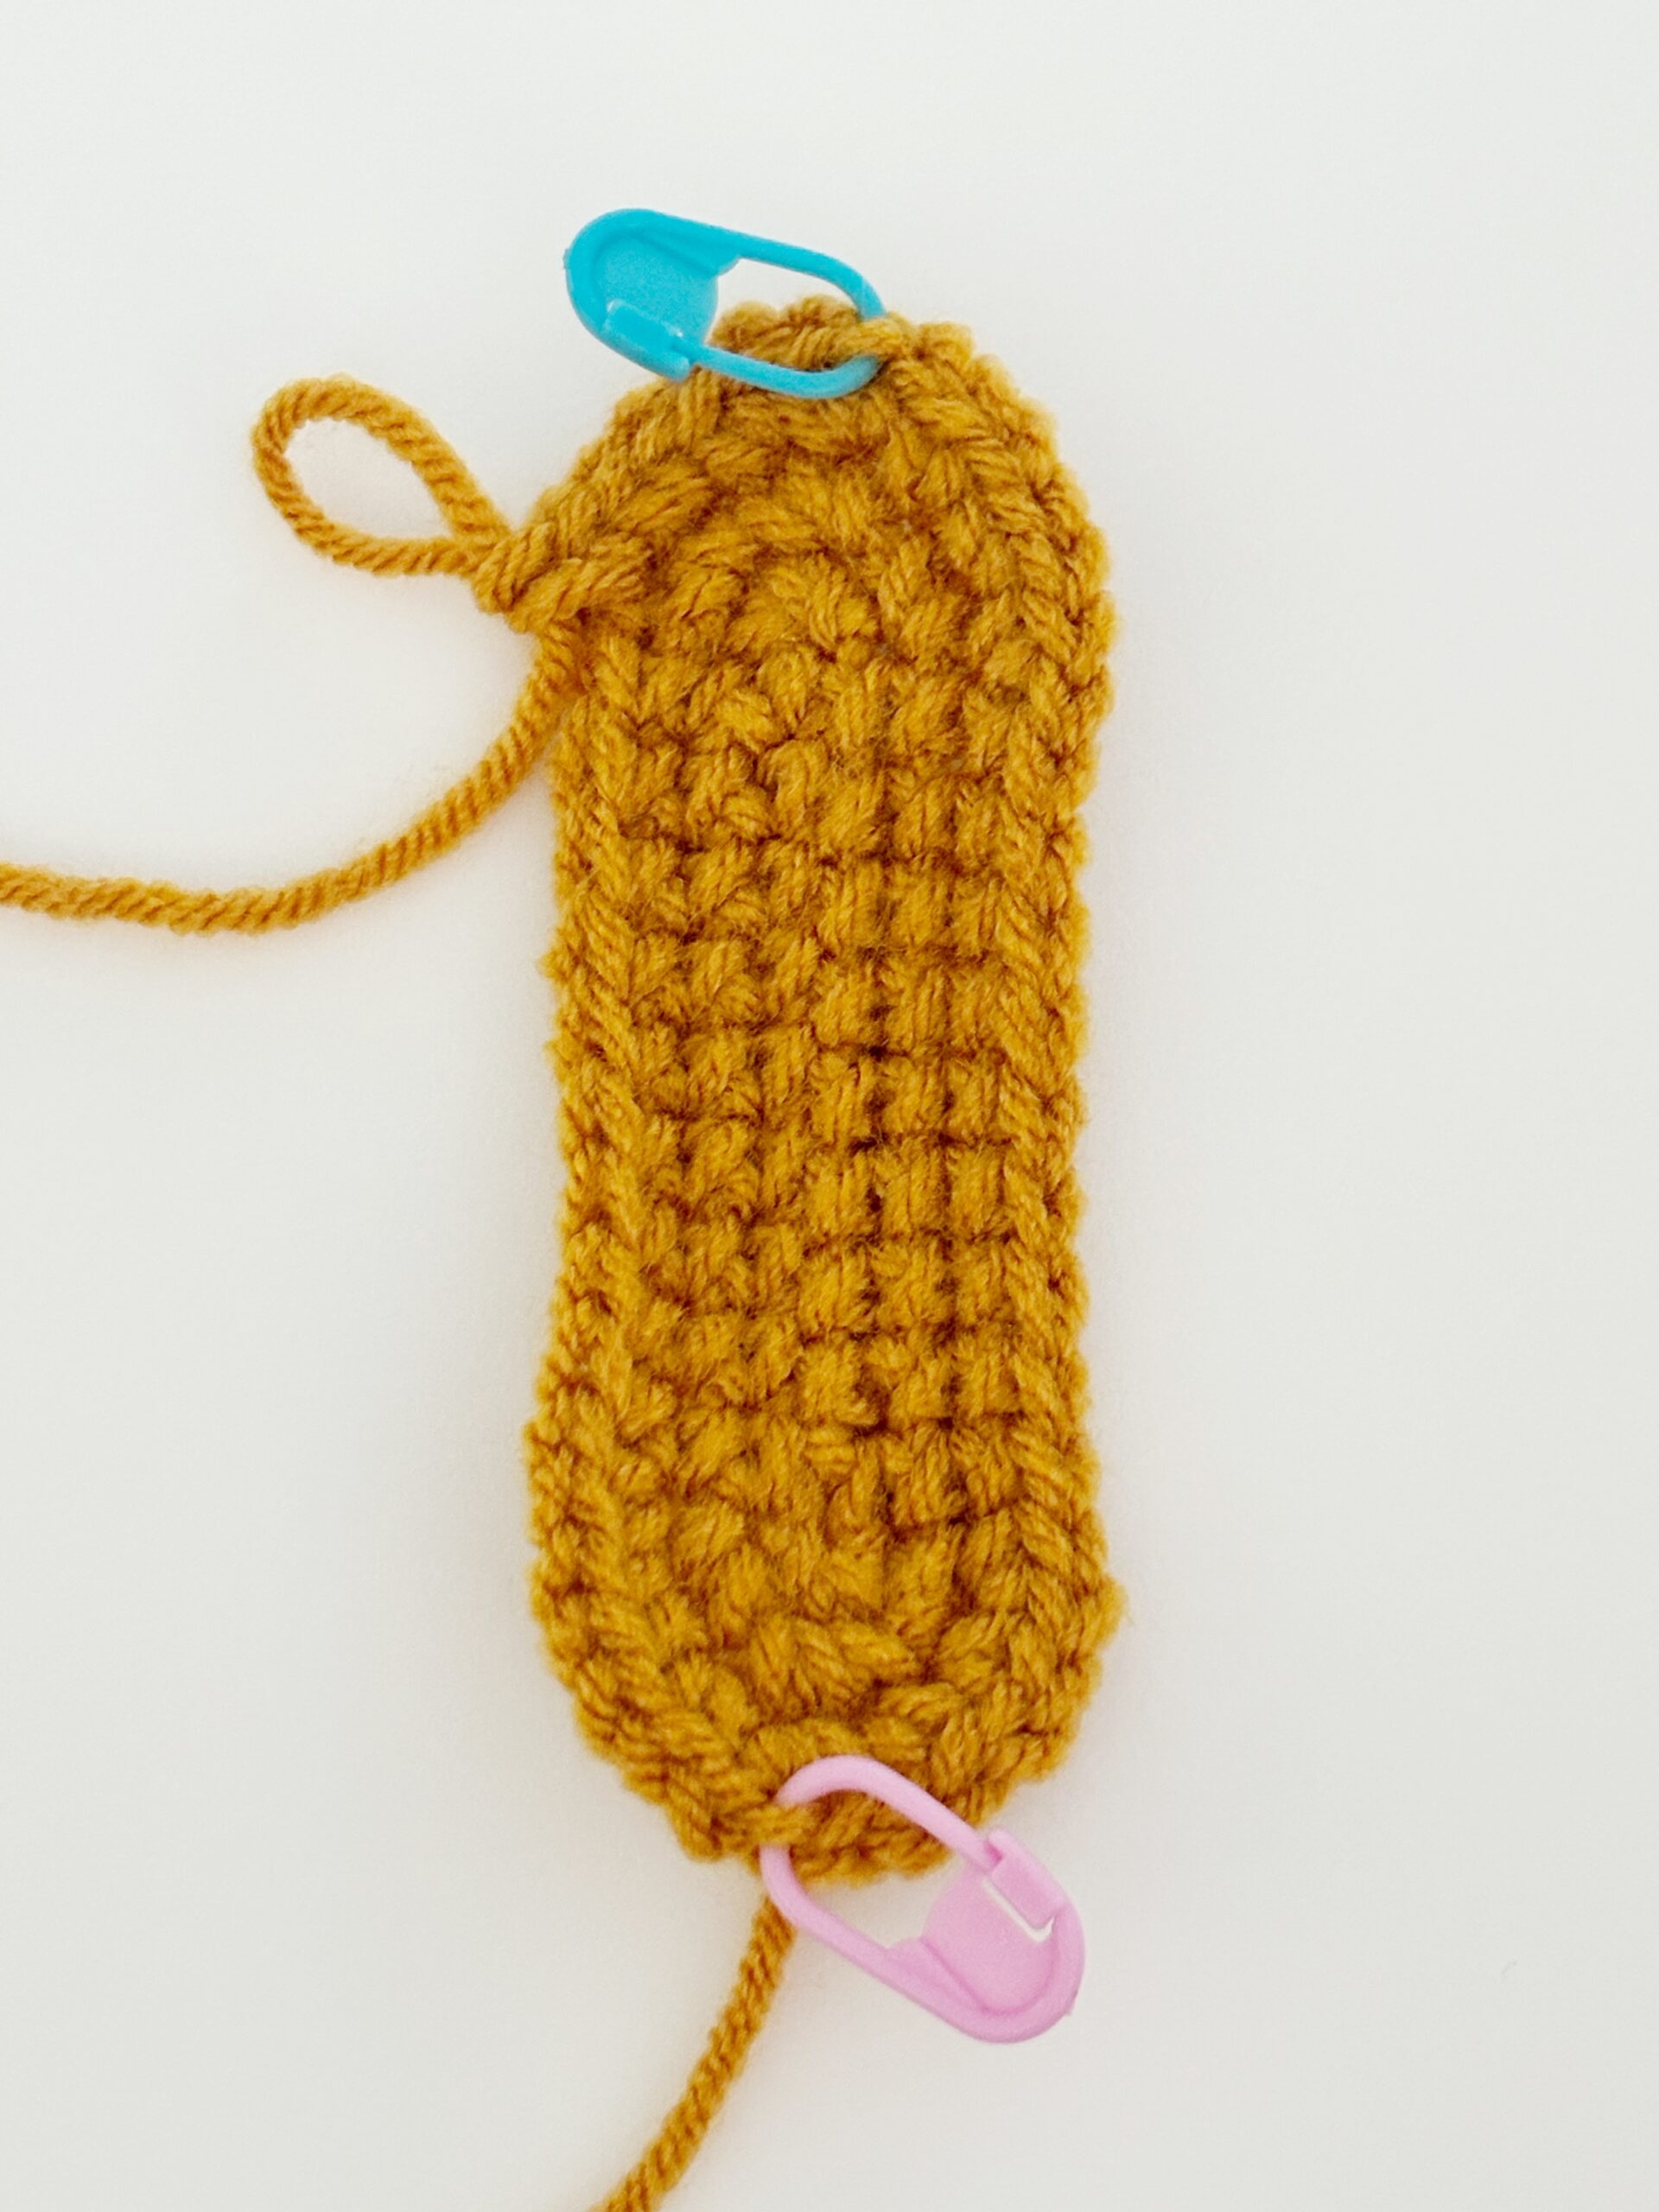
7. Continue making your oval bigger
If you want to continue making the oval bigger, single crochet 9 times, 2 single crochet in each stitch until the corner. In the corner stitch, single crochet 3 times (the middle of the three stitches will be the new corner).
Mirror what you’ve done on the other side, remembering to crochet 3 times in each corner and 2 times in the stitches surrounding the corner.
Round 3: single crochet in the next 9 stitches, 2 single crochet in each of the next 3 stitches, 3 single crochets in the corner stitch, 2 single crochet in each of the next 3 stitches,
(Second side) single crochet in the next 9 stitches, 2 single crochet in each of the next 3 stitches, 3 single crochets in the corner stitch, 2 single crochet in each of the next 3 stitches
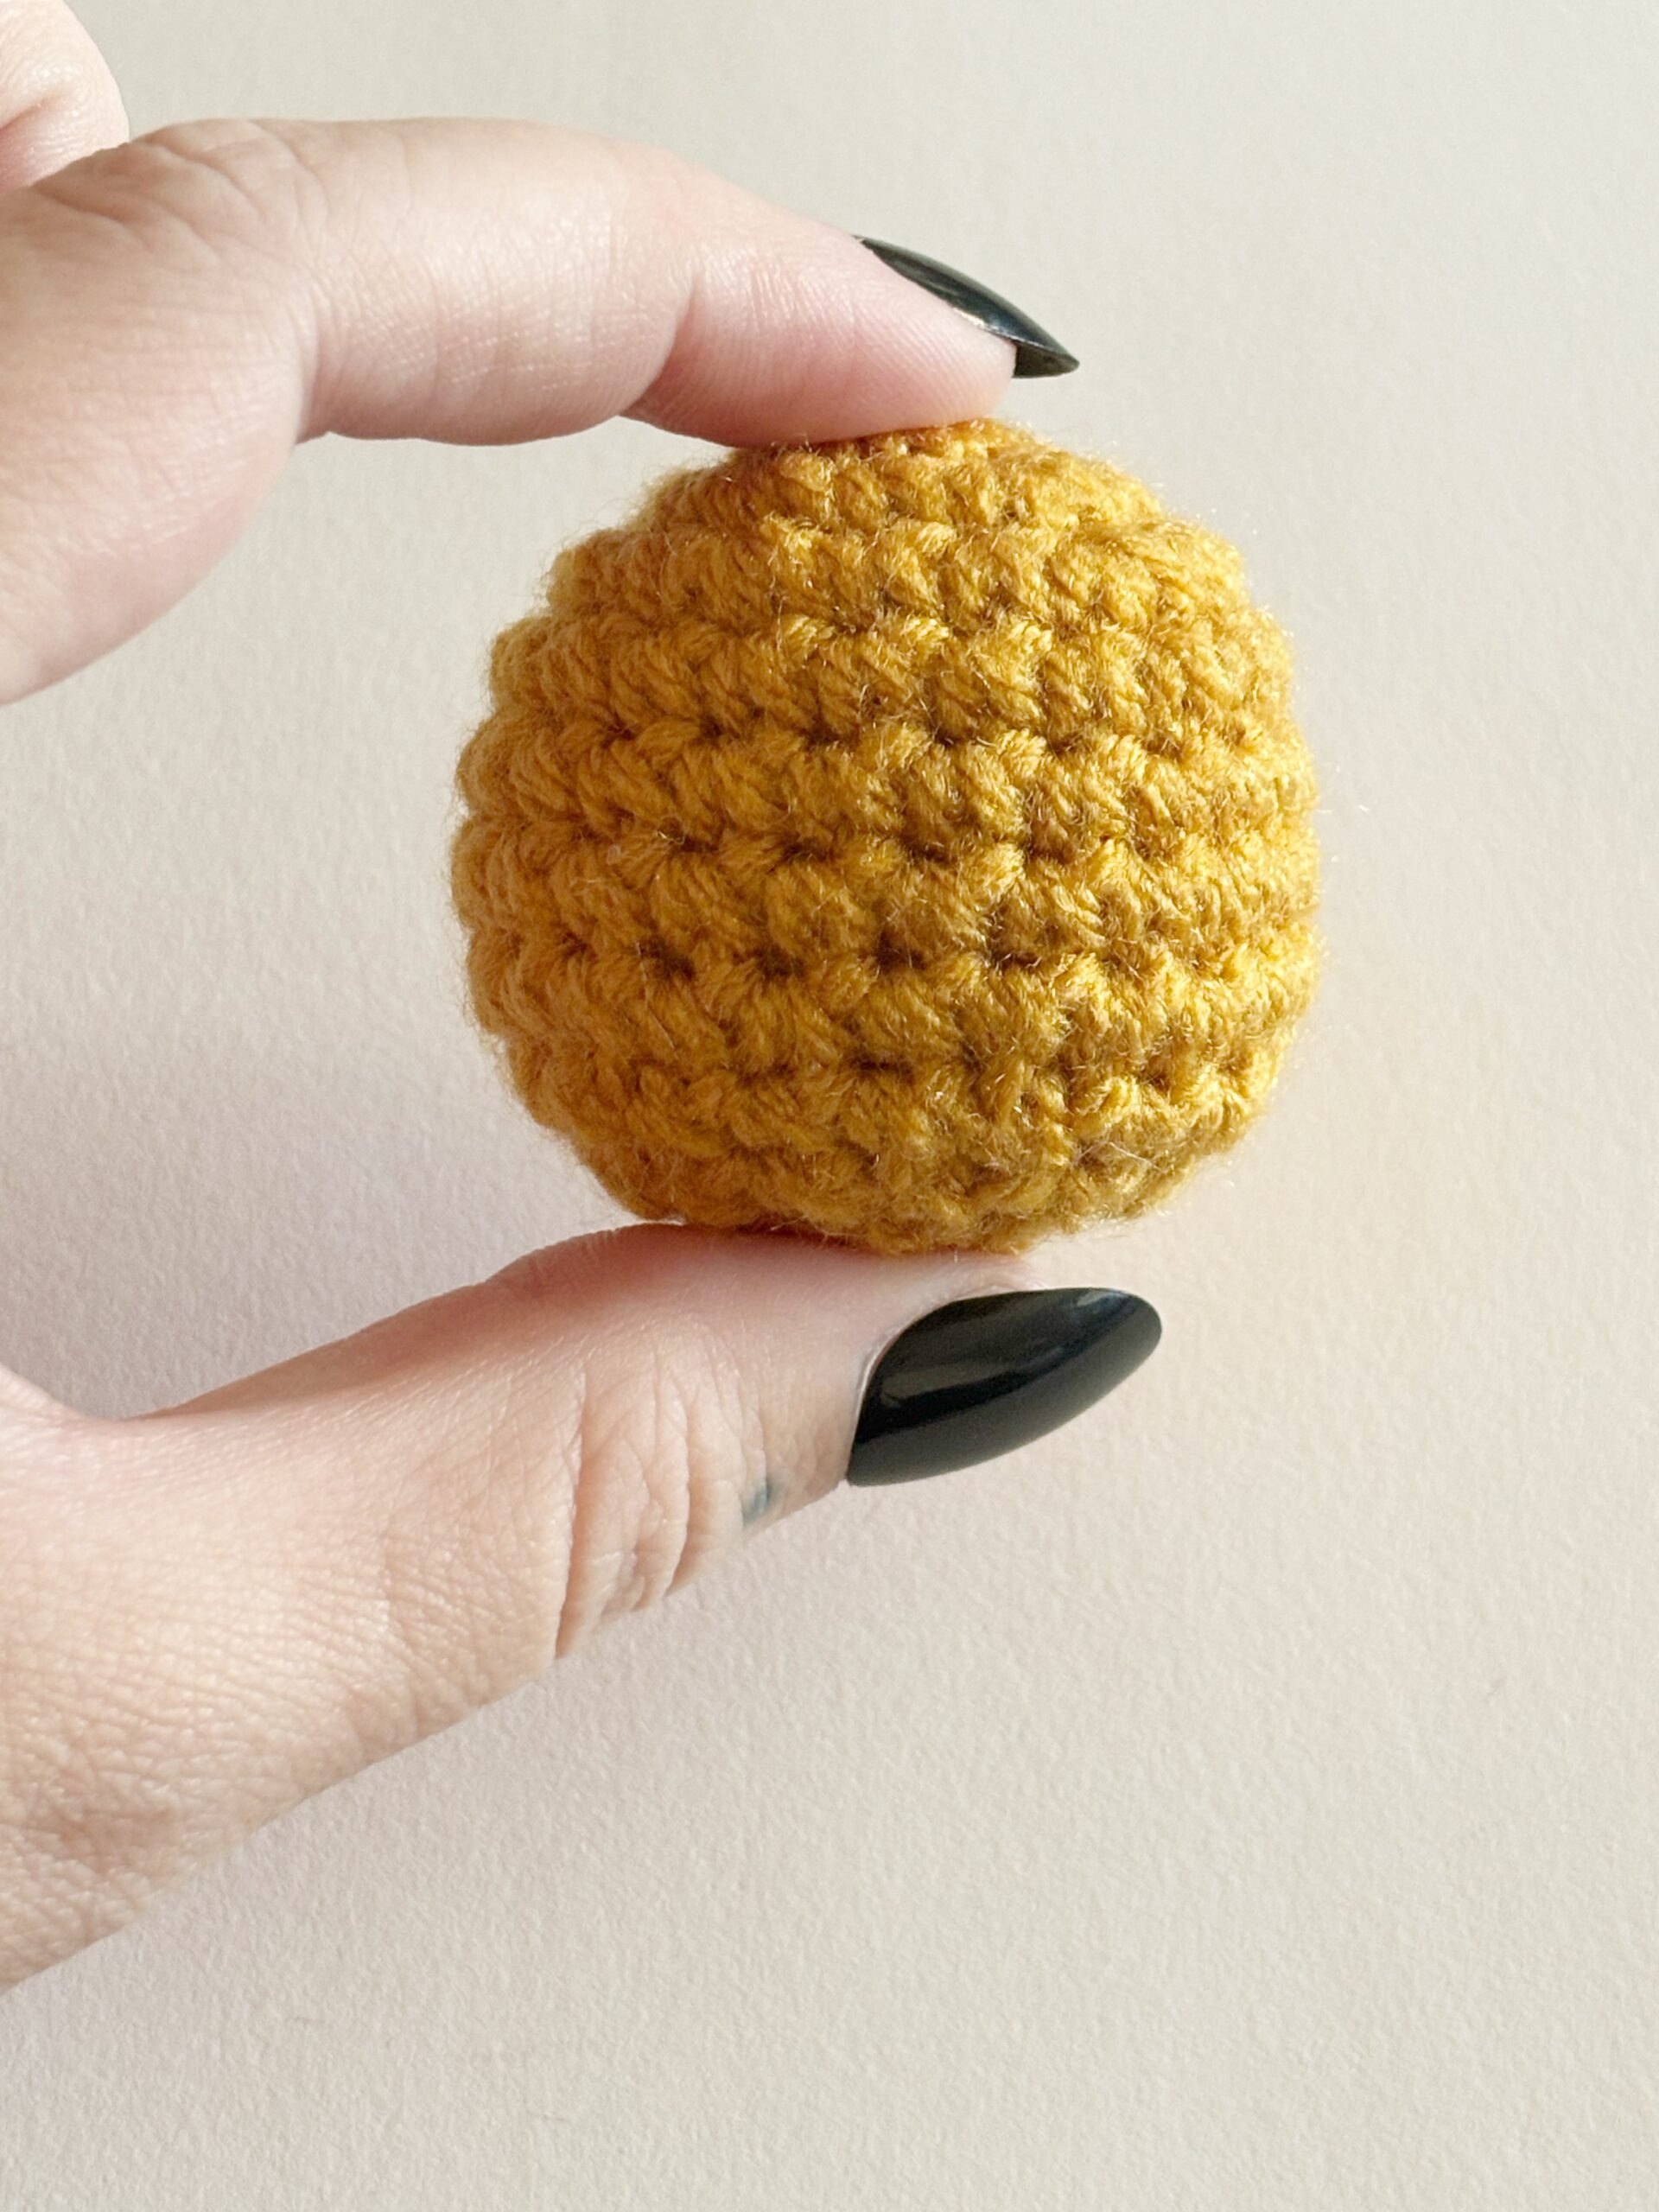
And voila! You’ve just crafted an oval for your crochet amigurumi, and you’ve successfully worked down the other side of the chain.

