How to Crochet a Perfect Circle with Staggered Increases
Is your amigurumi circle looking more like a hexagon?
Well, this is totally normal and all due to the standard technique for increasing in a circle.
Let’s learn how to crochet a perfect circle by using Staggered Increases.
Standard Increases for a Crochet Circle
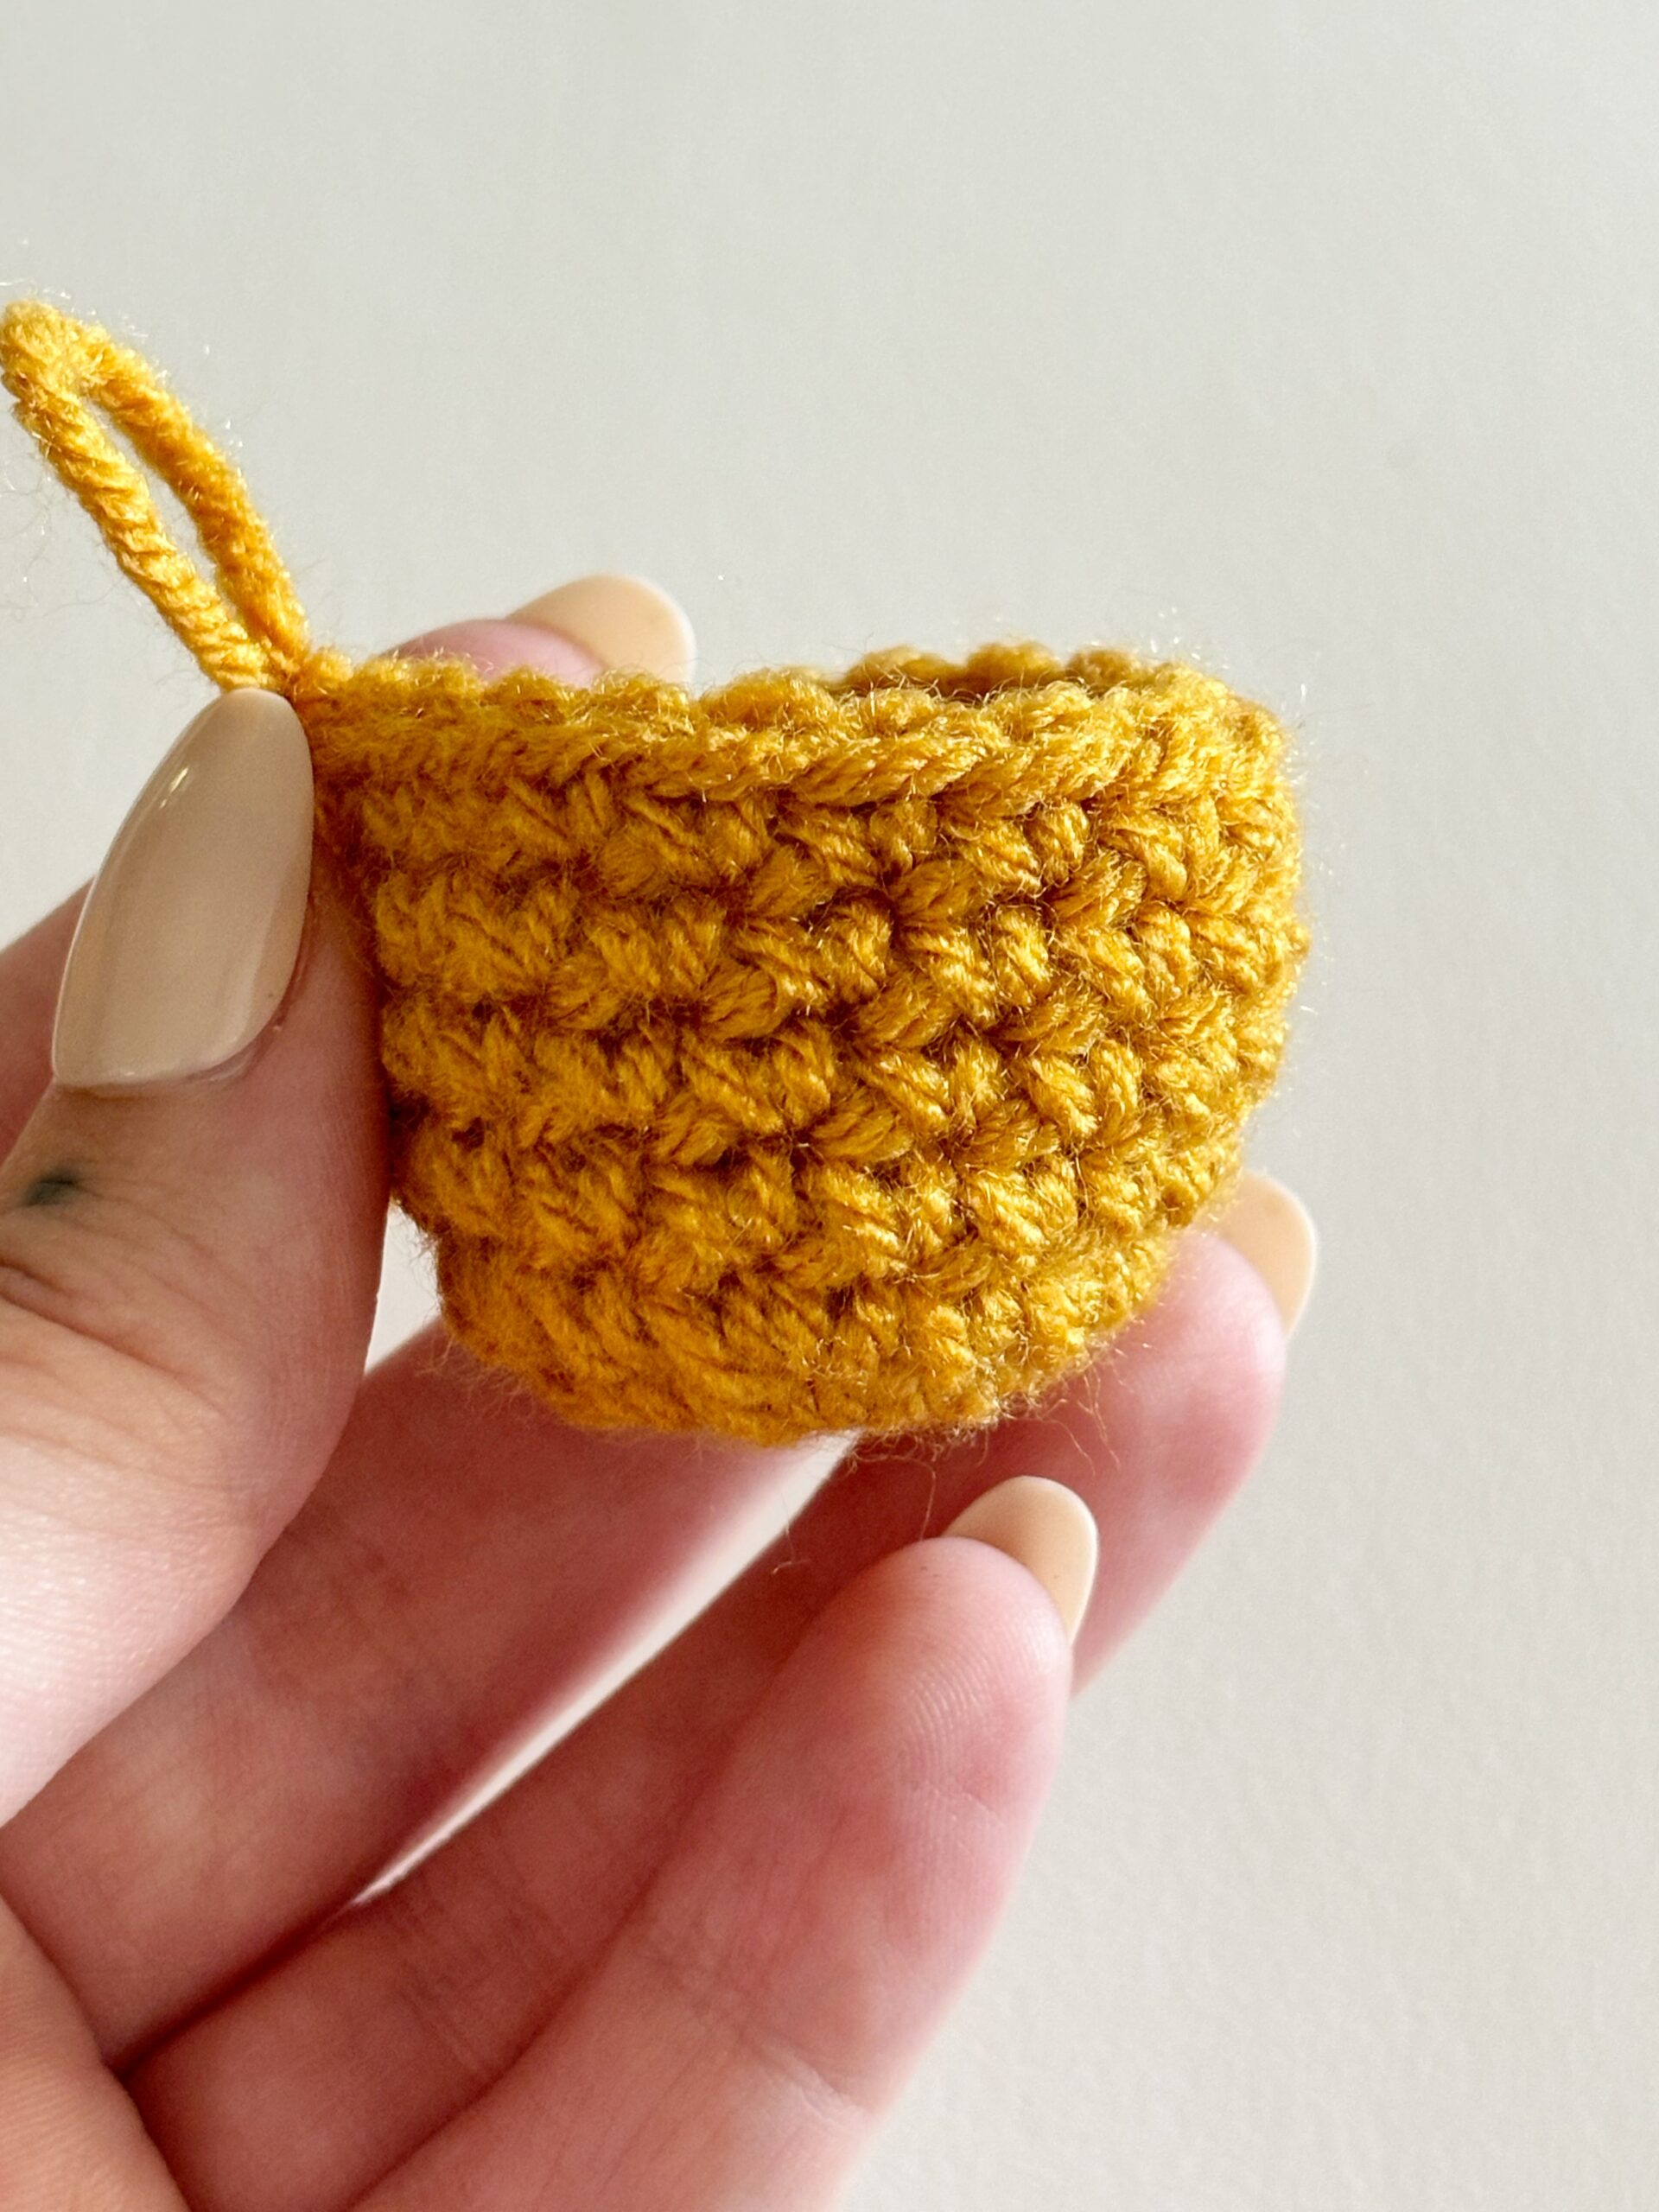
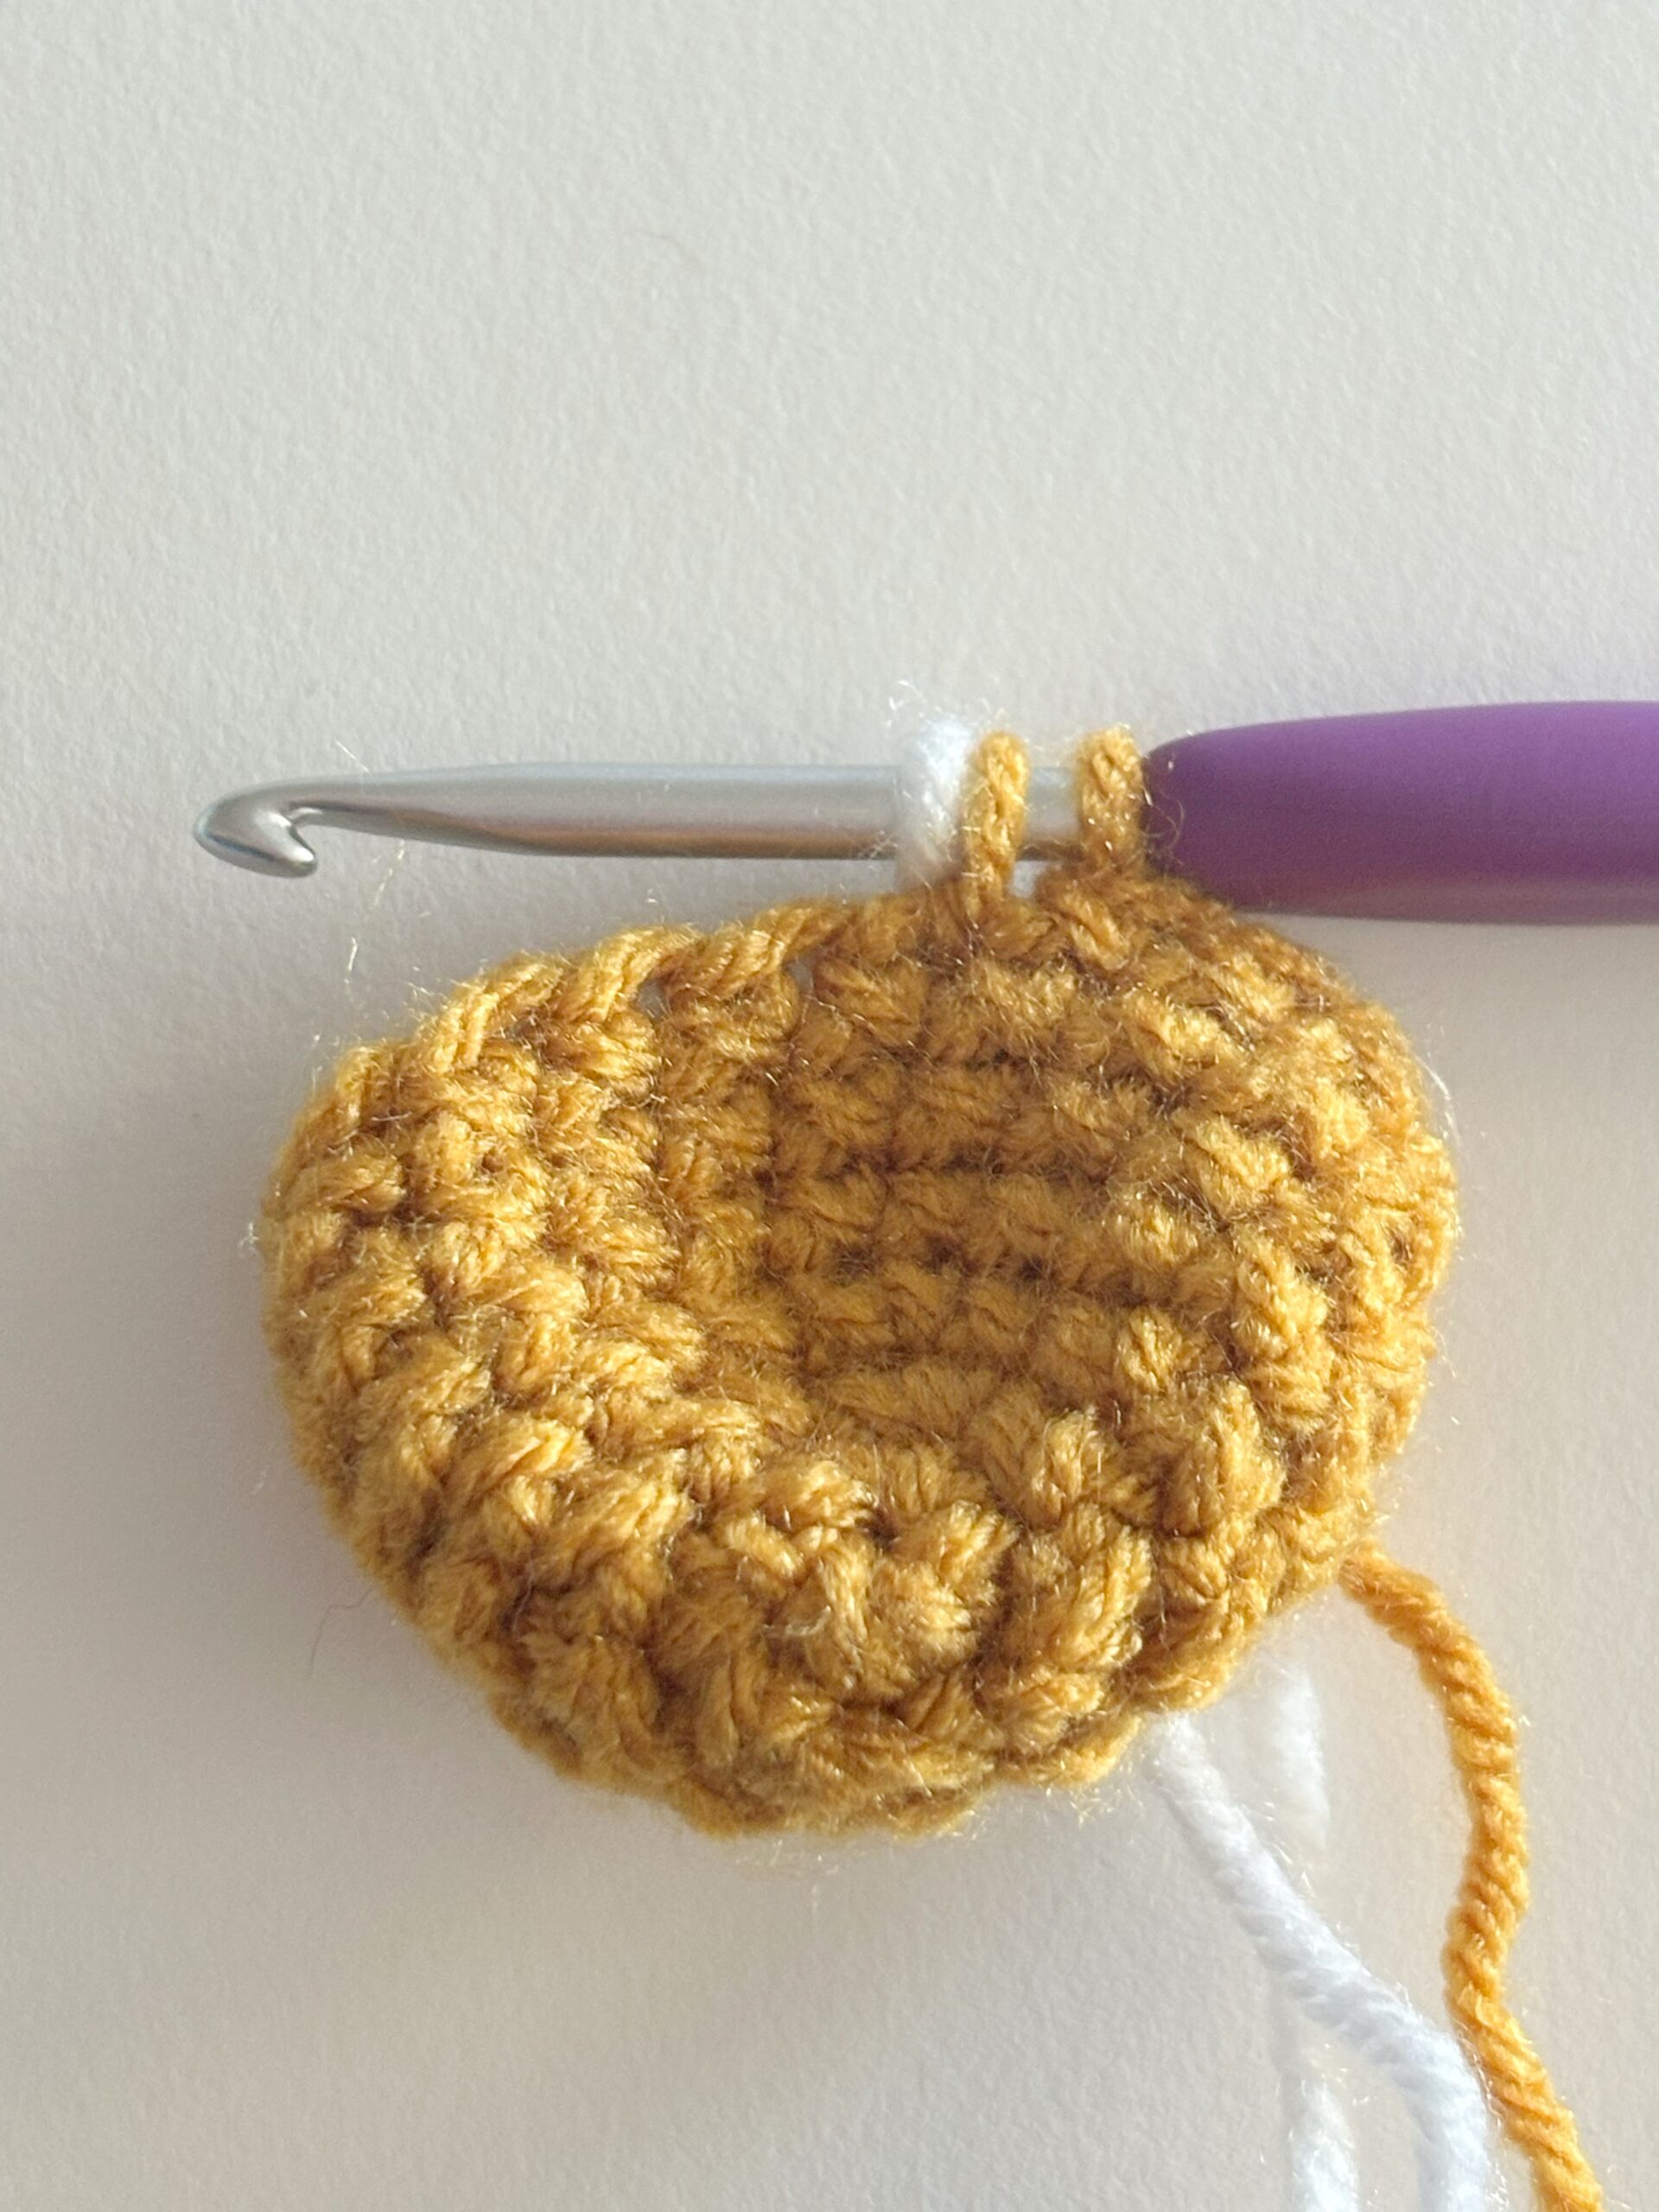
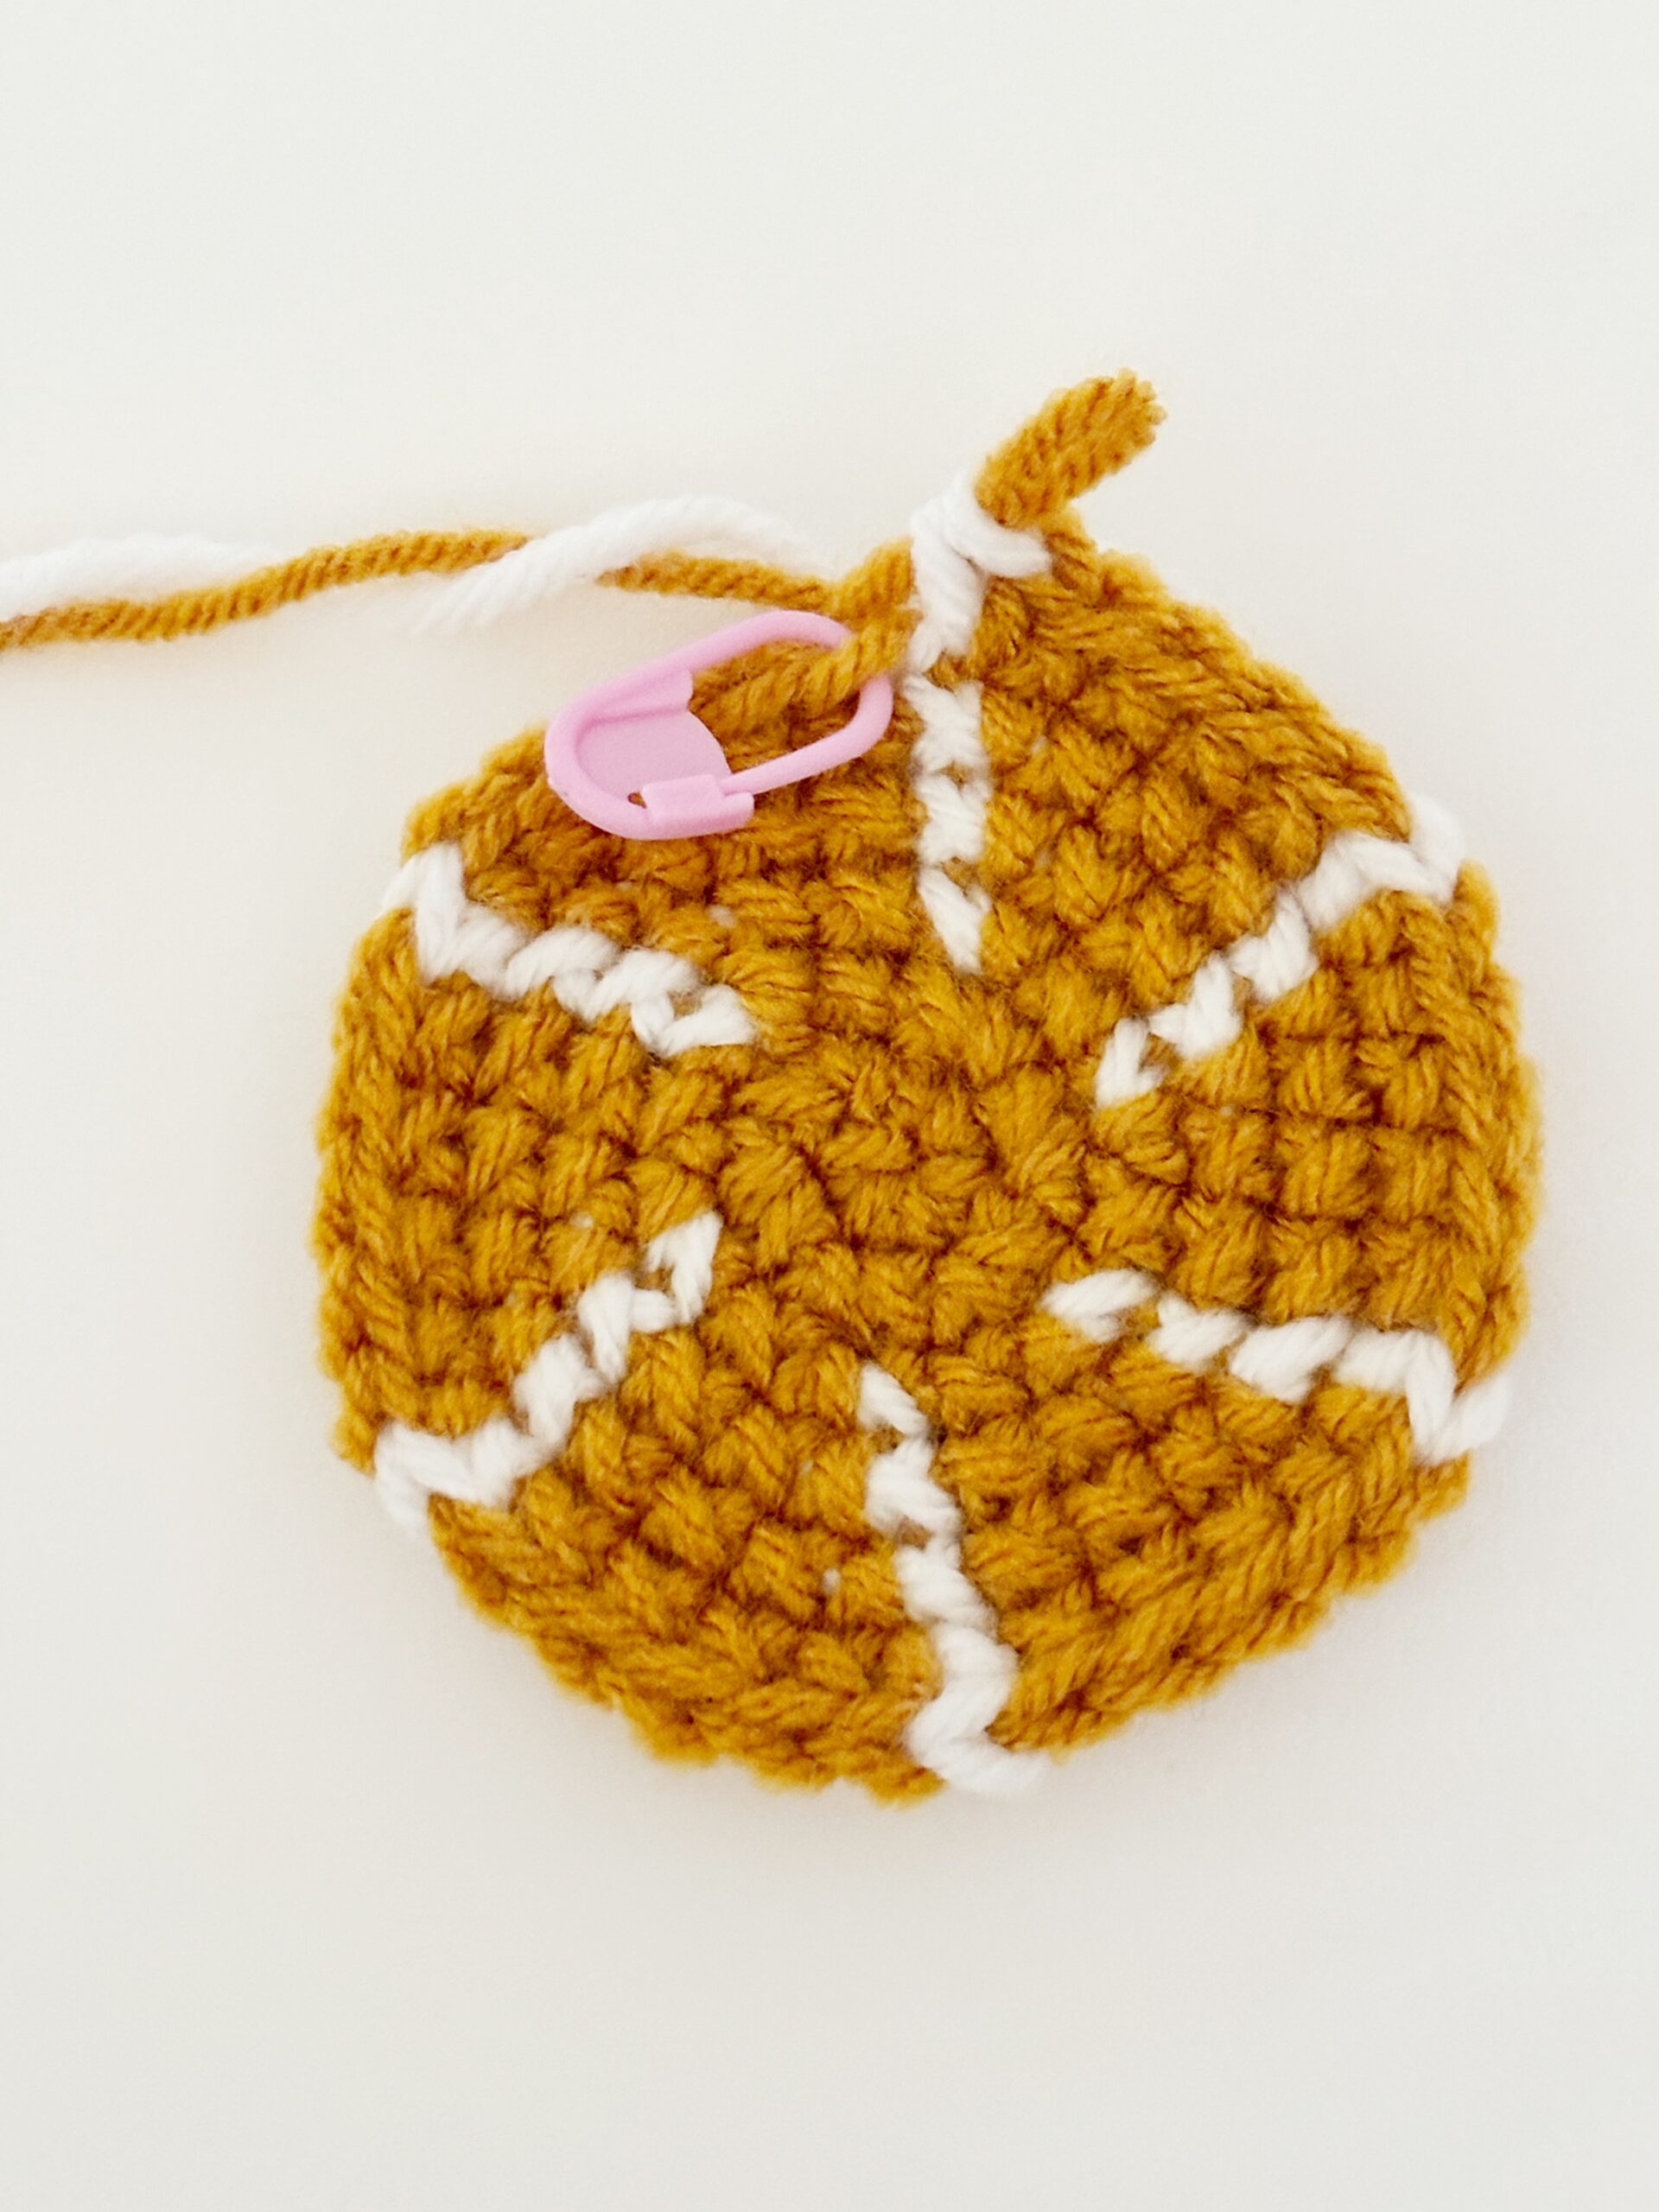
Think of your crochet circle like building blocks – if the increases are even and stacked together, they will create a corner. In the image, the white stitches are the increases. See how they line up in each round?
Most crochet amigurumi (and circles) follow a standard increase pattern:
Rd 1: 6 single crochet (6)
Rd 2: increase in each stitch (12)
Rd 3: *1 single crochet, increase in the next stitch* repeat 6 times total (18)
Rd 4: *2 single crochet, increase in the next stitch* repeat 6 times total (24)
Rd 5: *3 single crochet, increase in the next stitch* repeat 6 times total (30)
Rd 6: *4 single crochet, increase in the next stitch* repeat 6 times total (36)
Staggered Increases for a Crochet Circle
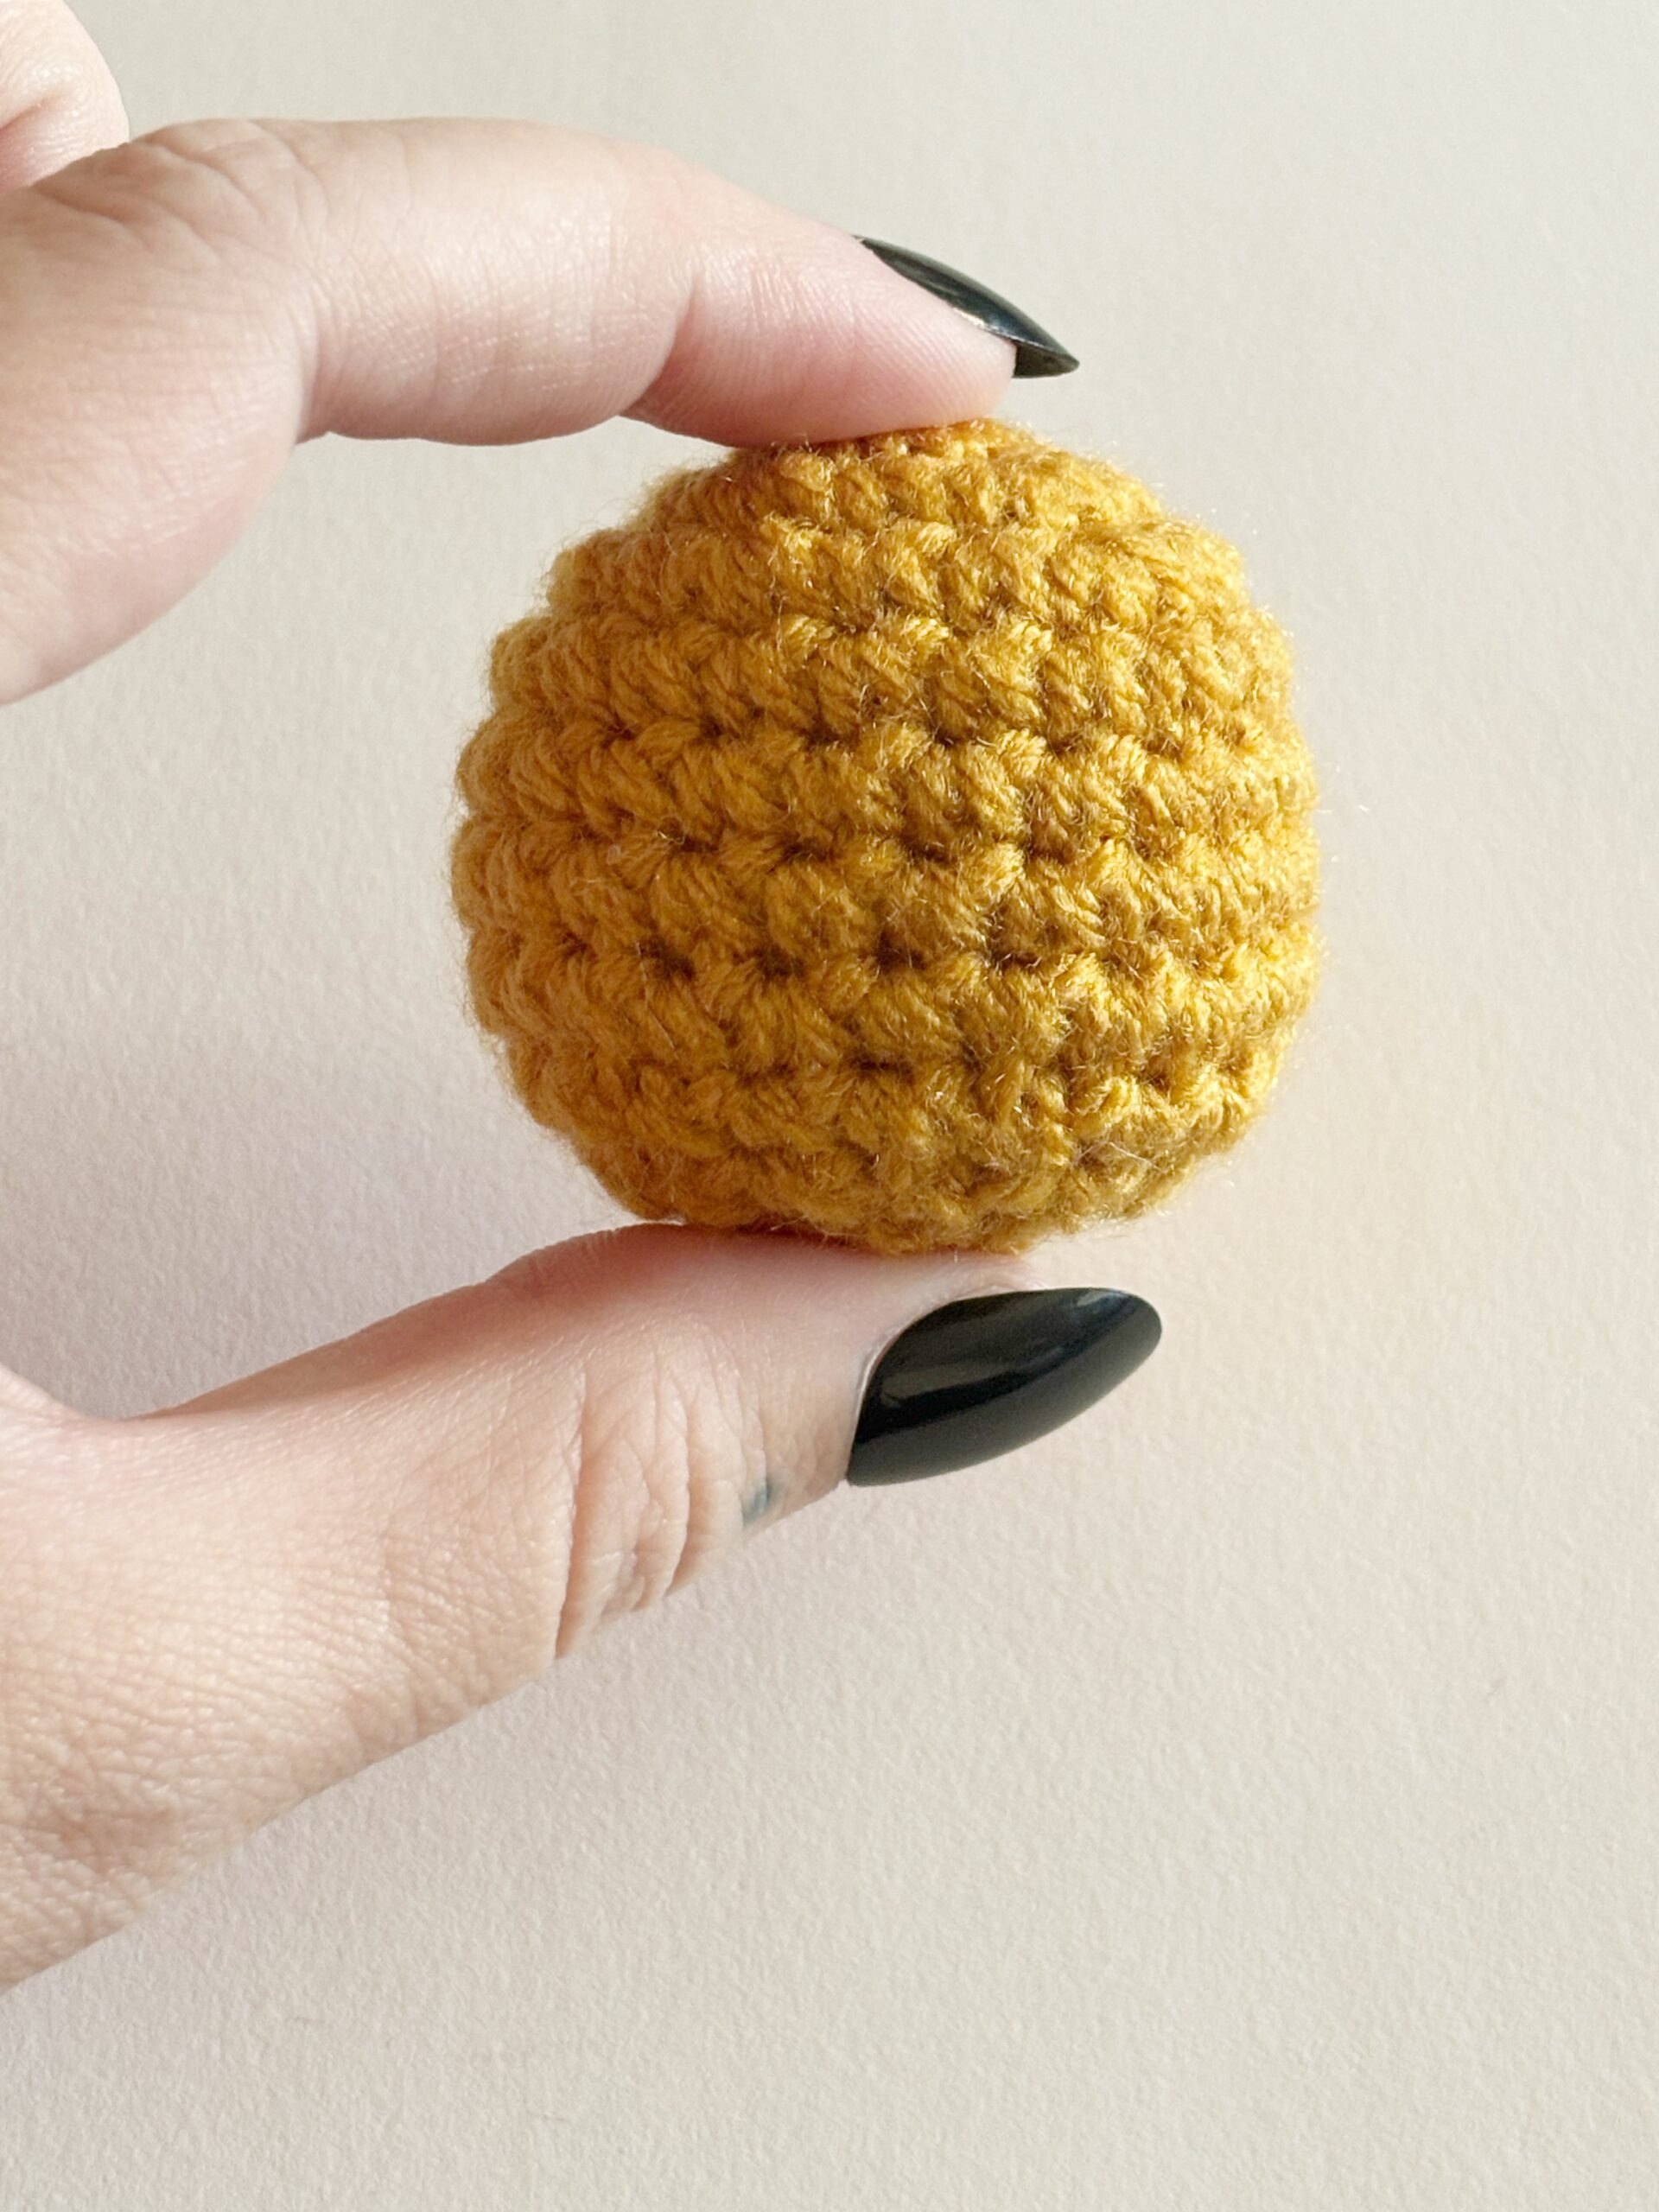
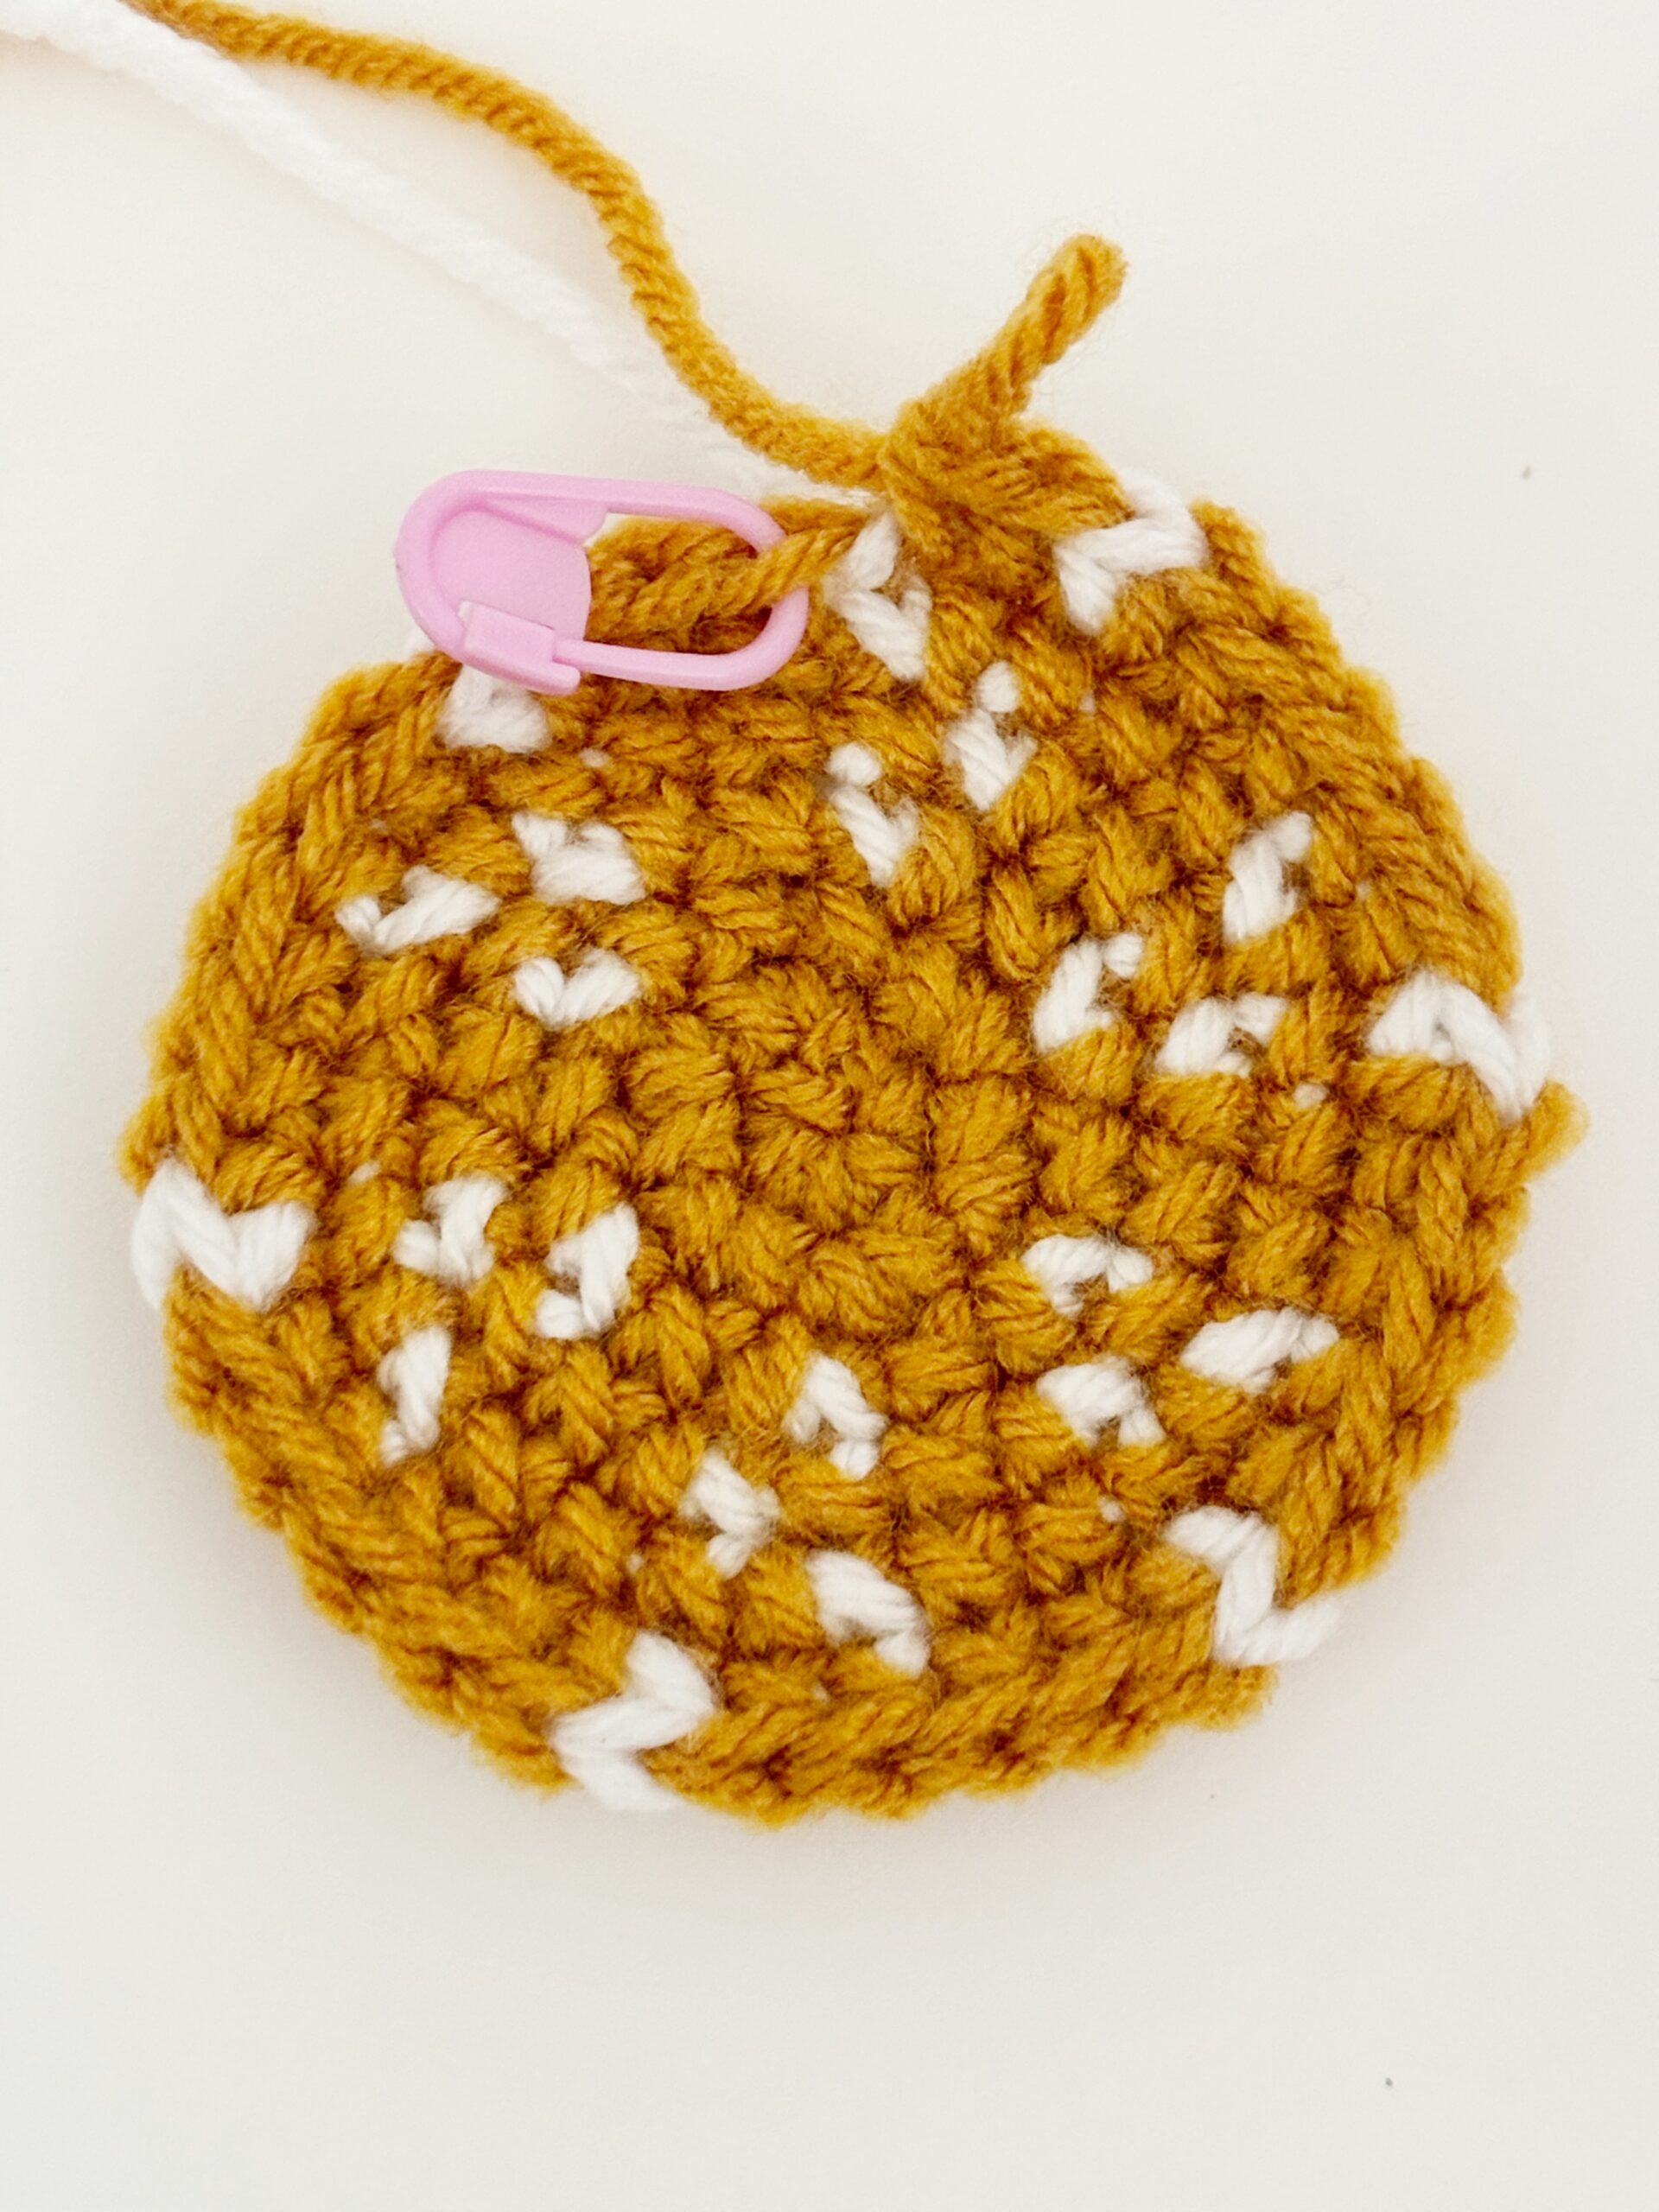
On the flip side, staggered increases spread the increase around, creating a circular shape rather than corners.
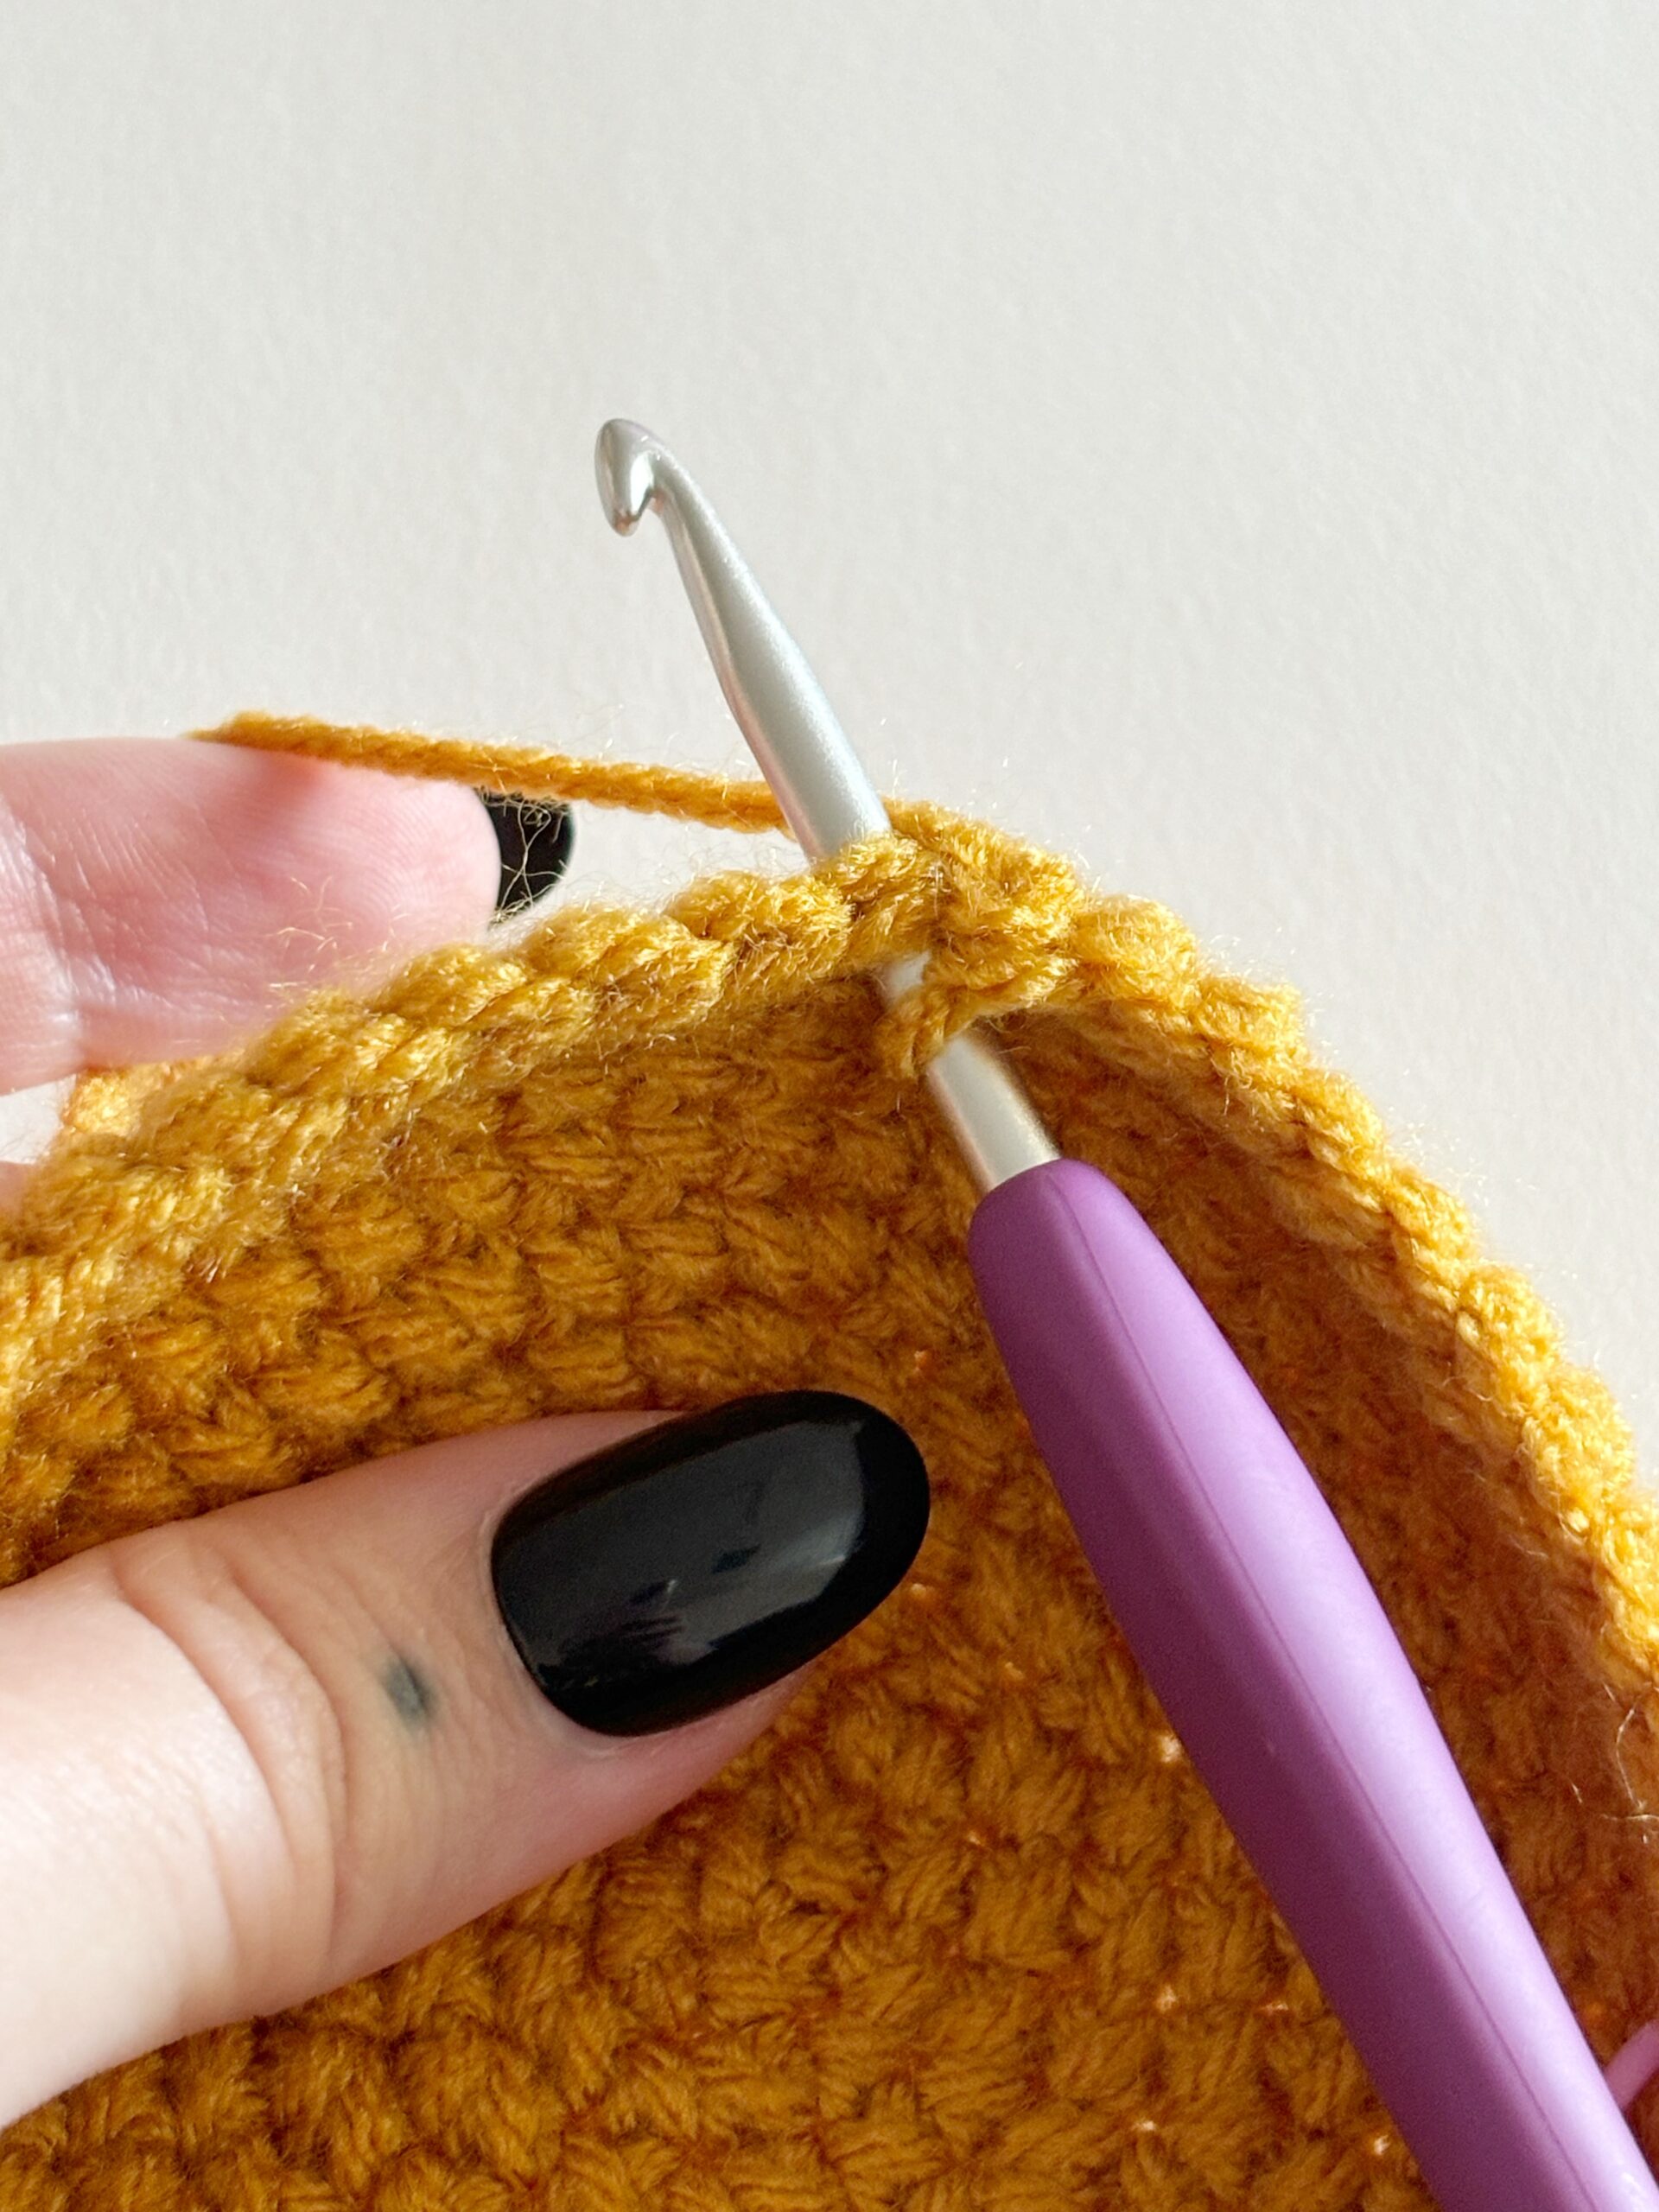
The easiest way to stagger increases is to split the stitches in the rounds with an even number of stitches before the increase – crocheting half of the single crochets before the increase at the beginning and the other half at the end of the round.
By shifting the even rounds, the increases will be spread around, not stacked, and this will stop the corners from forming (as you can see in the picture). This also stops lines (from stacked increases and decreases) from forming up the sides of your amigurumi.
Rd 1: 6 single crochet (6)
Rd 2: increase in each stitch (12)
Rd 3: *1 single crochet, increase in the next stitch* repeat 6 times total (18)
Rd 4: Staggered Round – 1 single crochet, increase in the next stitch, *2 single crochet, increase in the next stitch* repeat 5 times total, 1 single crochet (24)
Rd 5: *3 single crochet, increase in the next stitch* repeat 6 times total (30)
Rd 6: Staggered Round – 2 single crochet, increase in the next stitch, *4 single crochet, increase in the next stitch* repeat 5 times total, 2 single crochet (36)

Staggered Decreases for a Crochet Circle
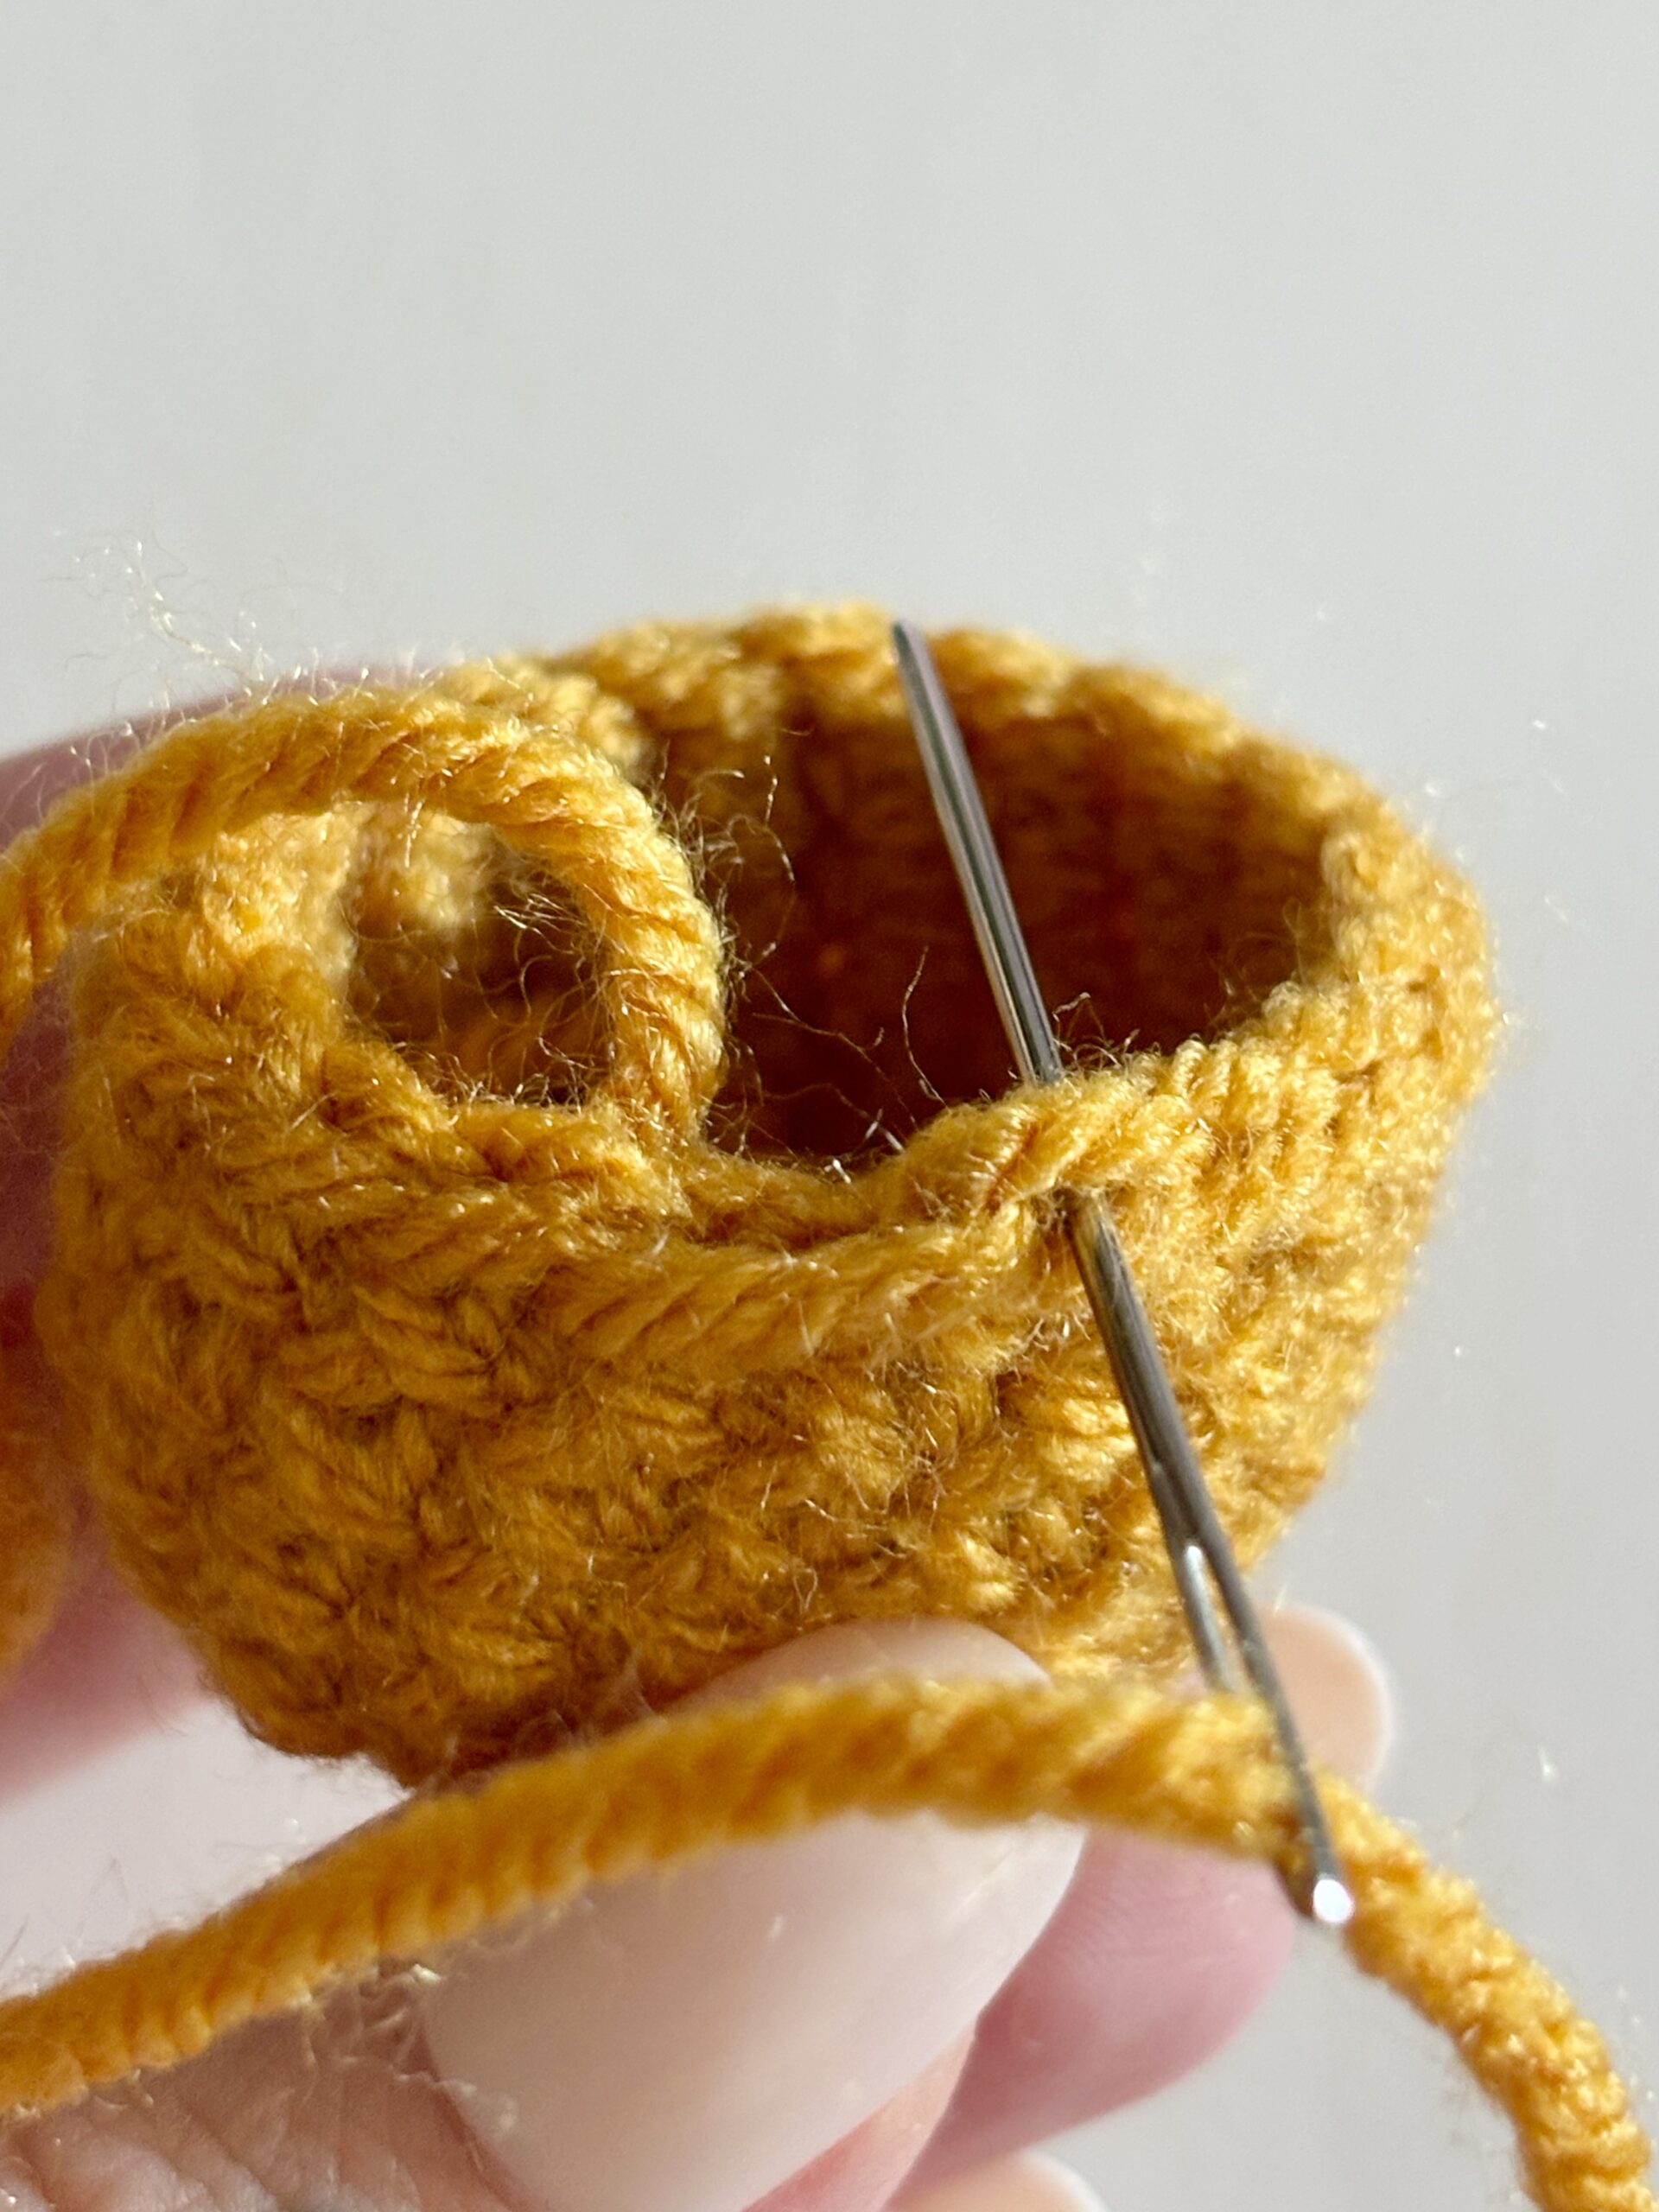
If you want your finished amigurumi to look as neat as possible, you should also stagger your decreases.
Follow the same technique as the increases, splitting the single crochets in the rounds with an even number of stitches before the decreases.
For example:
2 single crochet, invisible decrease over the next two stitches, *4 single crochet, invisible decrease over the next two stitches* repeat 5 times total, 2 single crochet (30)
Staggering your increases and decreases will create a smoother fabric and finish to your amigurumi. If you’re looking for another way to level up the finish of your pieces, this is an easy and effective technique to experiment with.


